Set Up Your Home and Add Your First Device
This guide walks you through setting up your Flow account, creating your home, and connecting your first device.
This process usually takes about 5–10 minutes and requires:
- Your Flow device
- Your Wi-Fi password
- Your phone nearby
Follow the steps below to complete your setup.
1. Download and Open the Flow app
Download the Flow app from the App Store or Google Play and open it to get started.
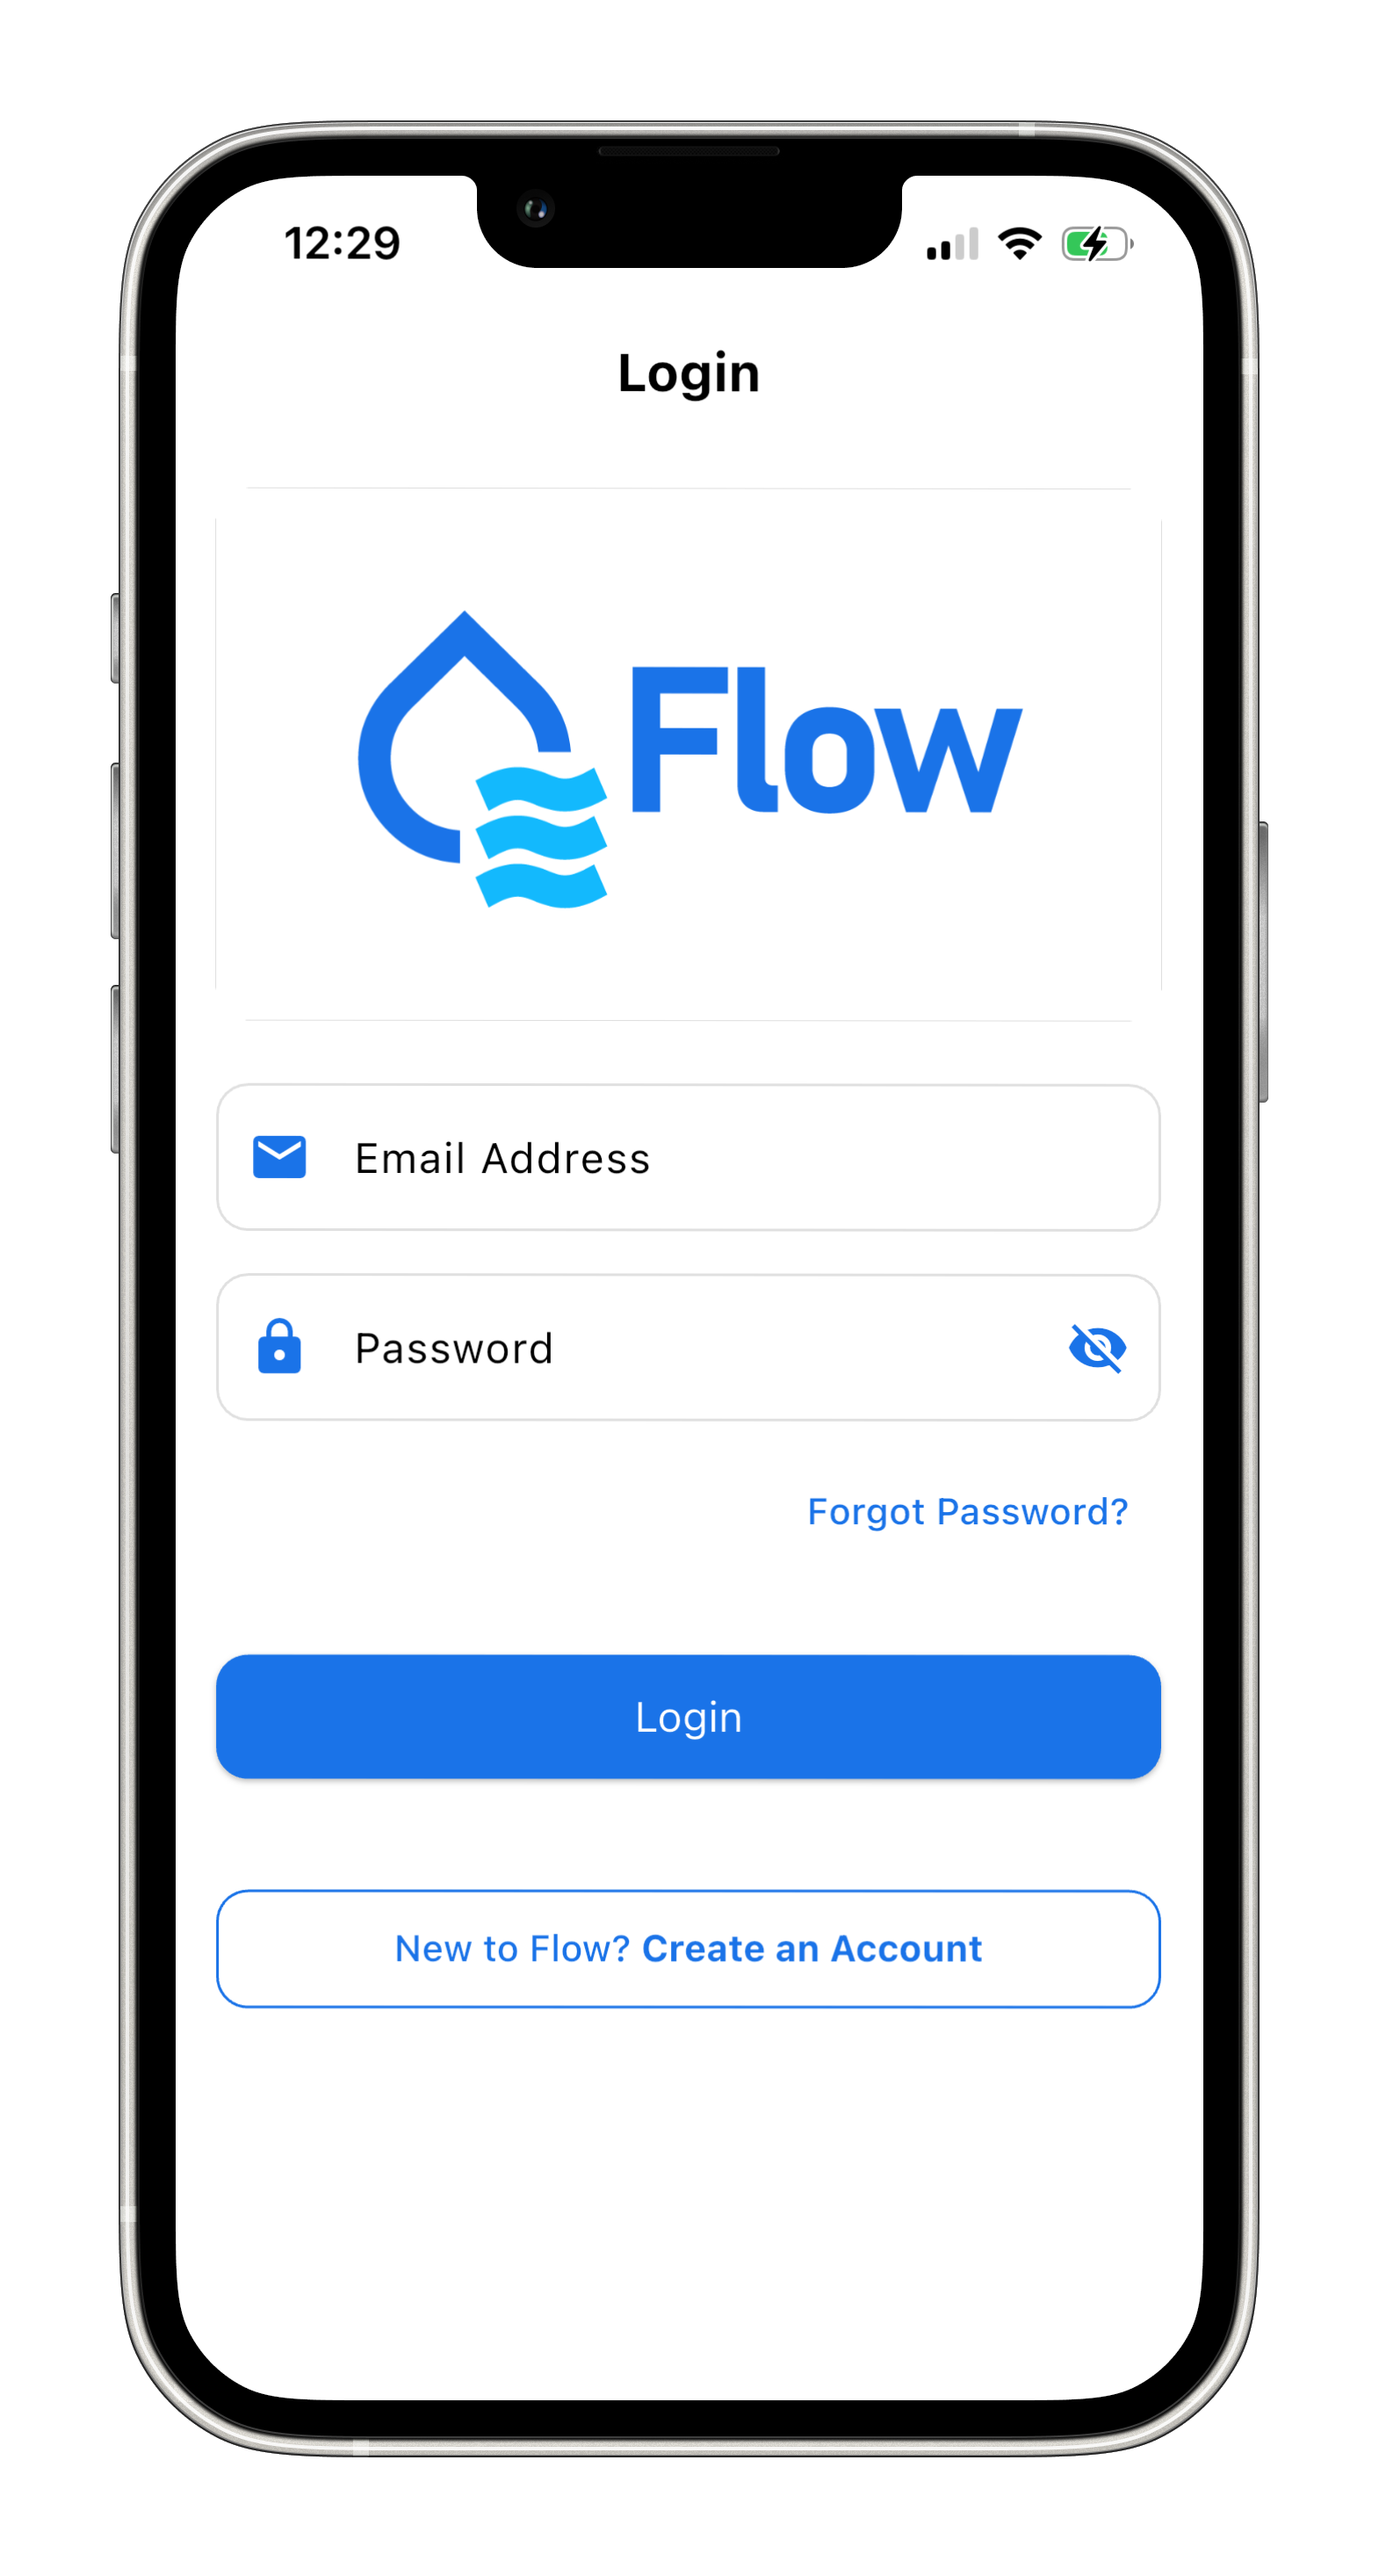
On the Login screen, tap “New to SenseQ? Create an Account”.
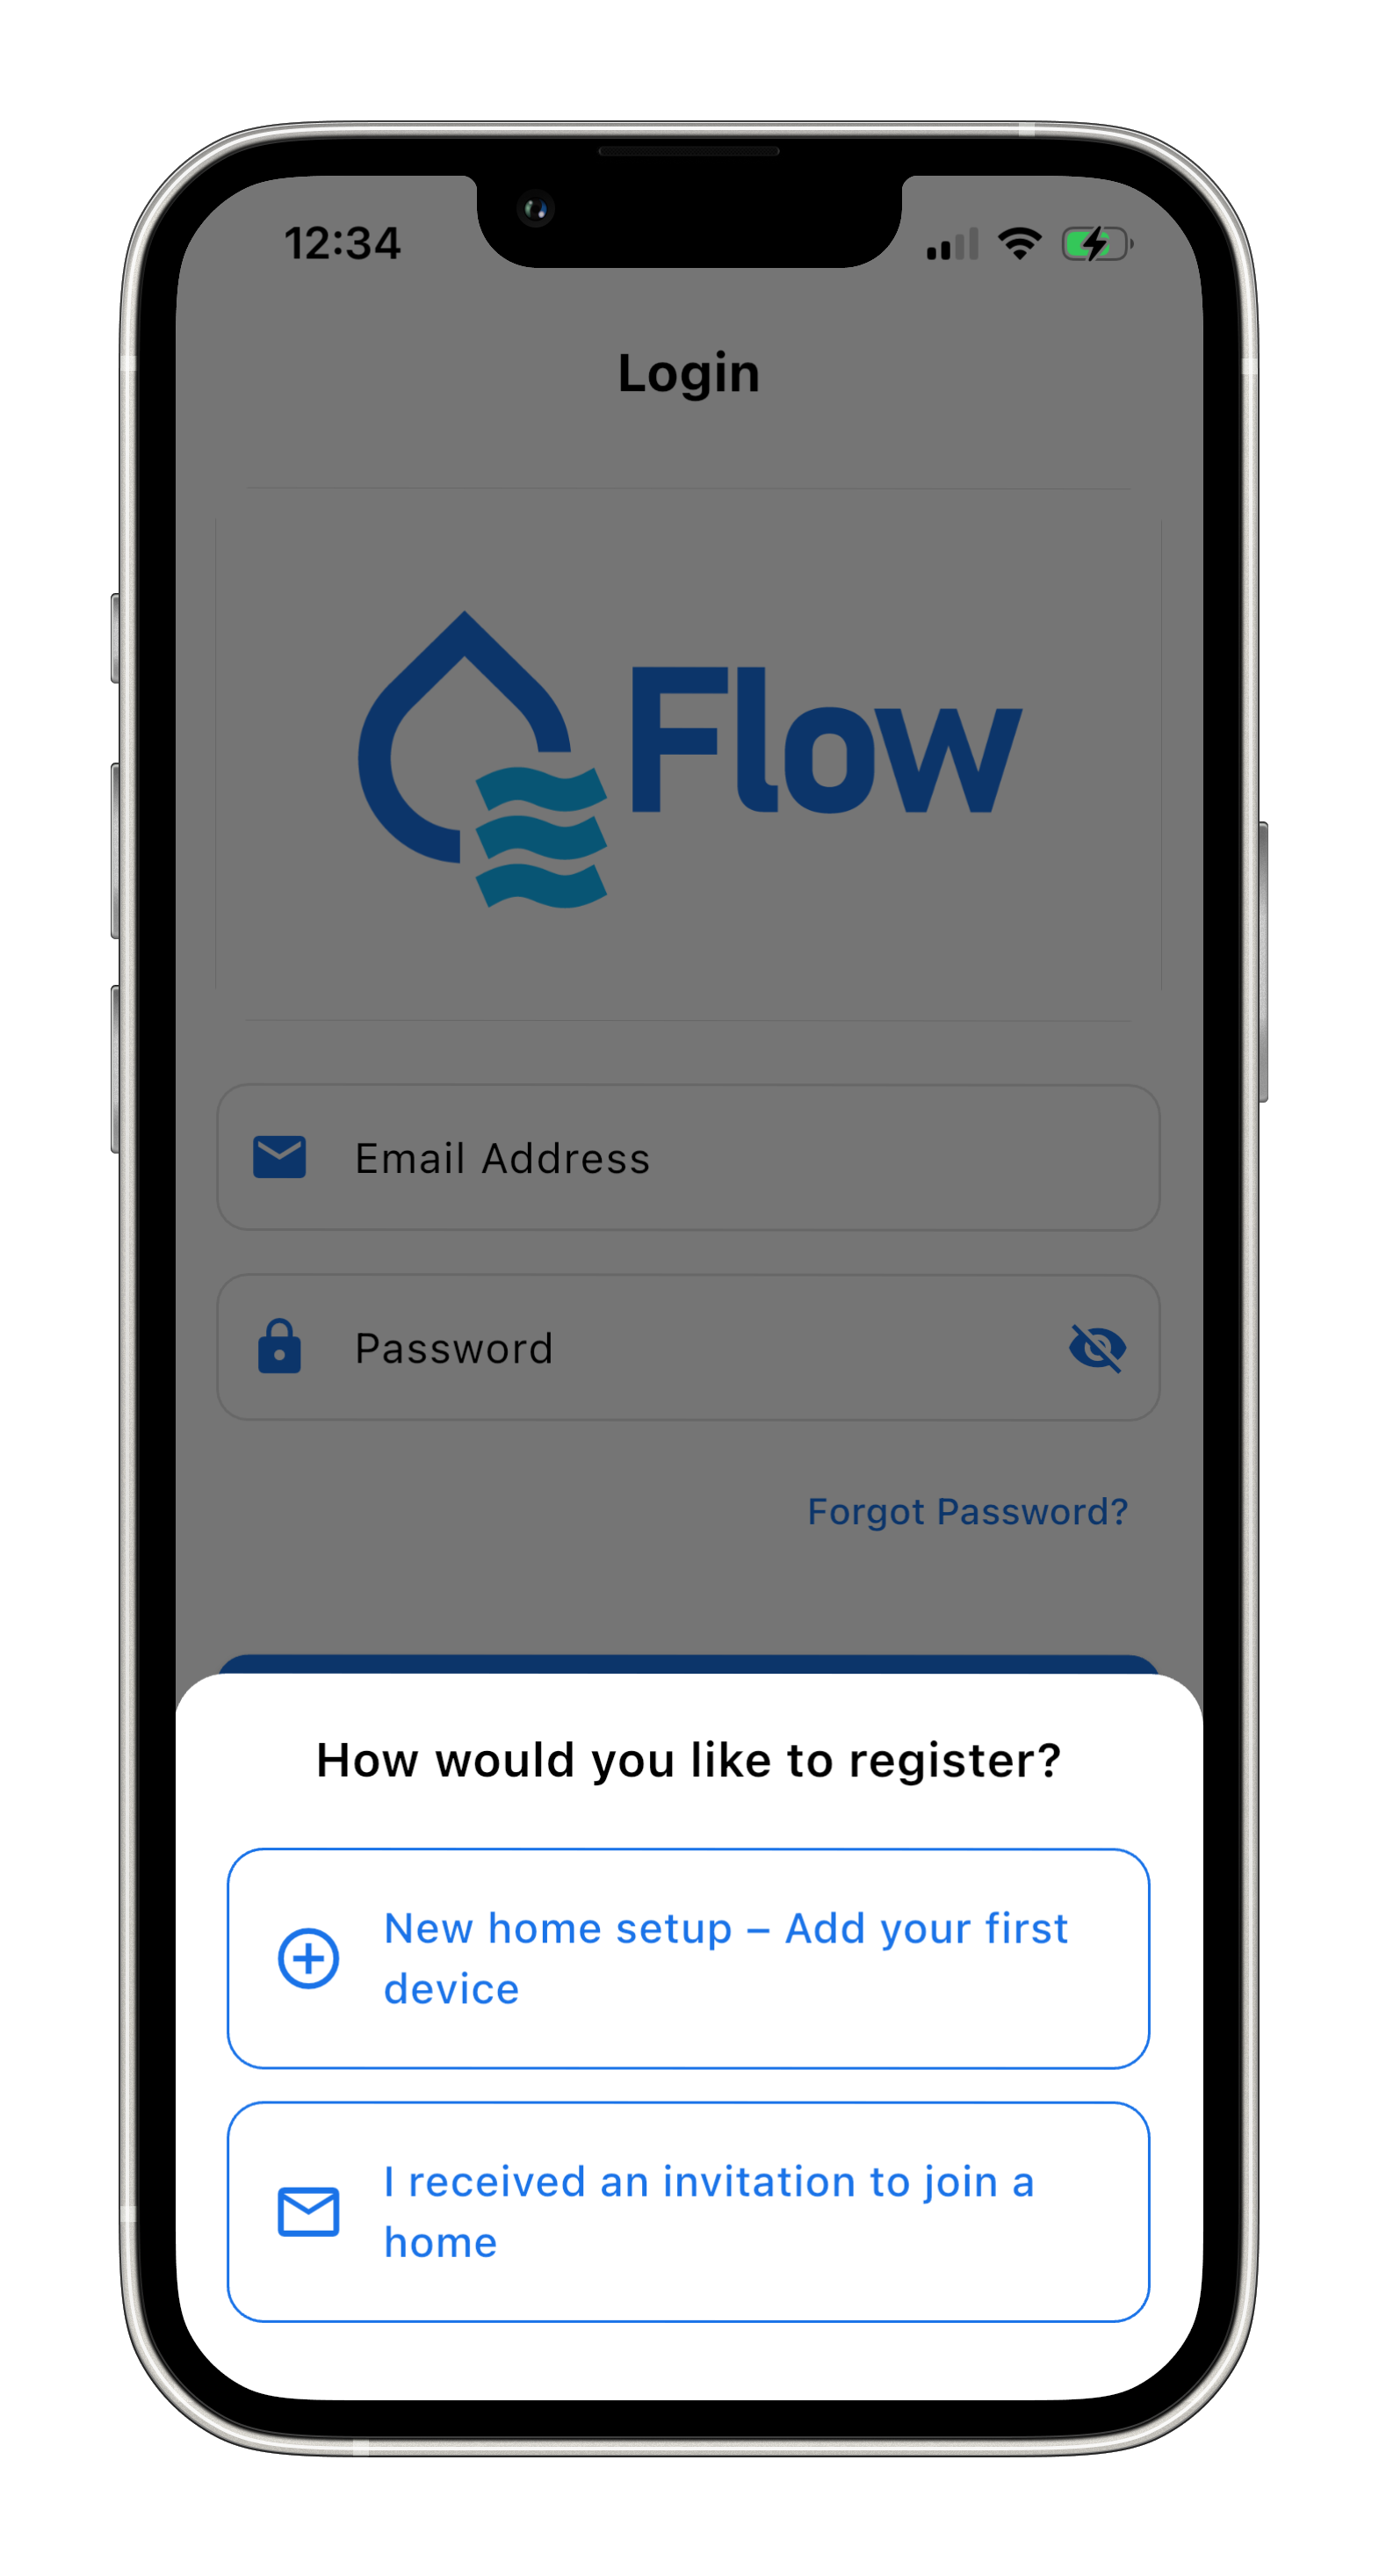
Select “New home setup - Add your first device” to continue with your account creation.
2. Create Your Account
Ensure Wi-Fi and power are available near your water meter then tap “Continue”.

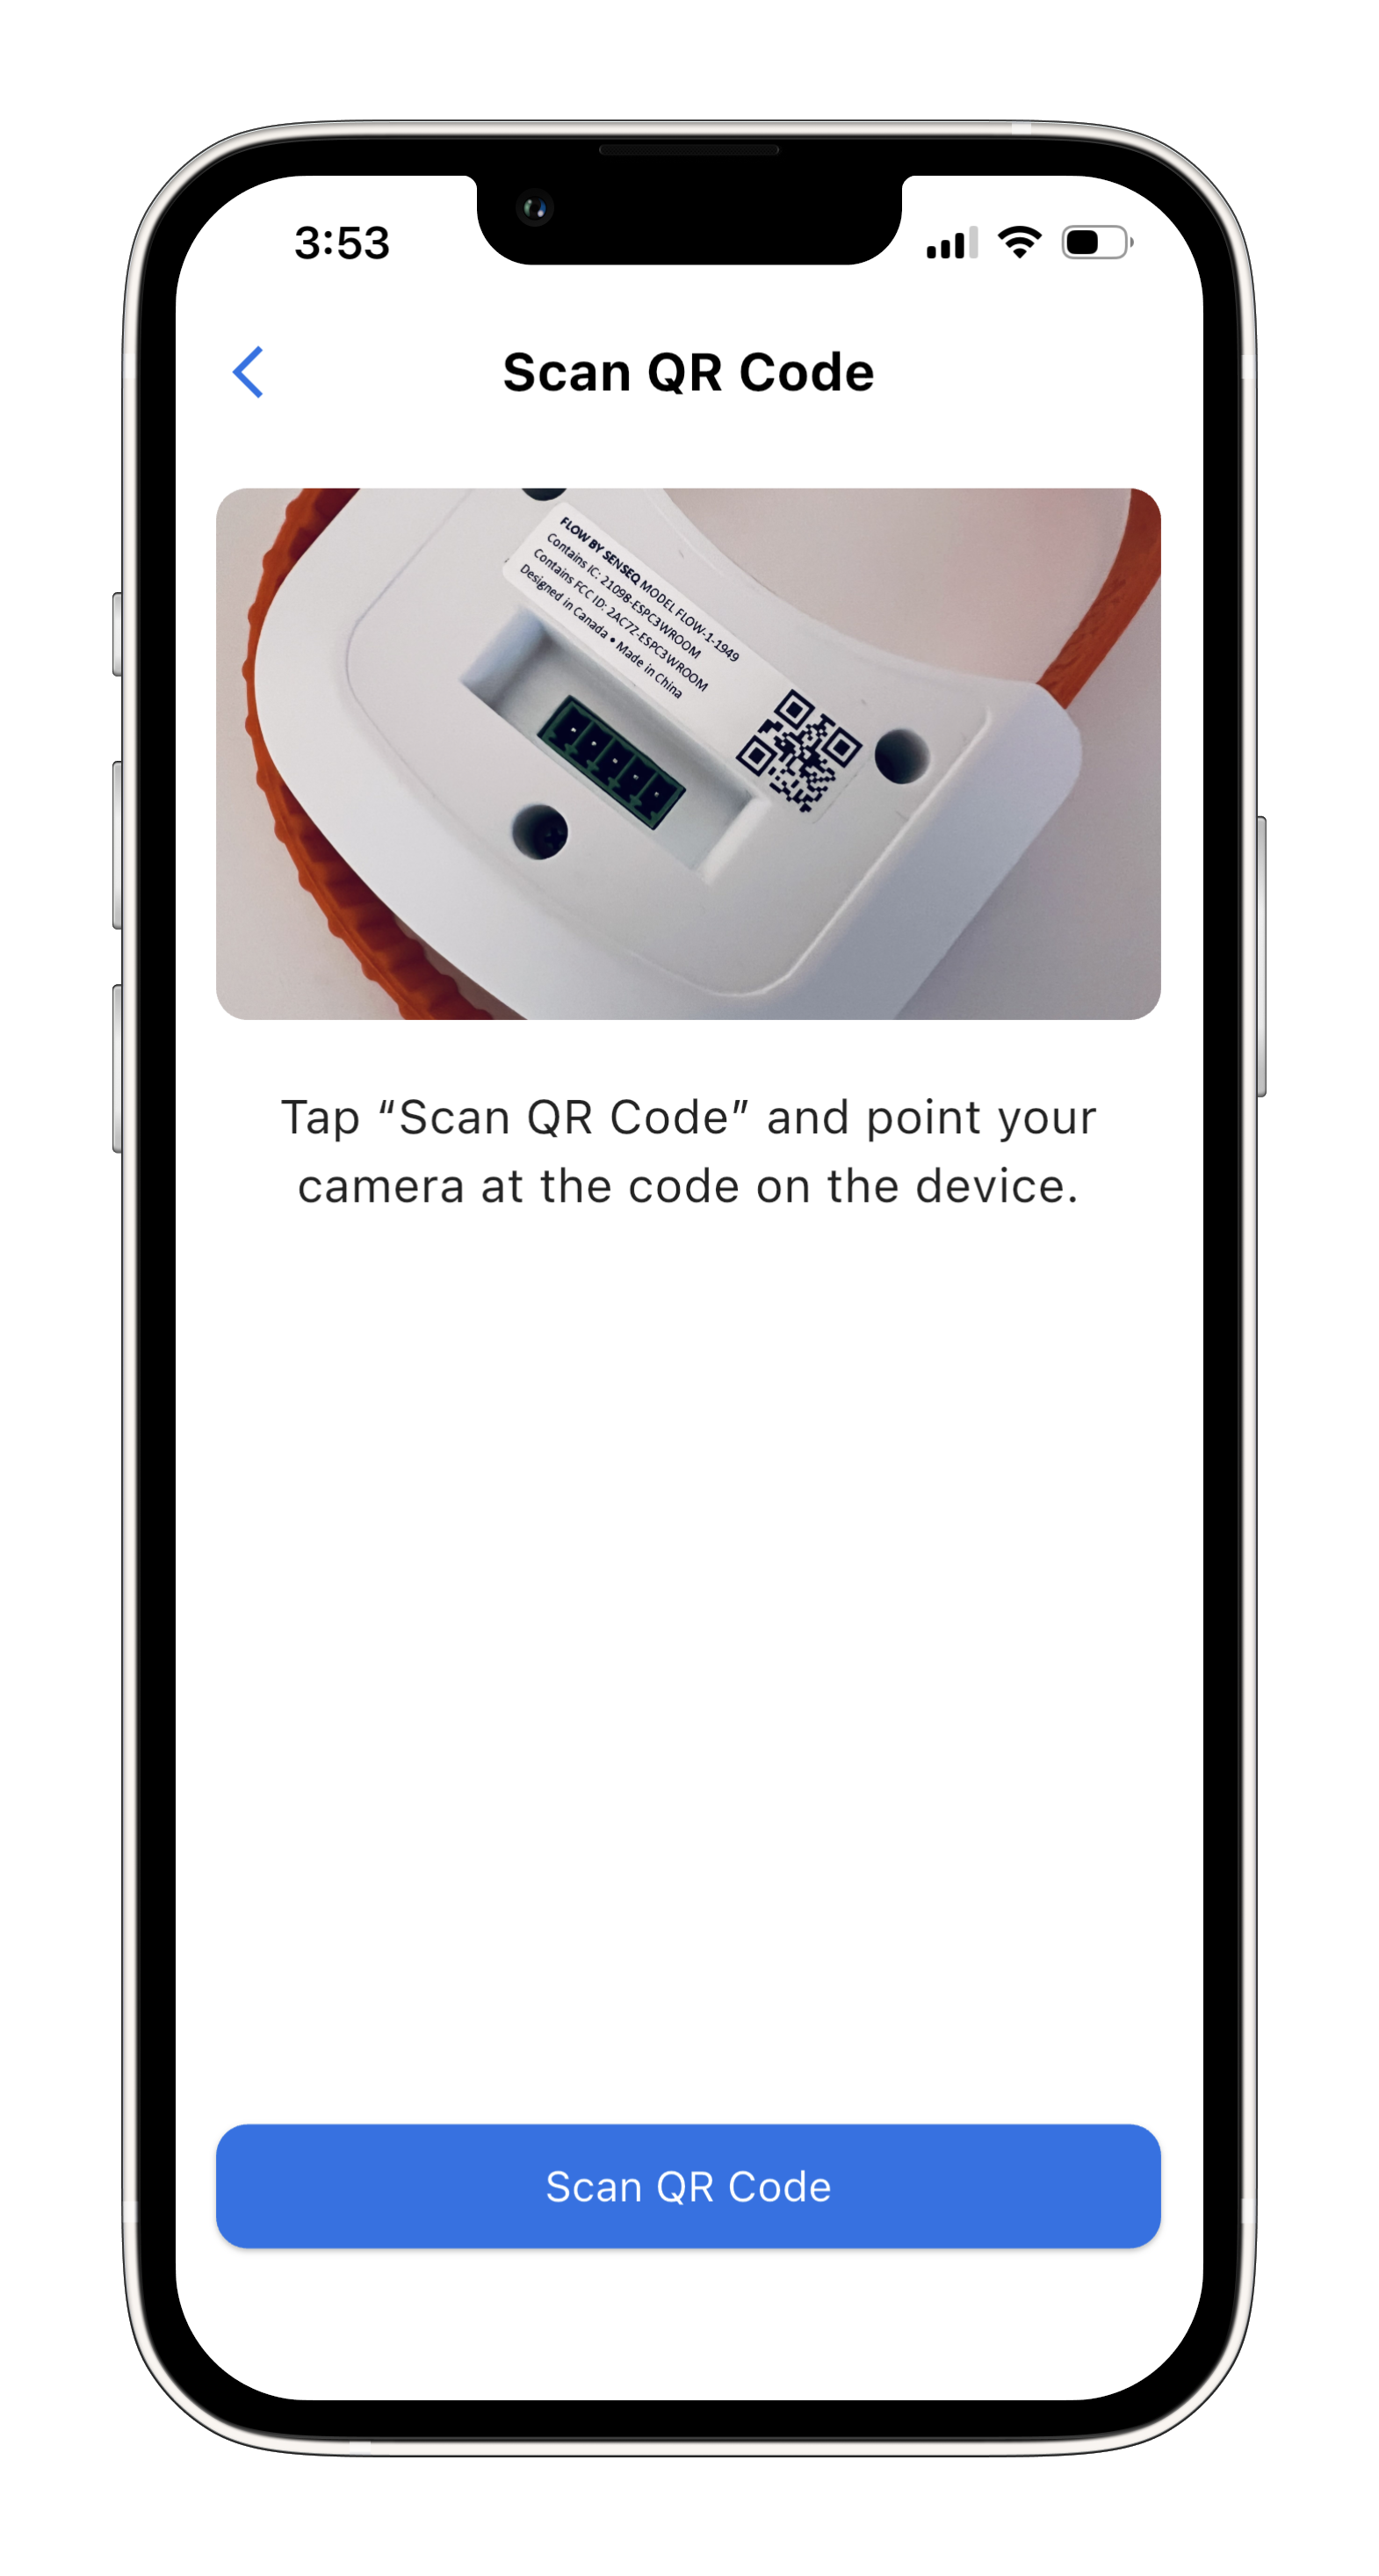
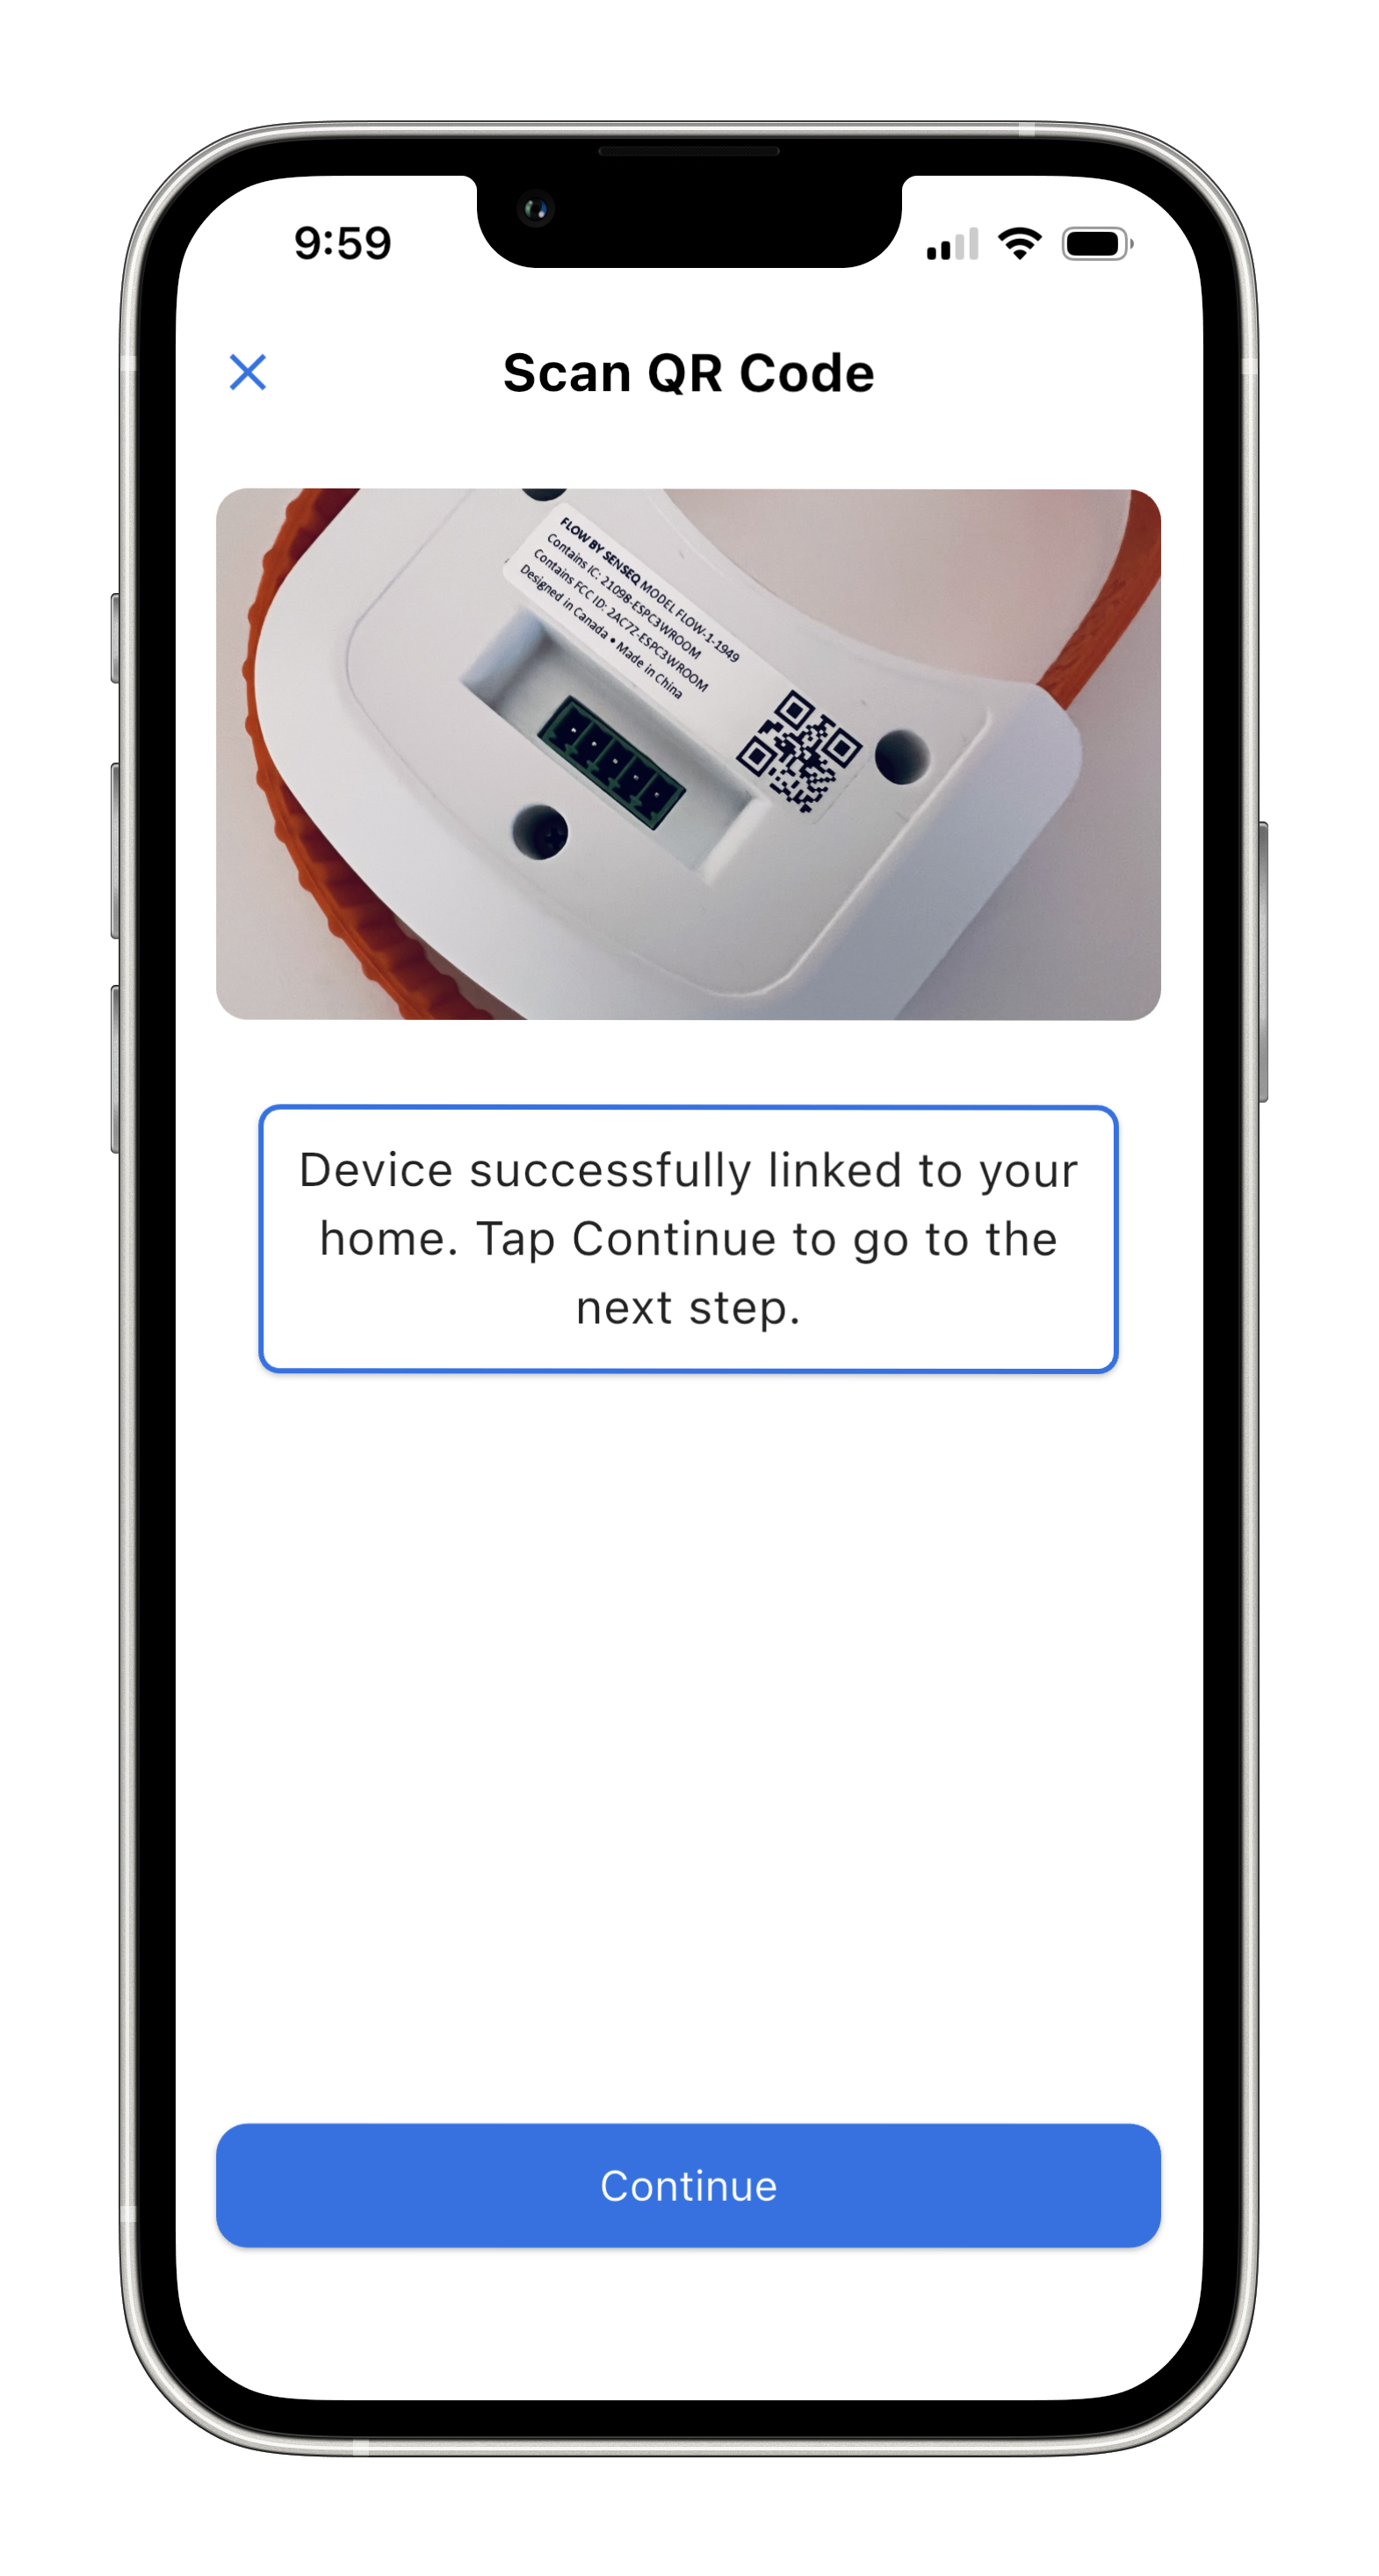
Tap “Scan QR Code” then use your phone’s camera to scan the QR code at the back of your Flow device.
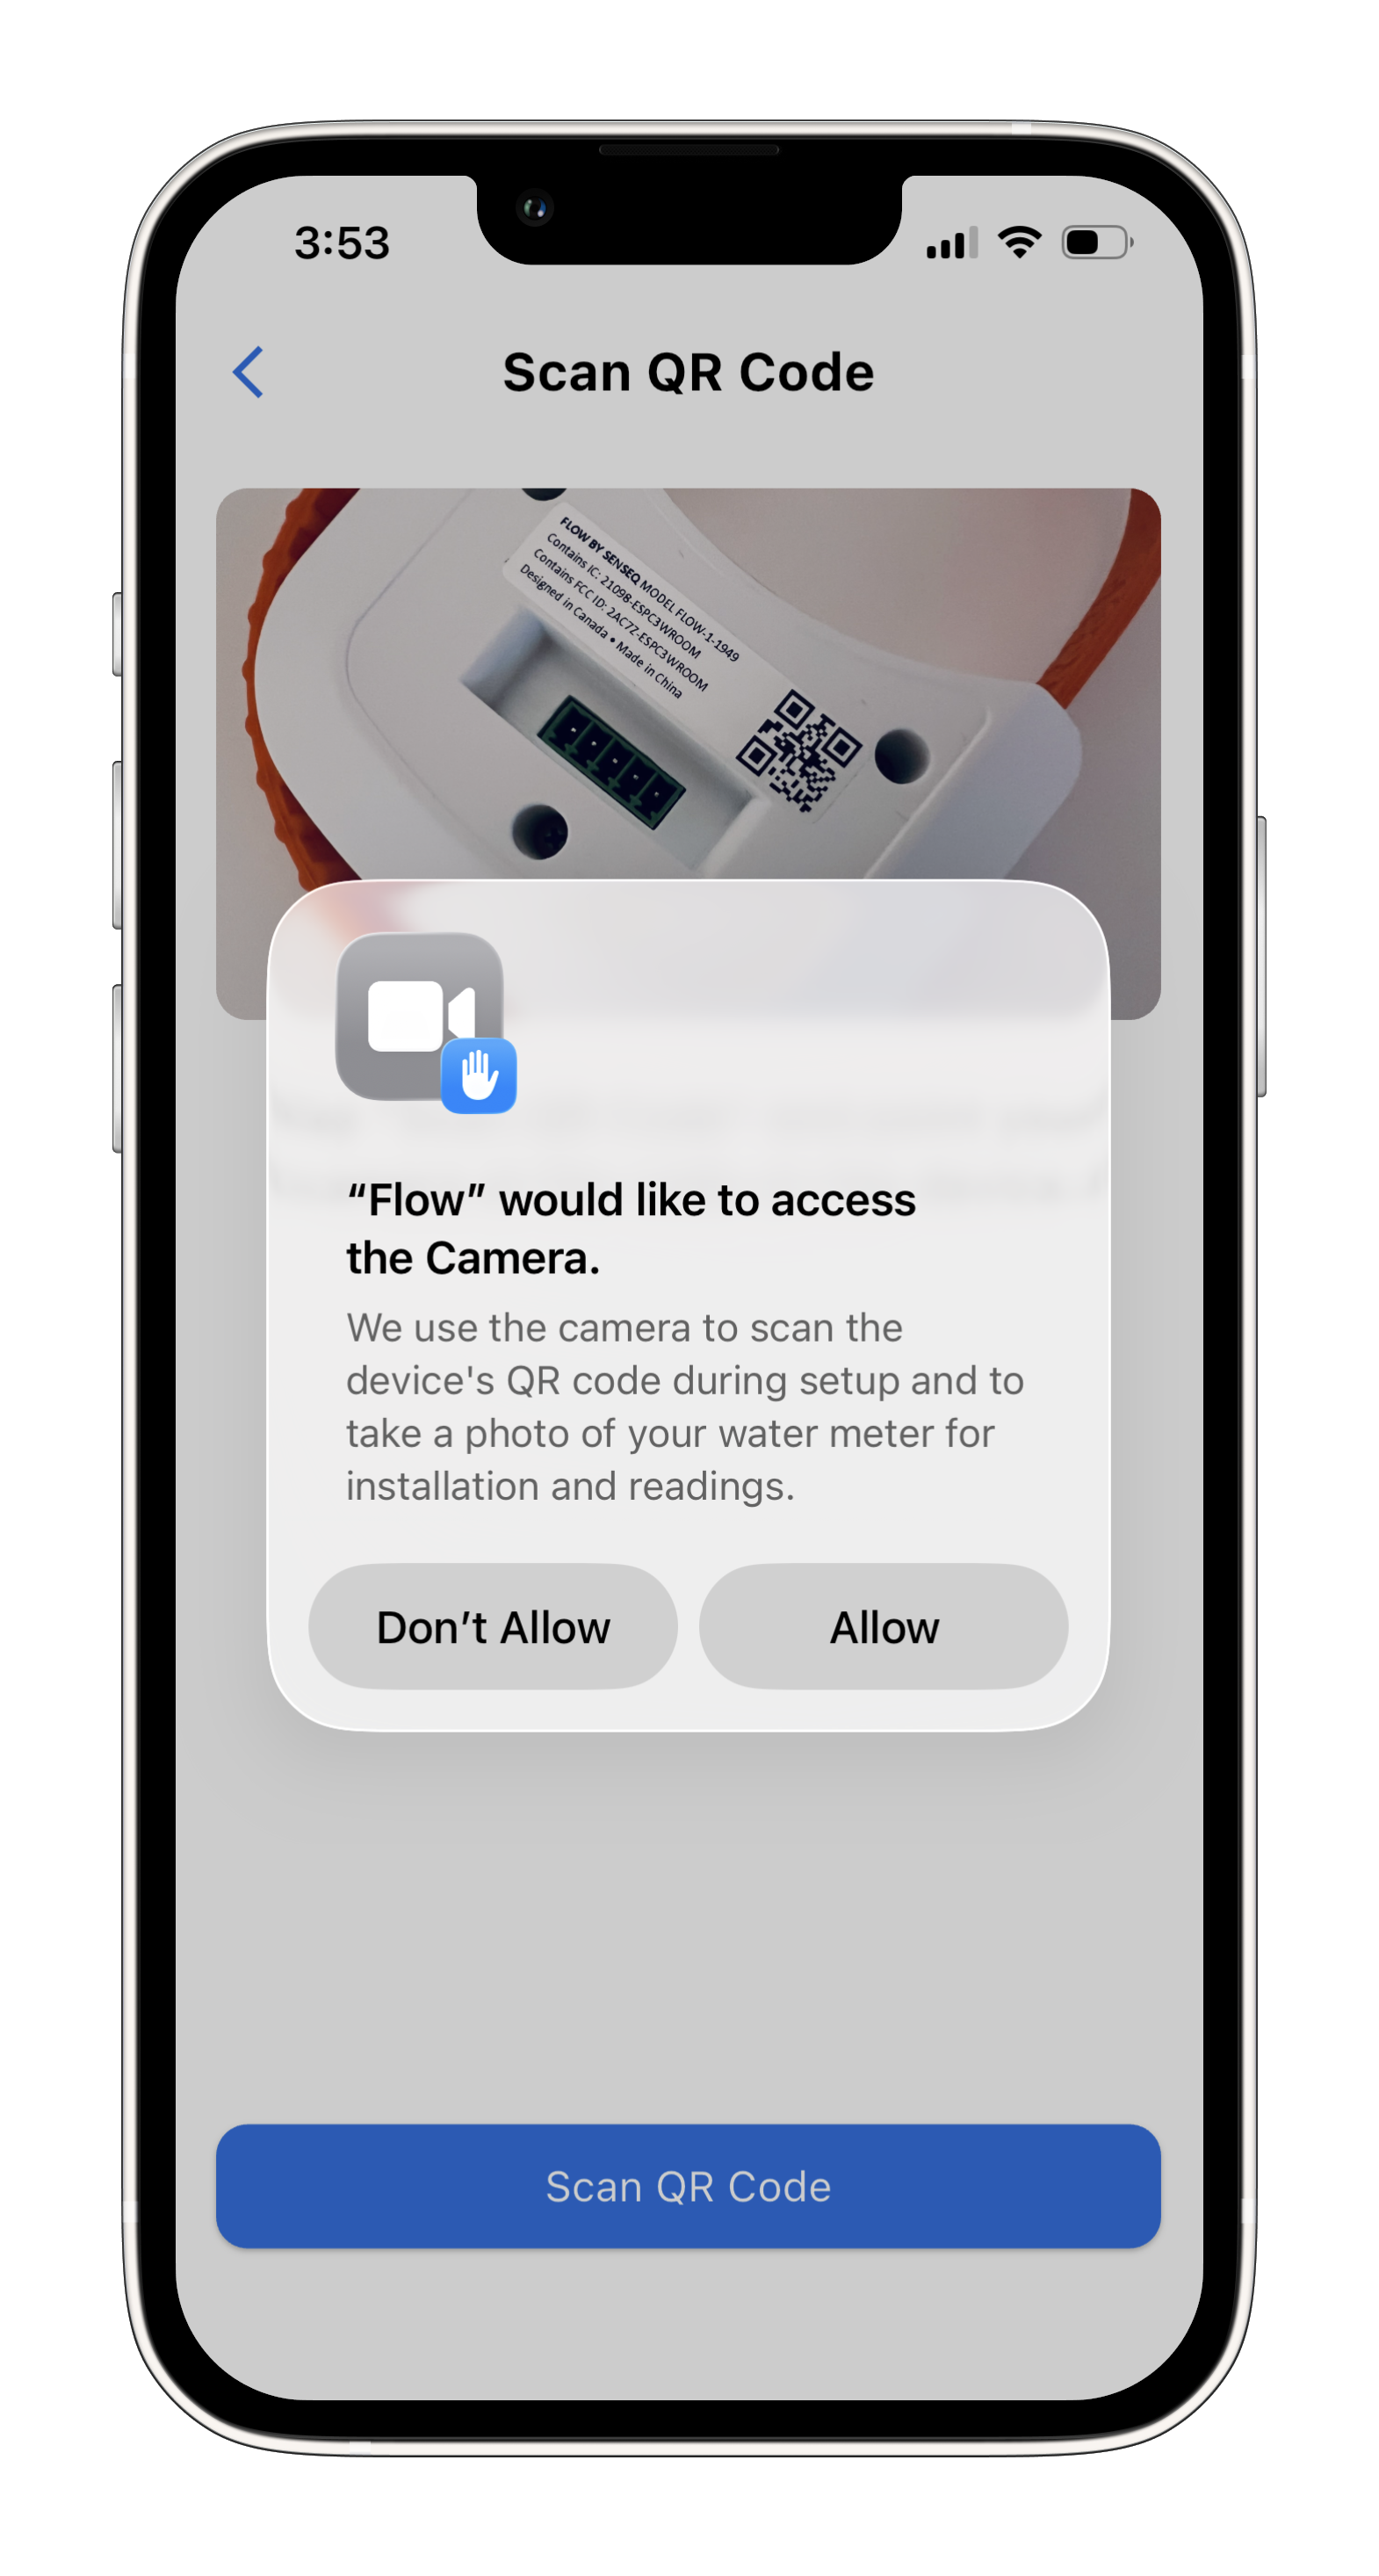
Select “Allow” to access the camera then tap “Scan QR Code”.
Hold your phone over the QR code to scan it automatically. The system will confirm your device is verified.
Tap “Continue”.
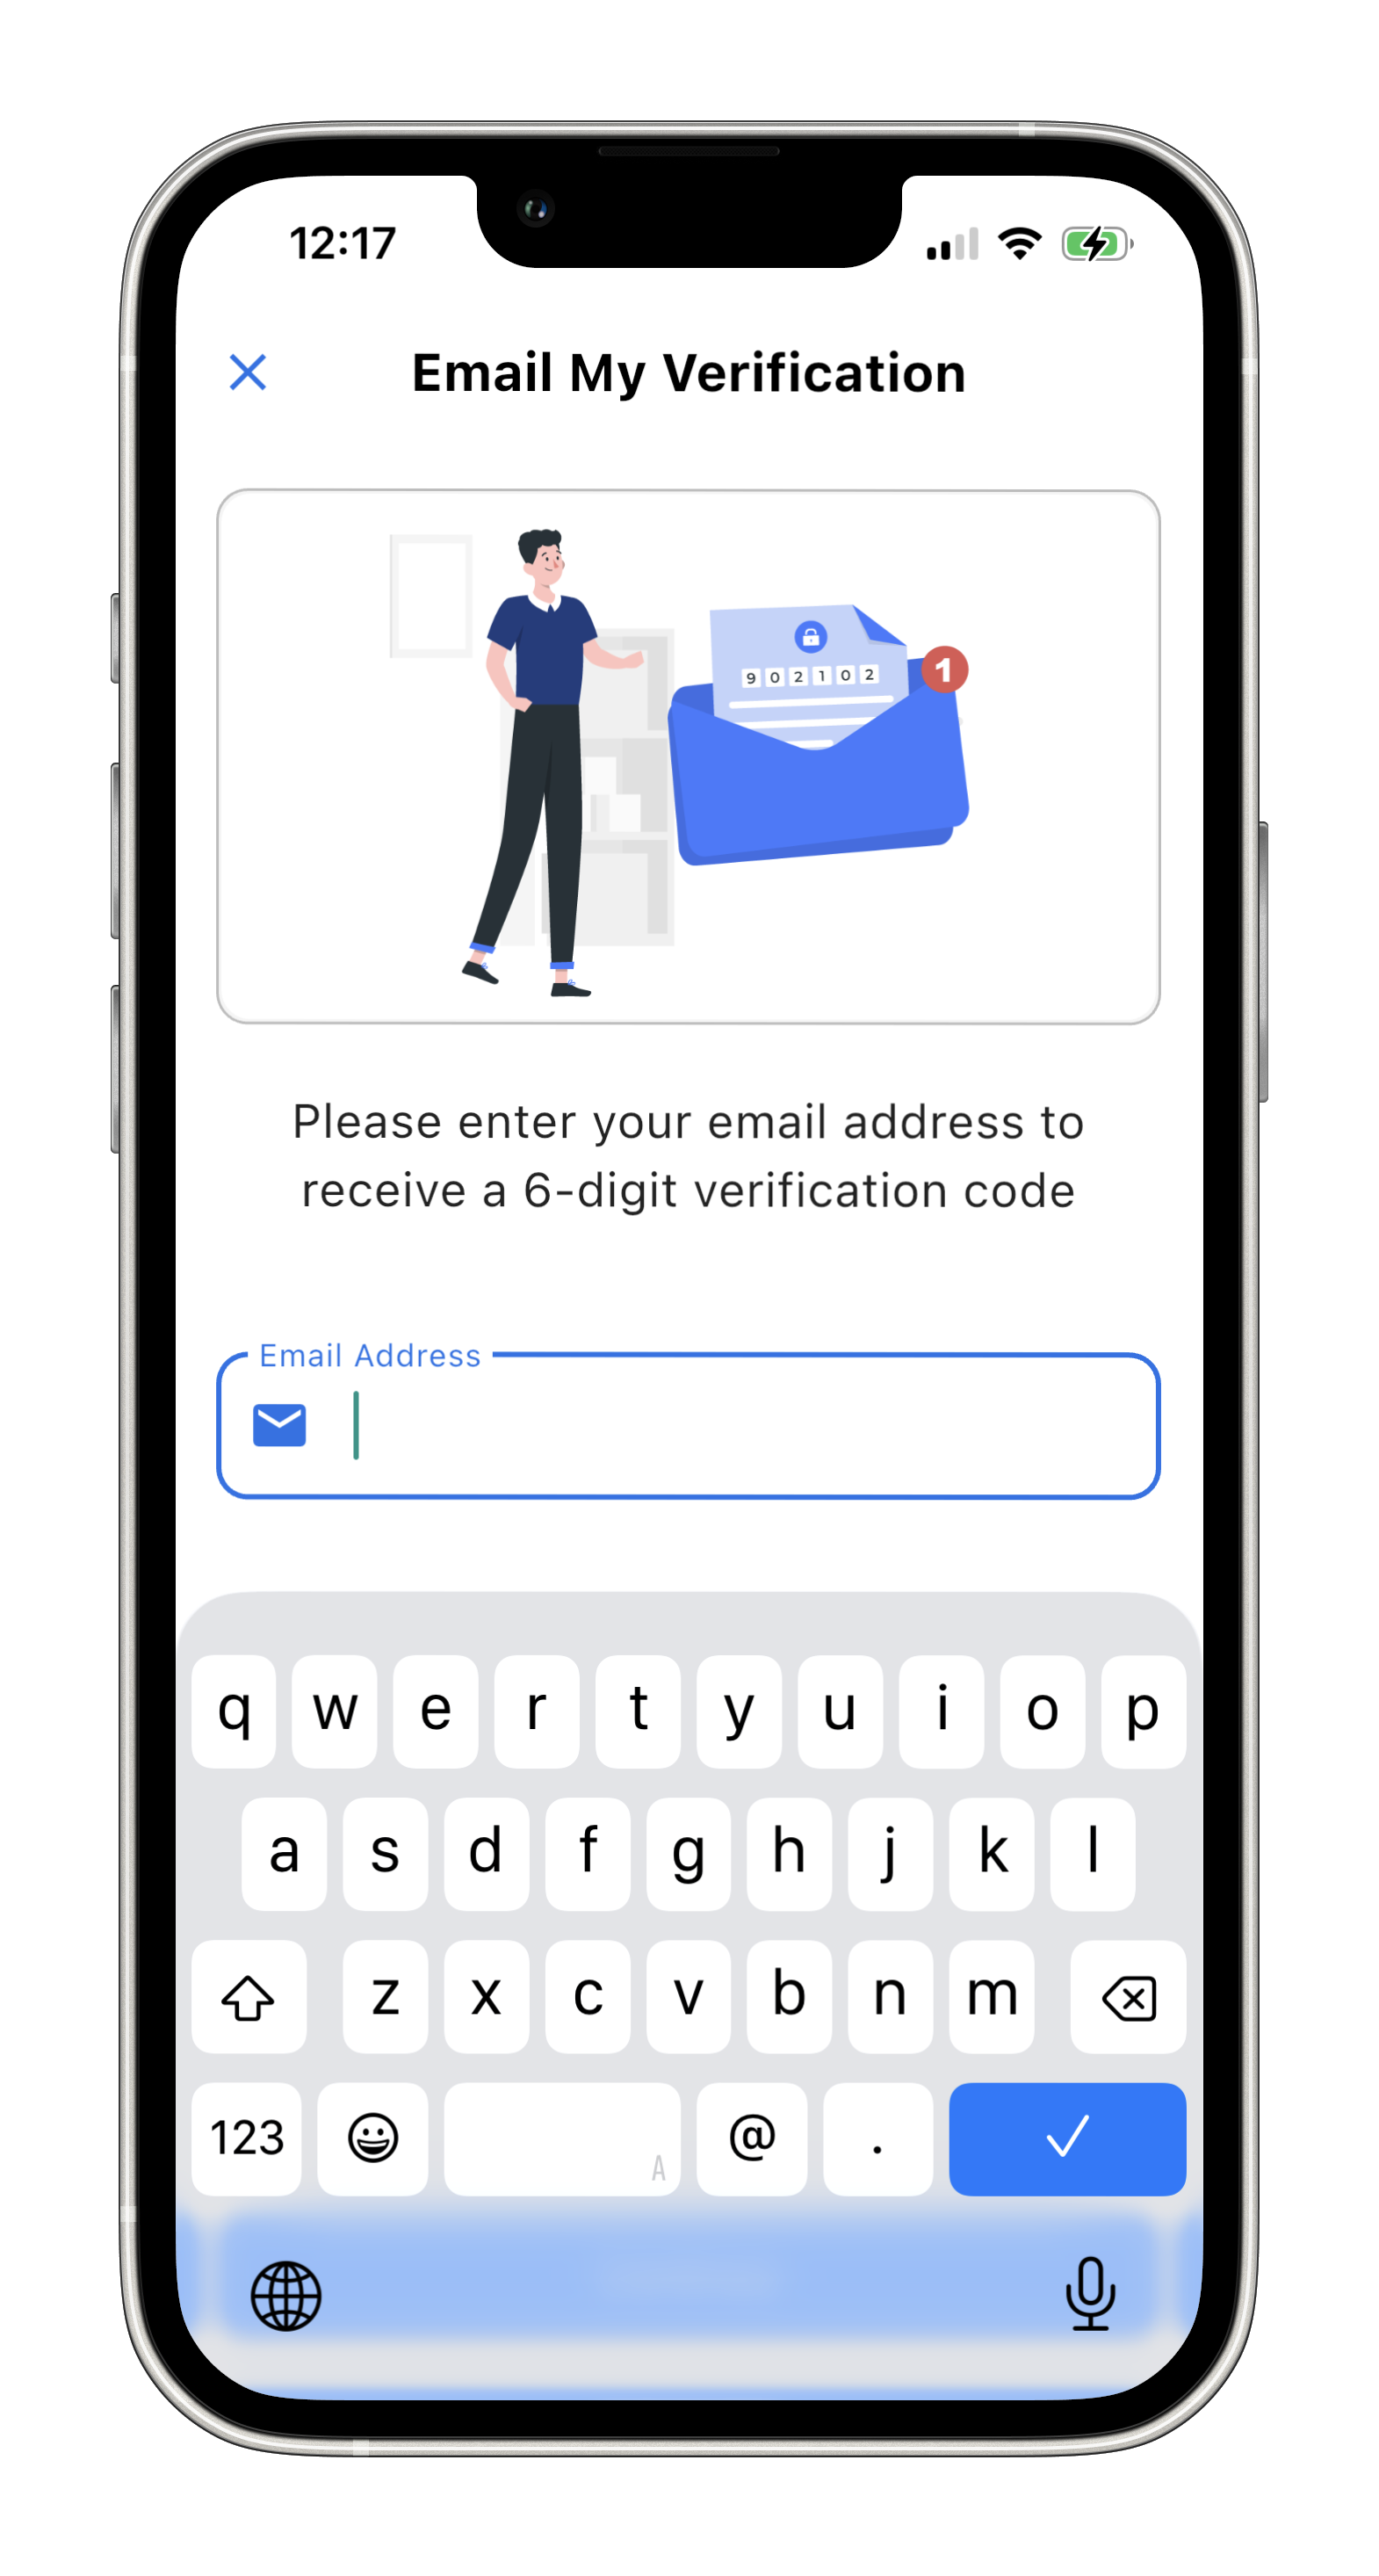
Enter your email address, then tap “Email My Verification Code”. A 6-digit code will be sent to your inbox.
Tap “Continue”.
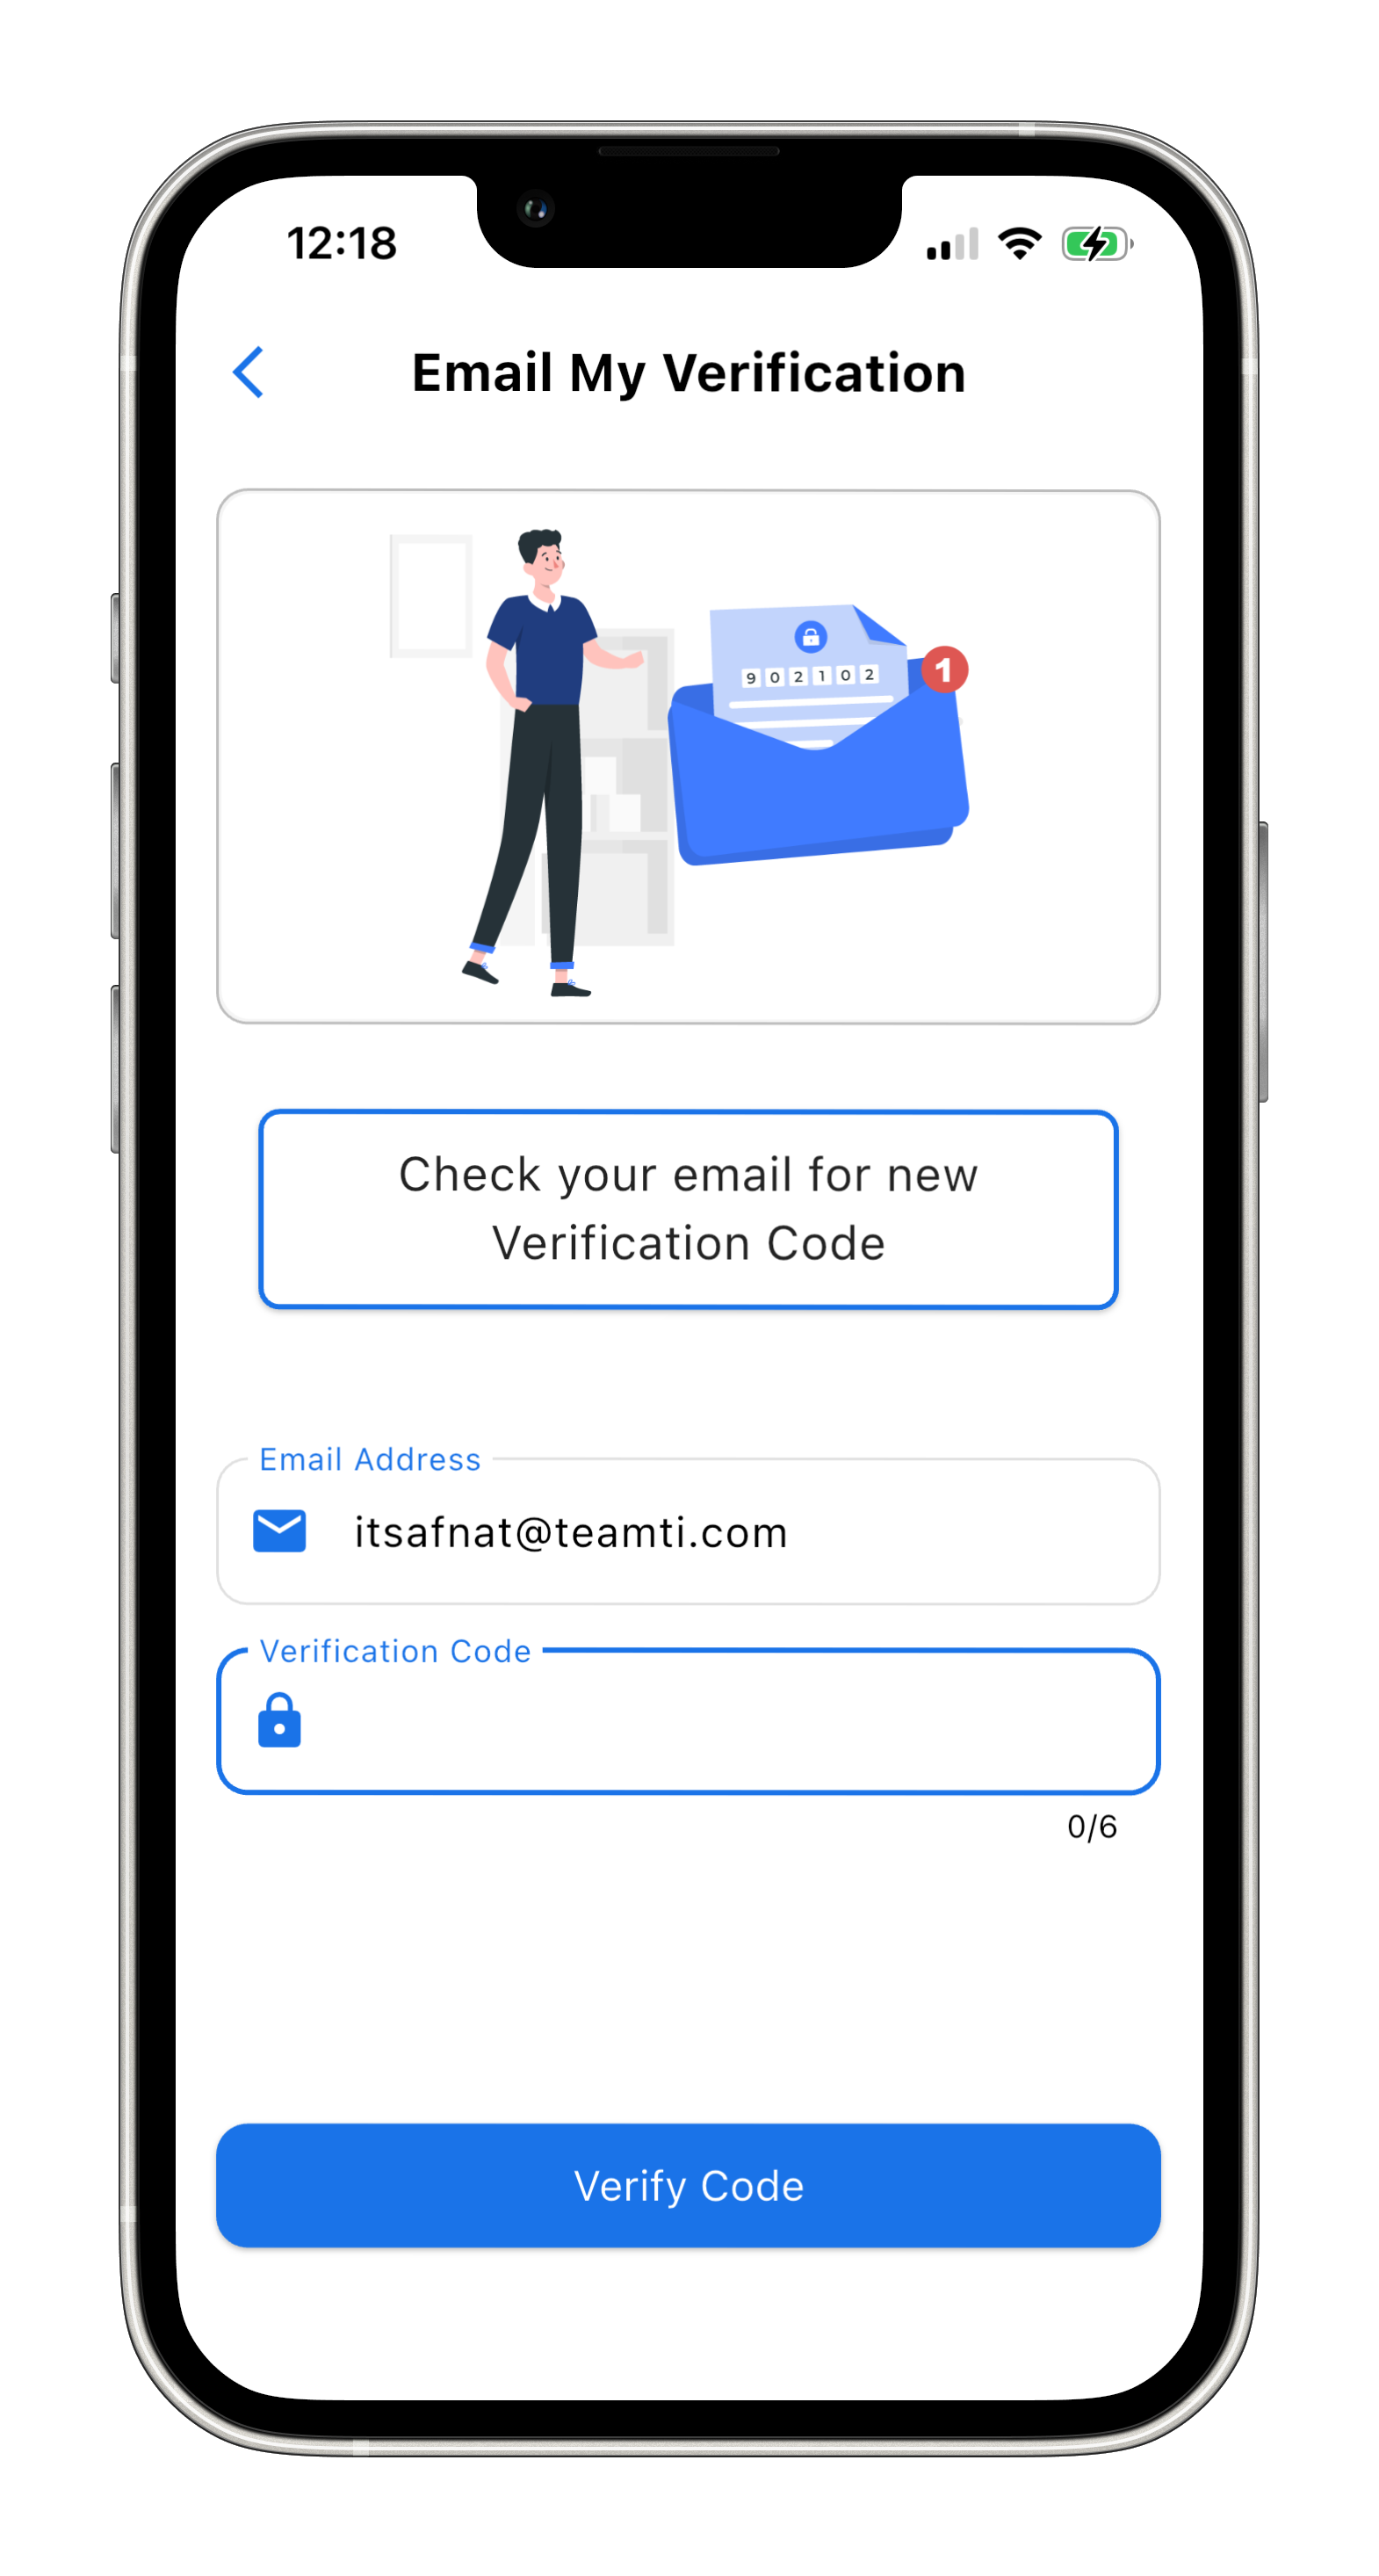
Retrieve your 6-digit verification code in your inbox then enter it in the dedicated box.
Tap “Verify Code”.
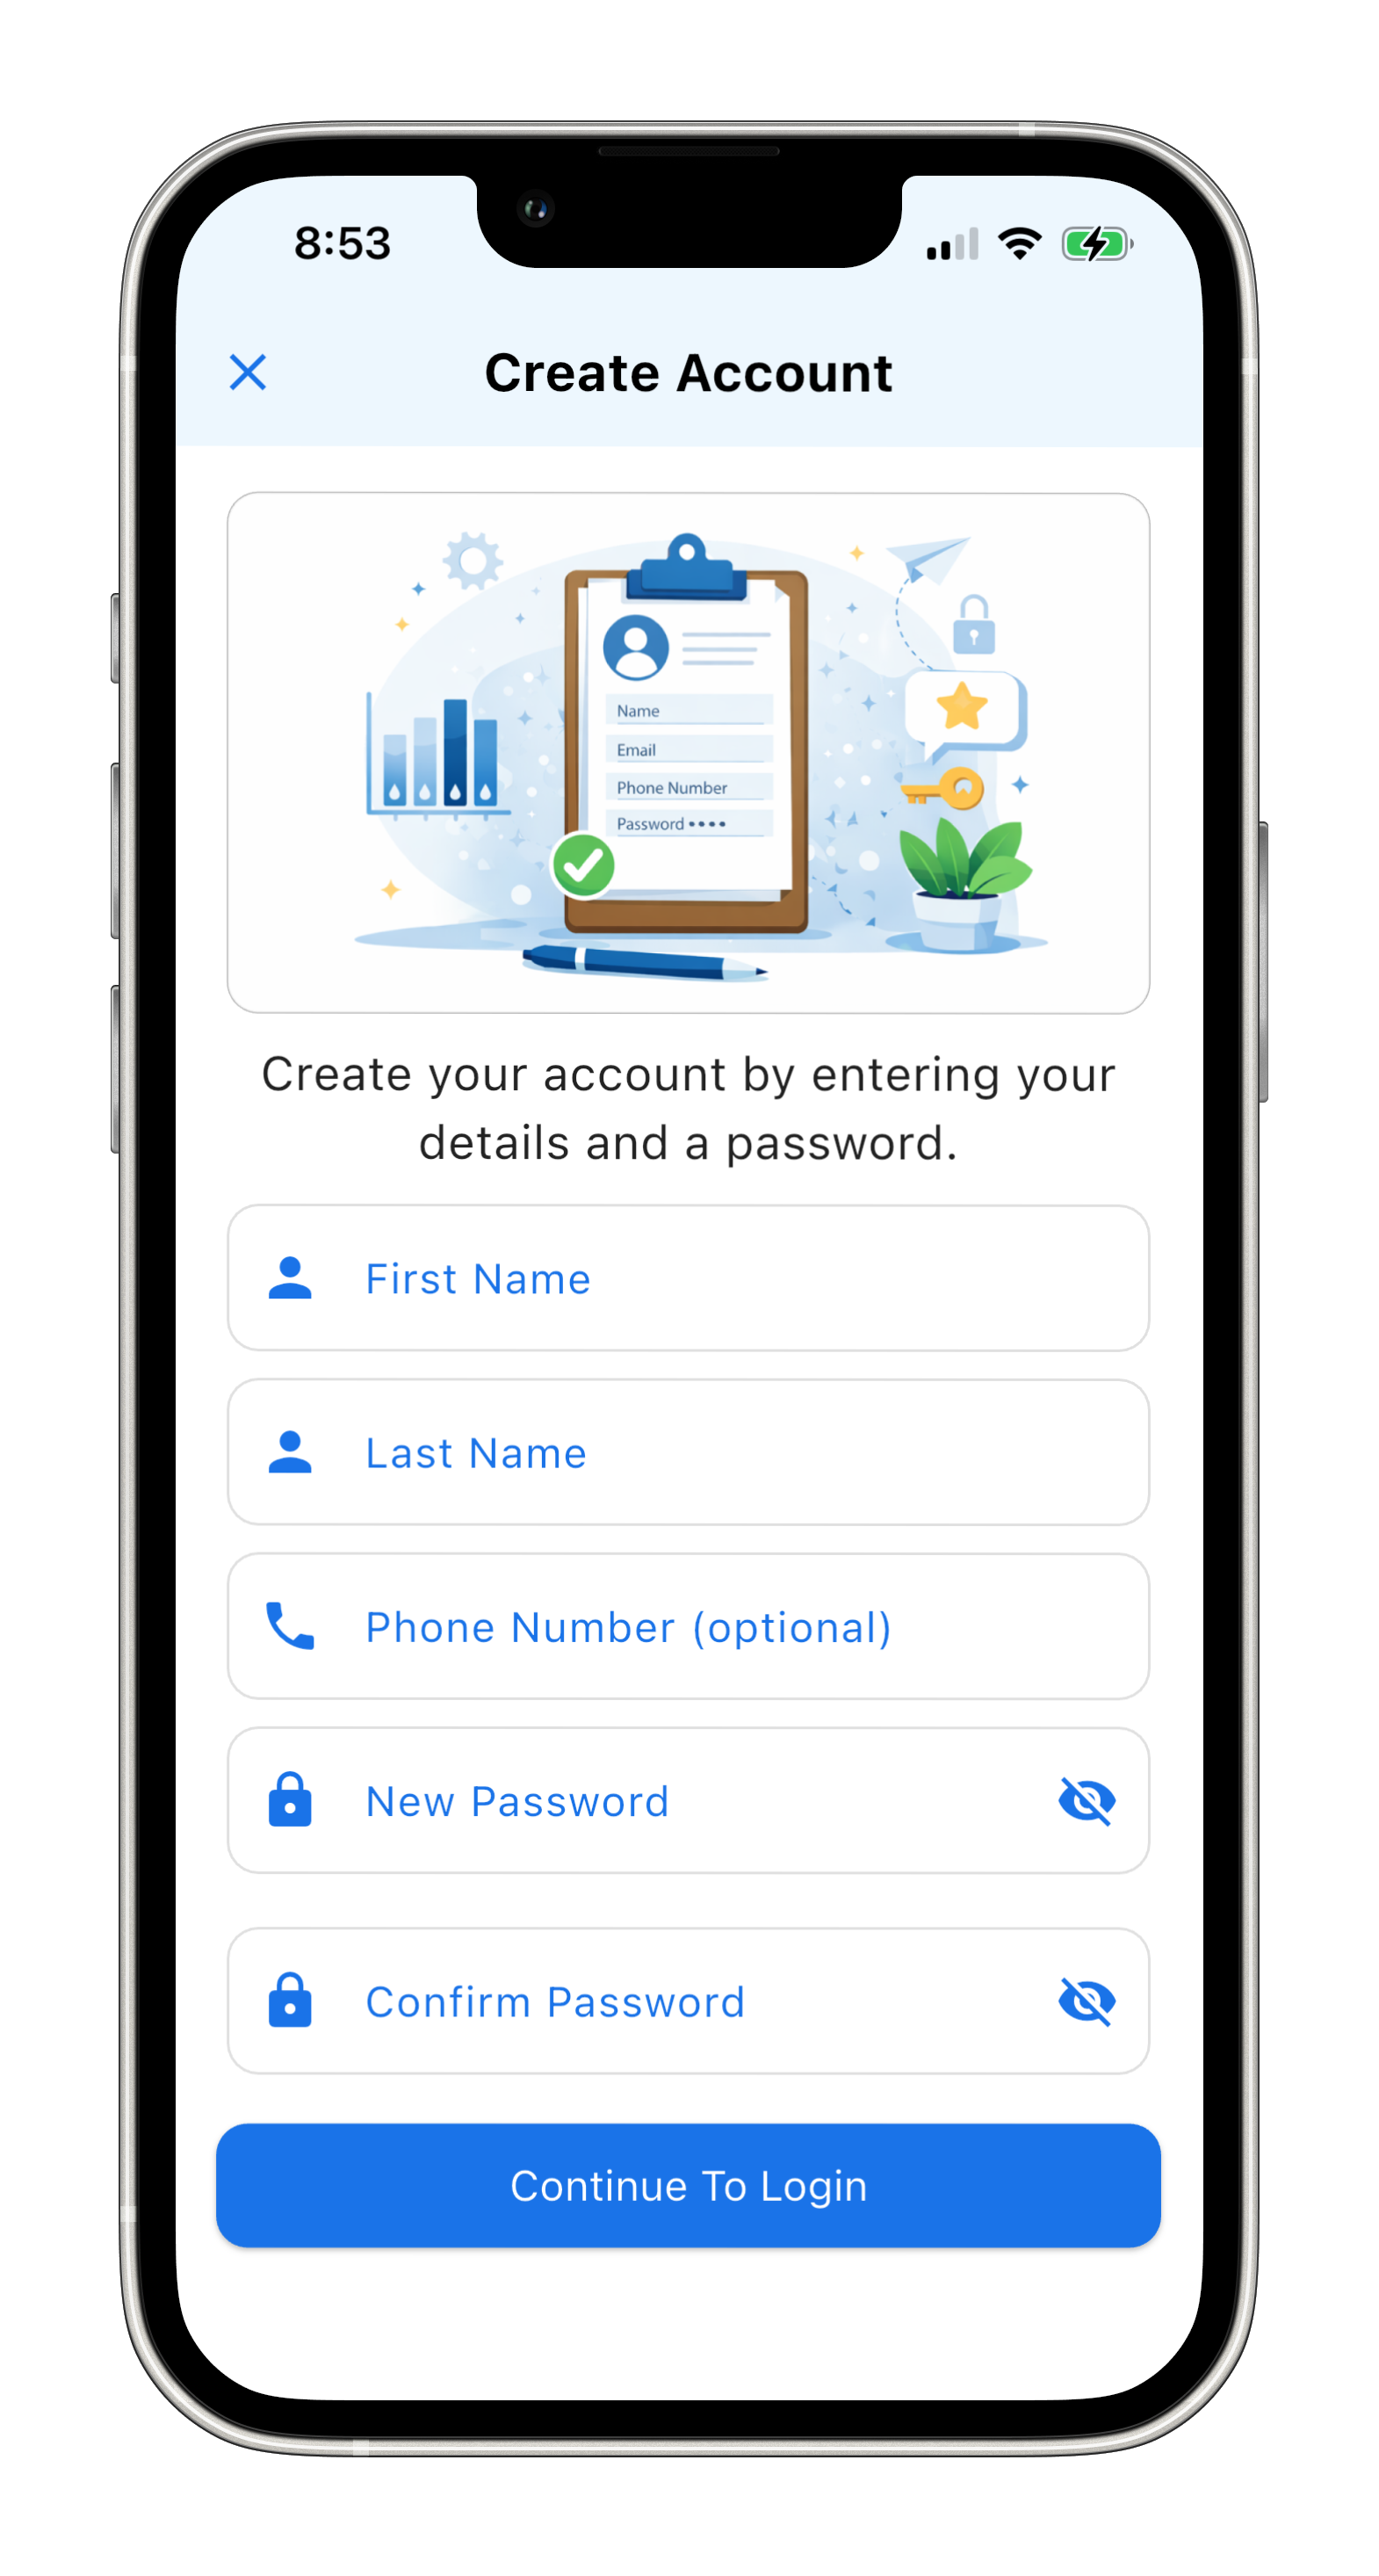
Enter your details to create your account then tap “Continue To login”. A confirmation message will appear.
(Verify with Ilan) You will be prompted back to the login screen. Log in within ten minutes using your credentials. Otherwise you will need to restart the entire process.
3. Log in to the Flow App
Sign in to the Flow App using your email address and new password.
If you have forgotten your password click on Forgot Password?. A password reset verification code will be sent to your inbox.
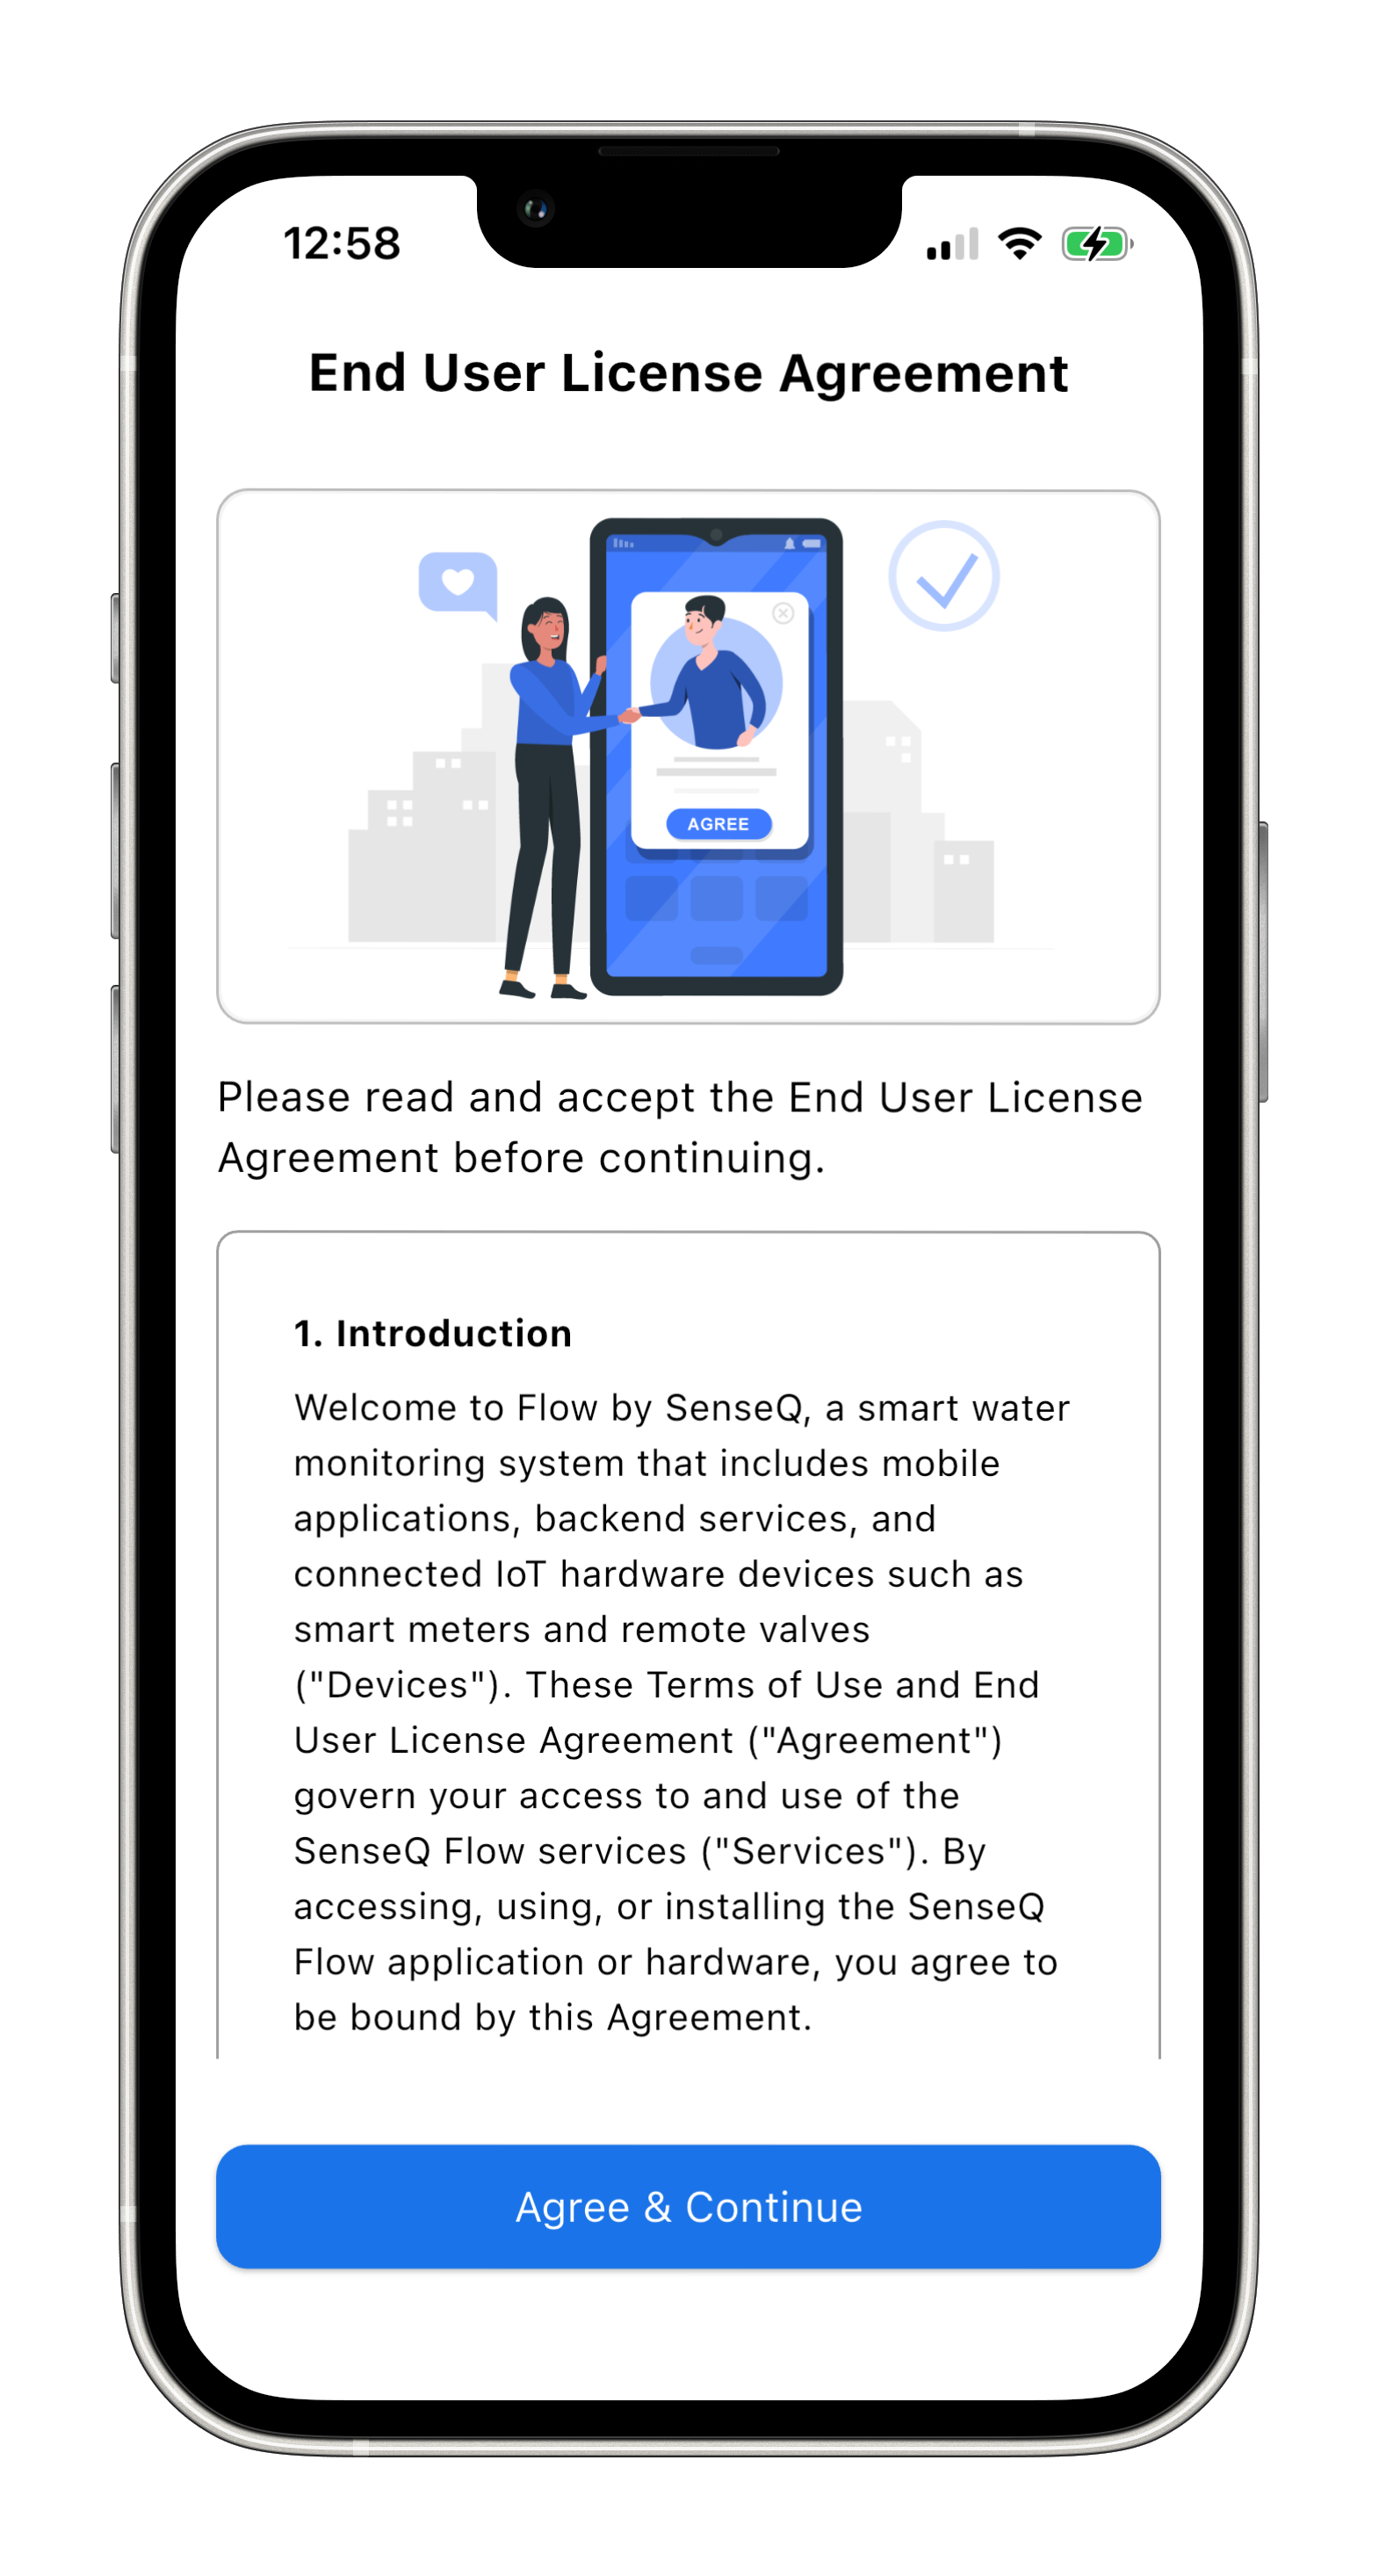
Review the End User License Agreement then tap “Agree & Continue” to accept.
4. Setup Your Device
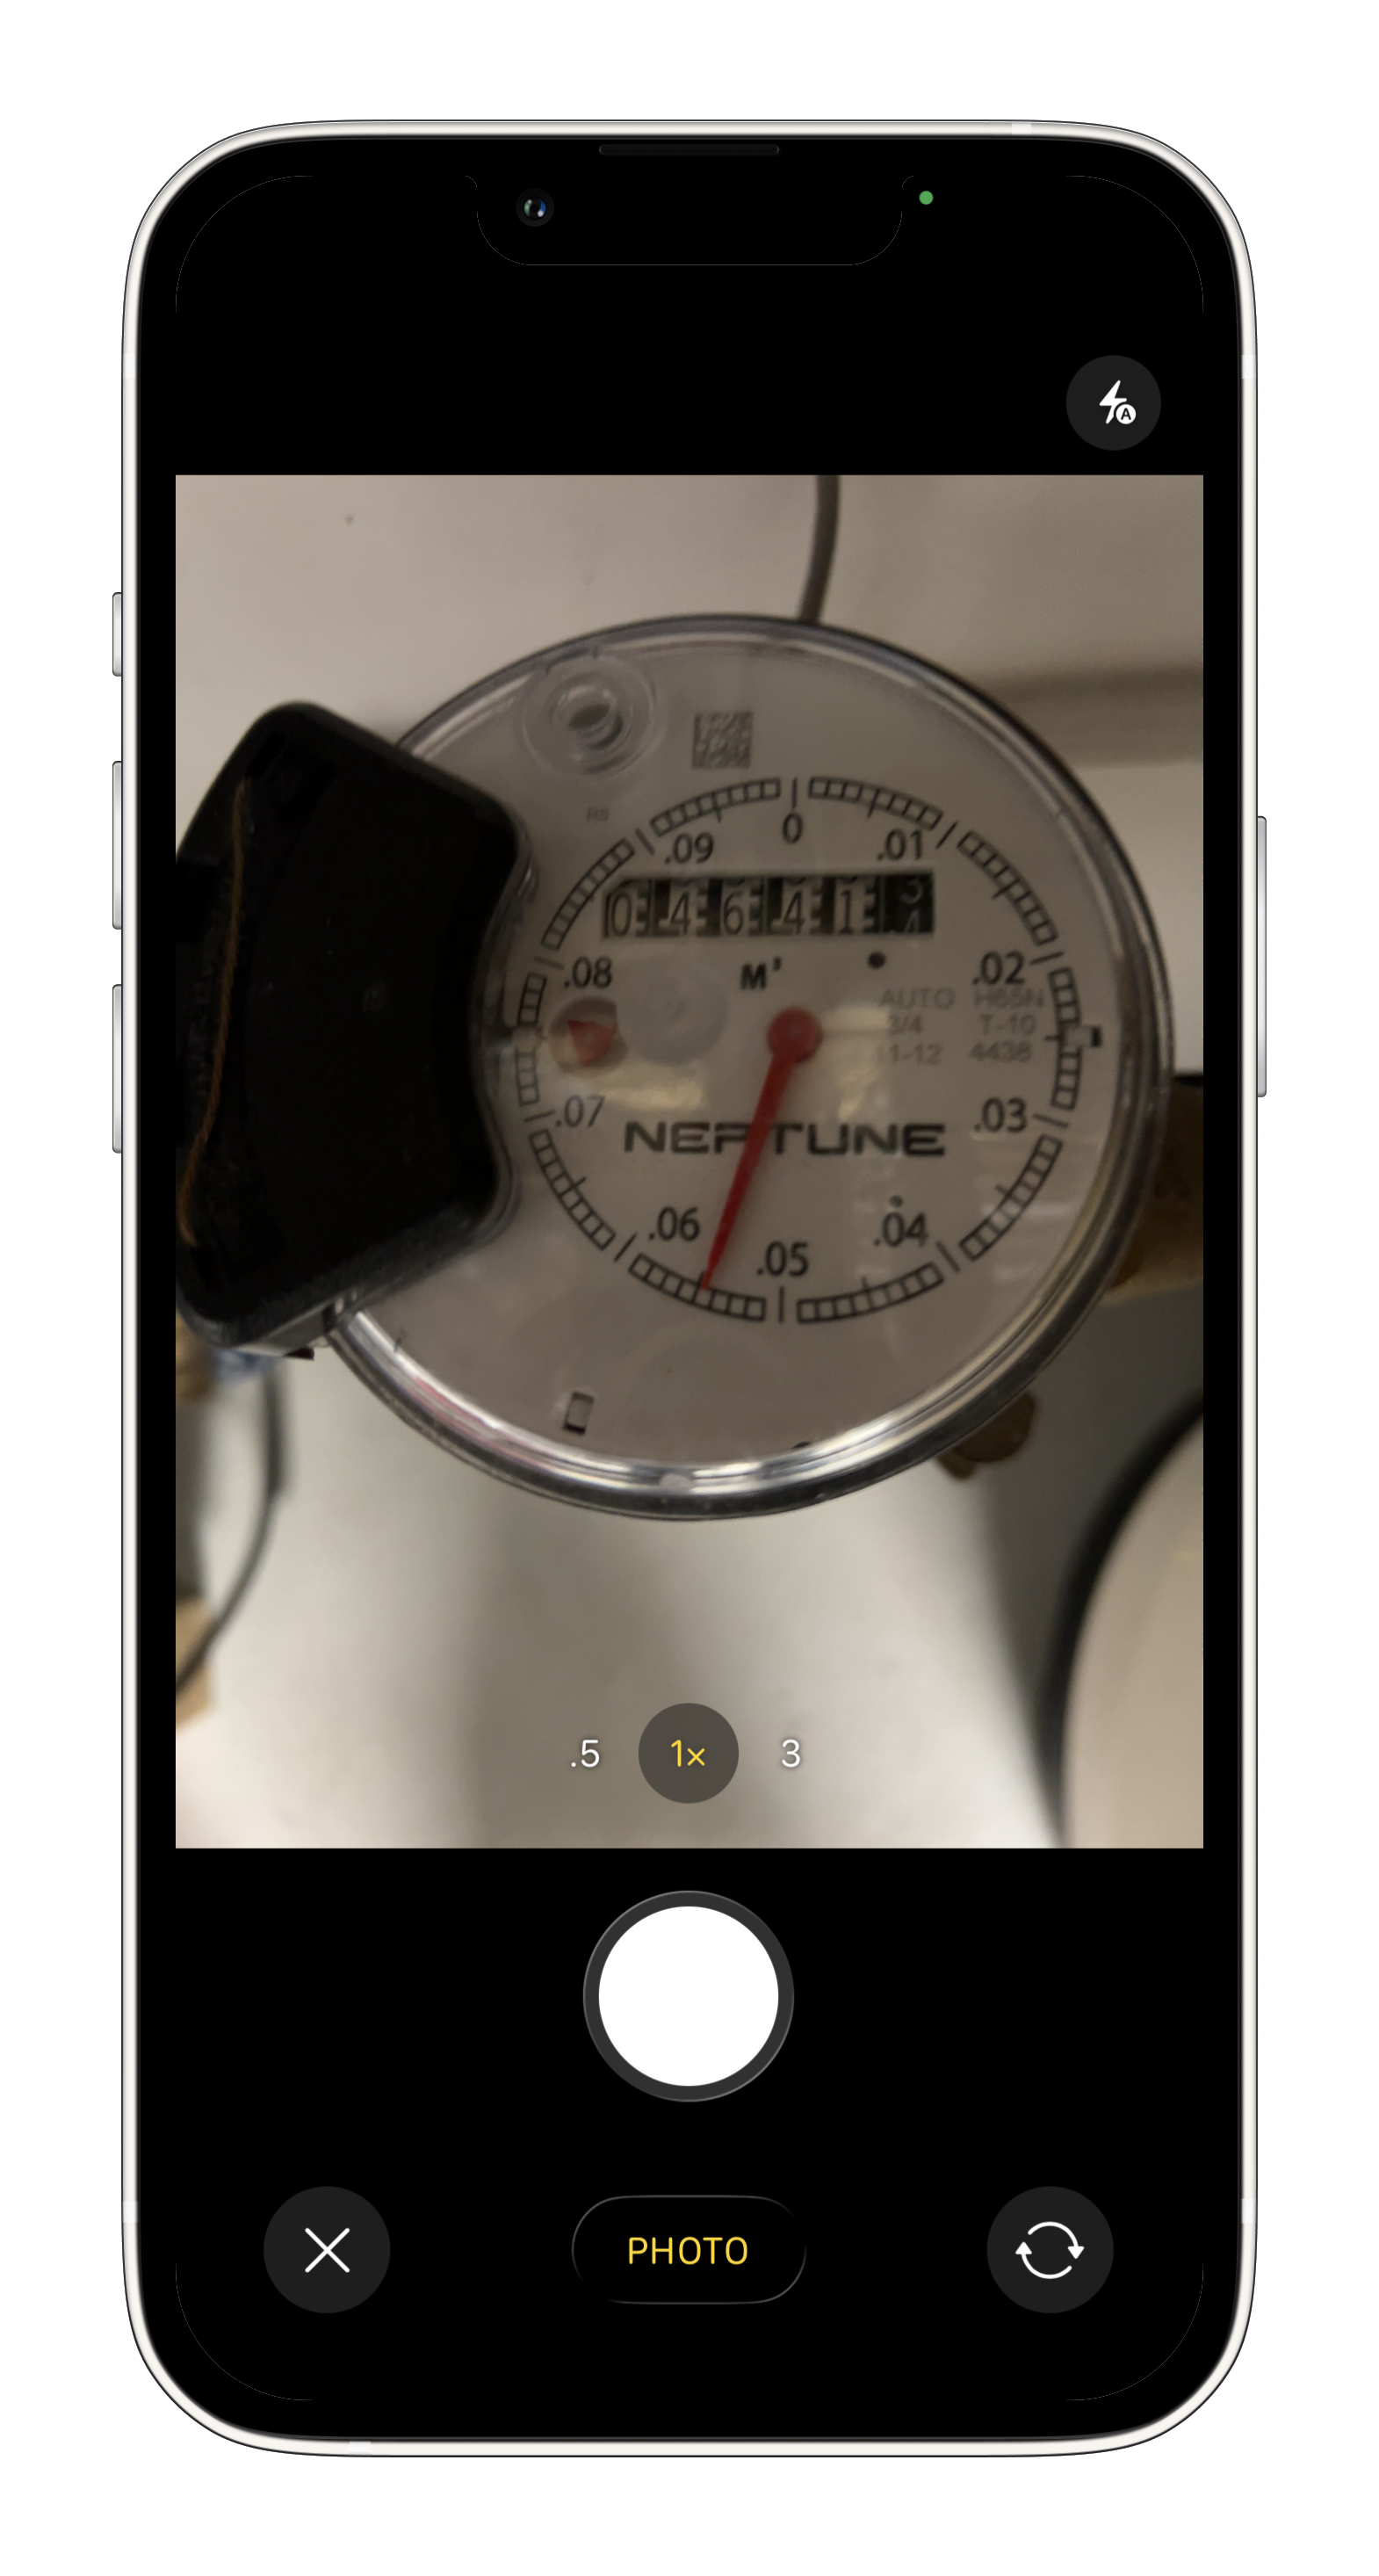
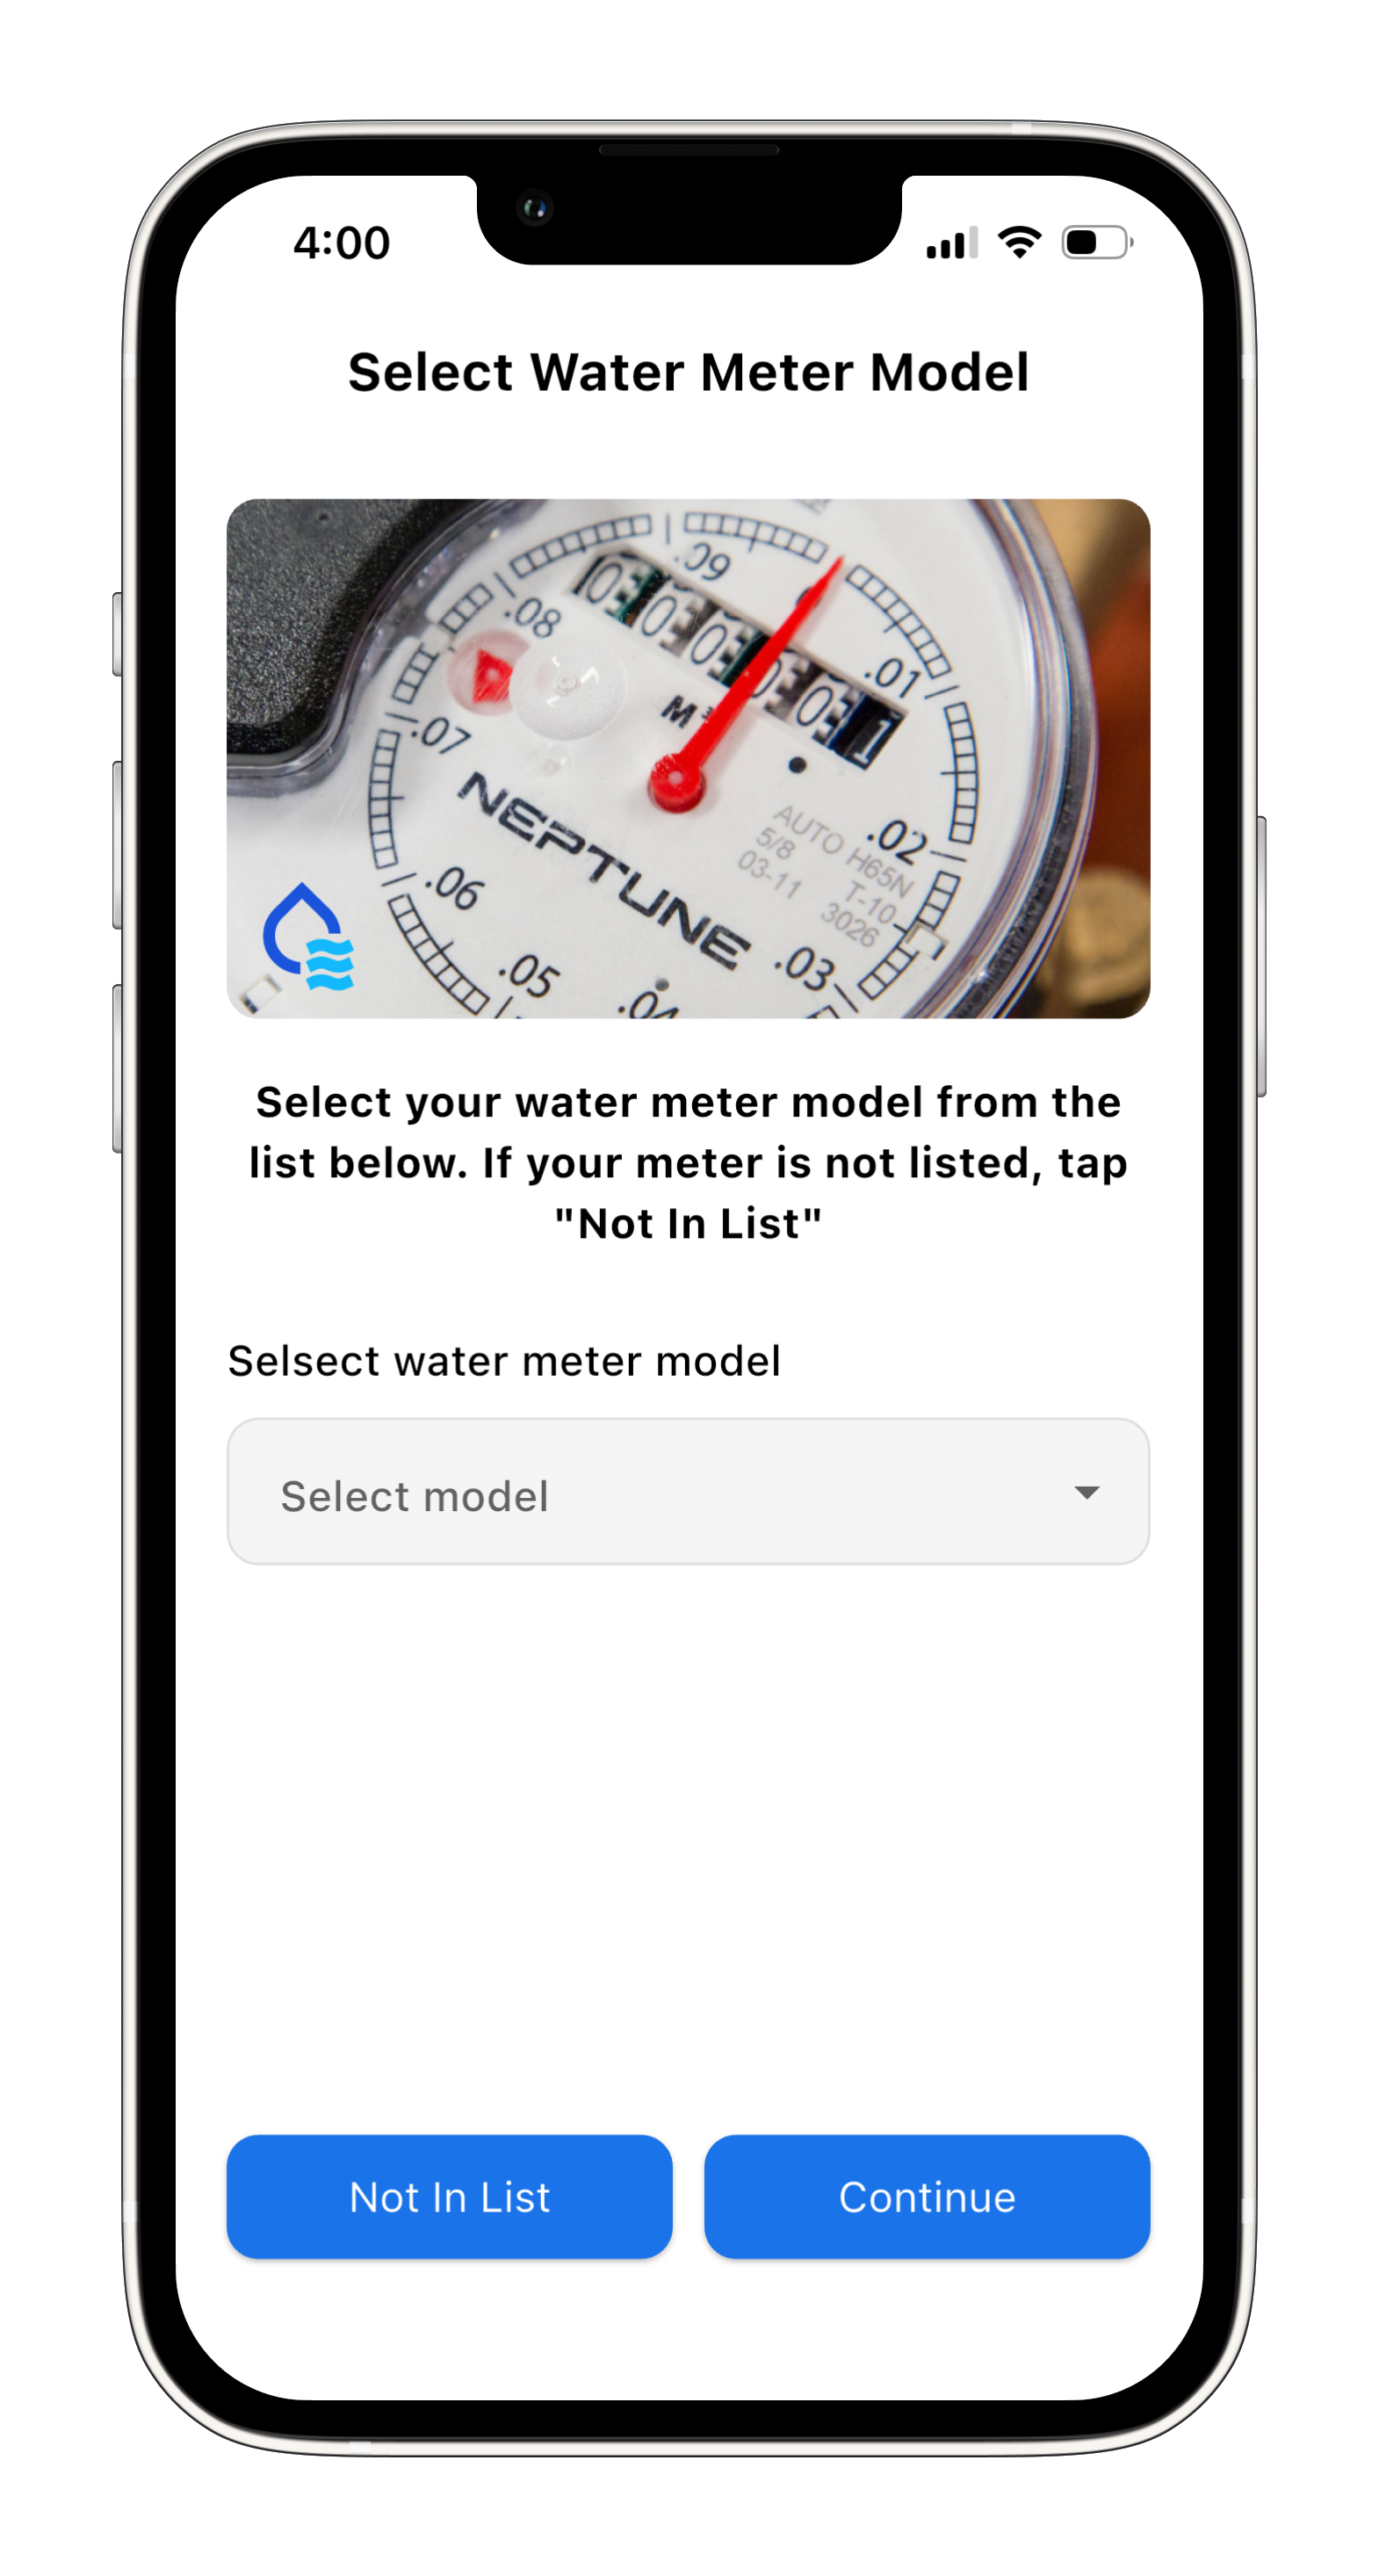
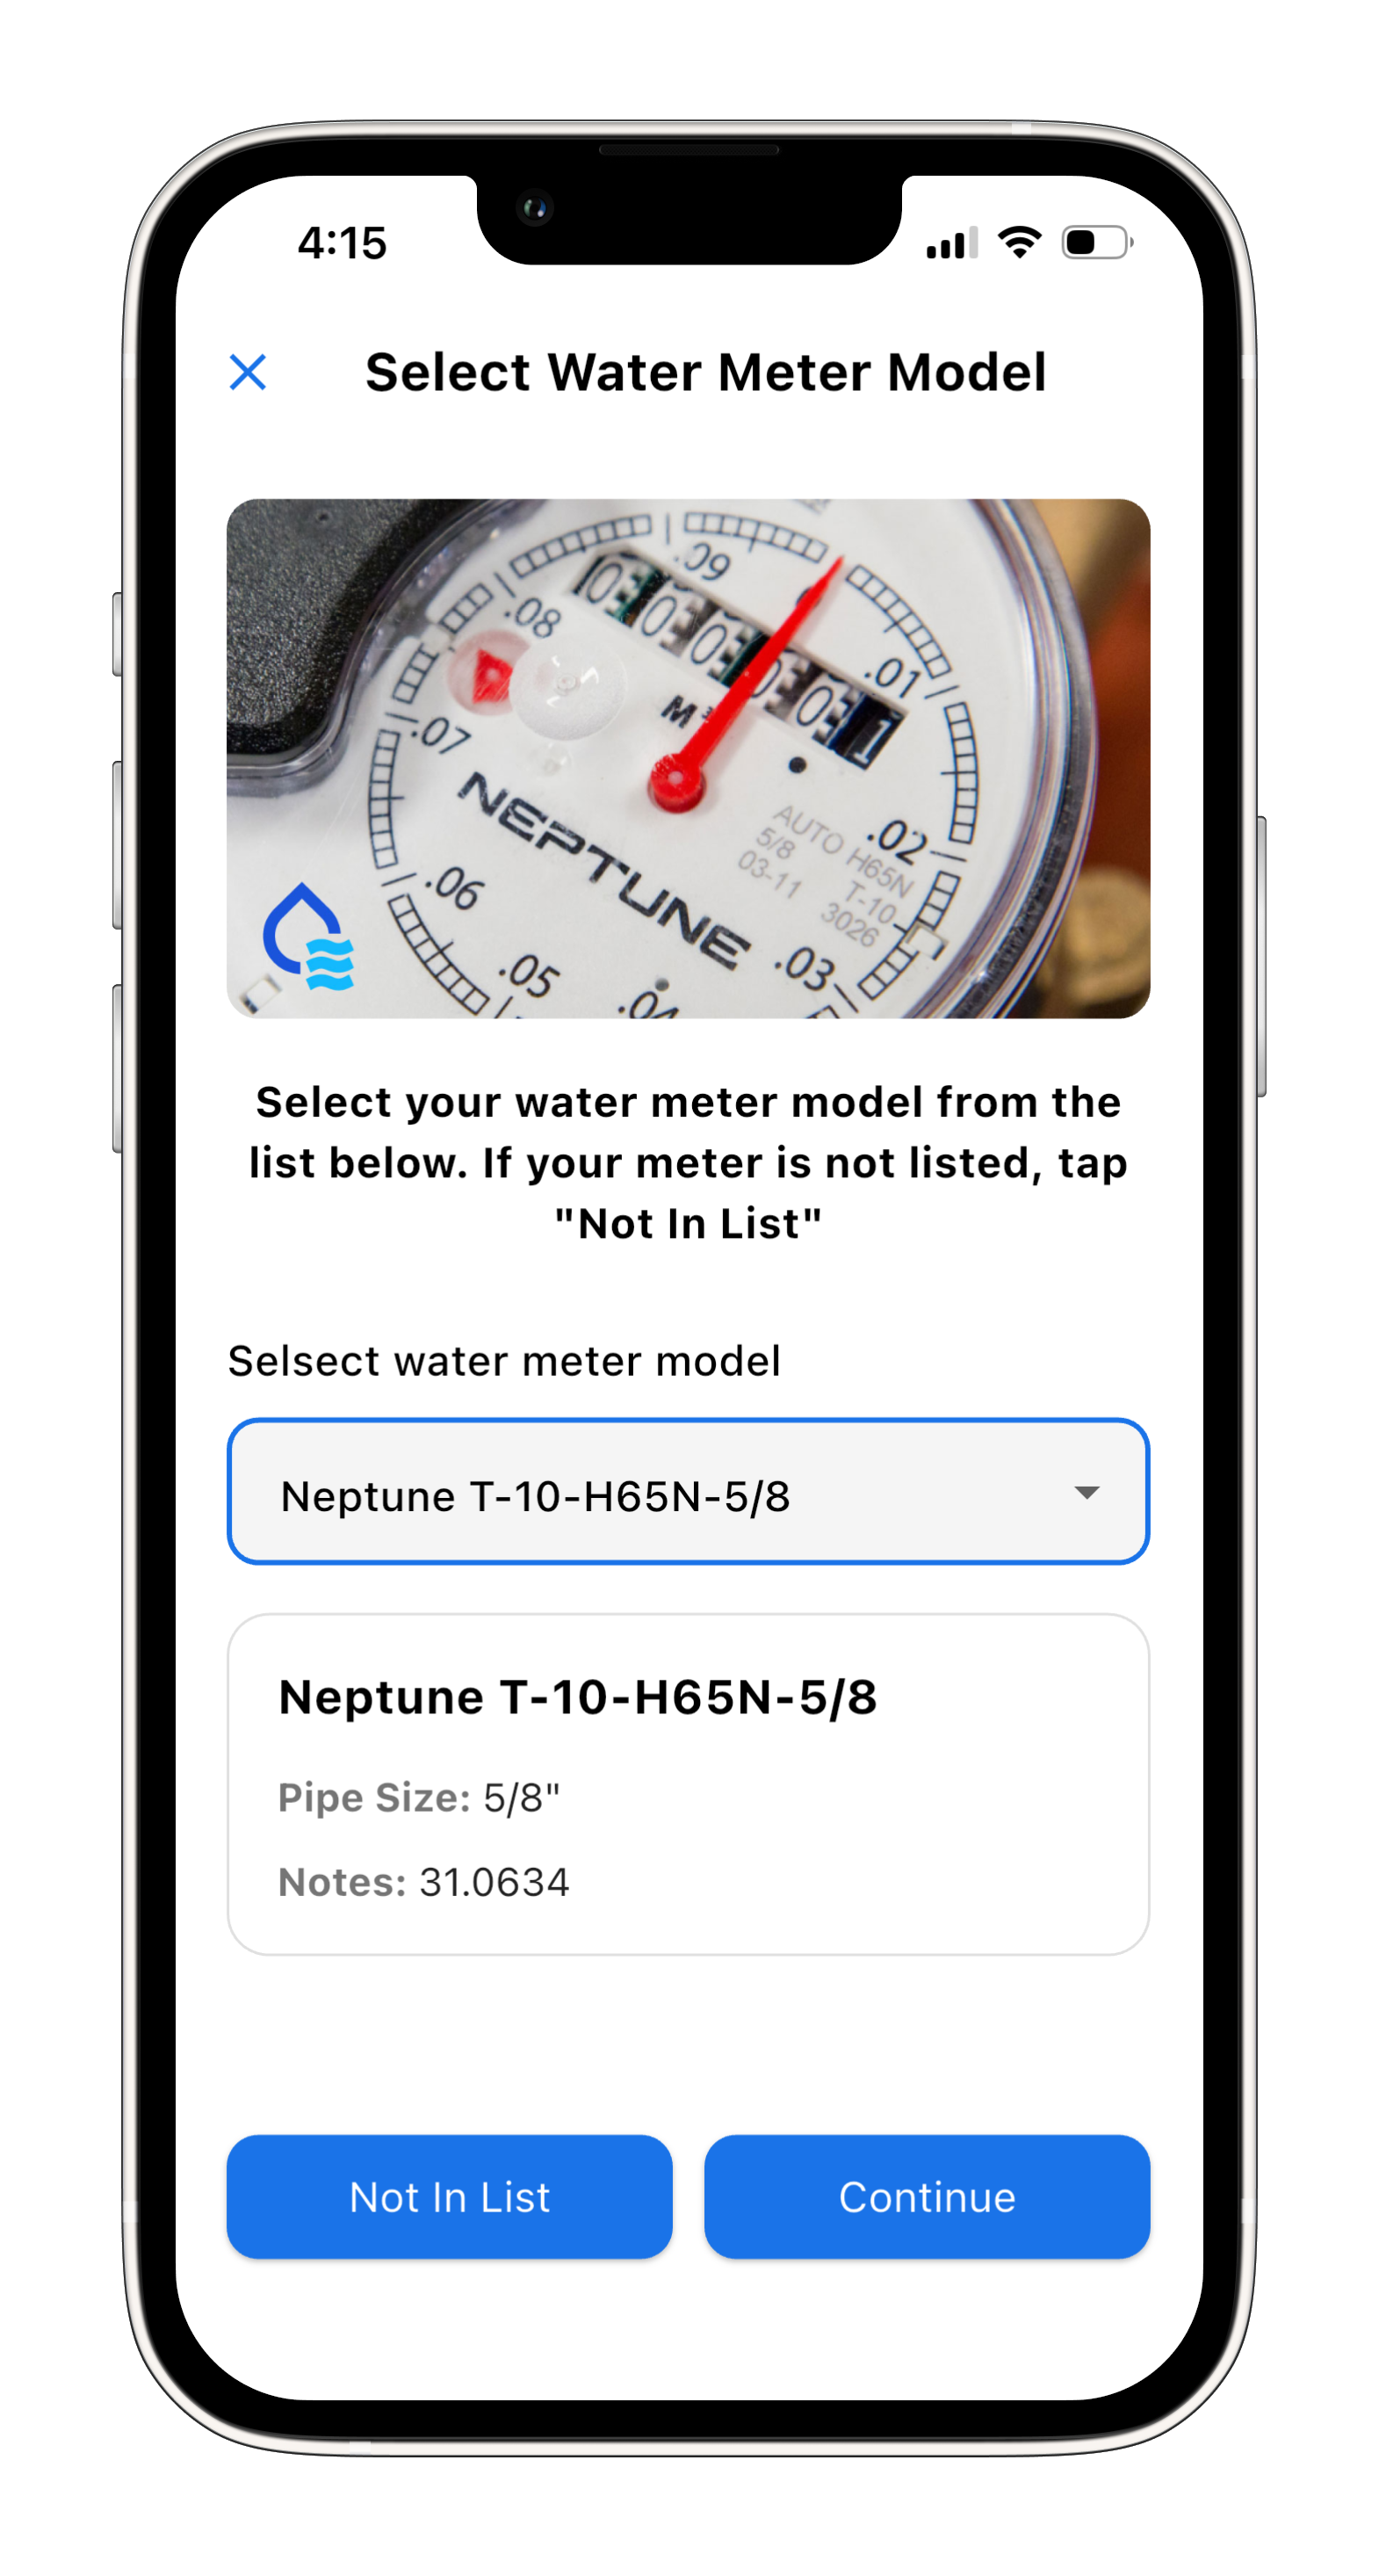
To set up your device, start by taking a clear photo of your water meter. The brand, model, and size must be clearly visible.
When you’re ready, tap “Open camera”.”
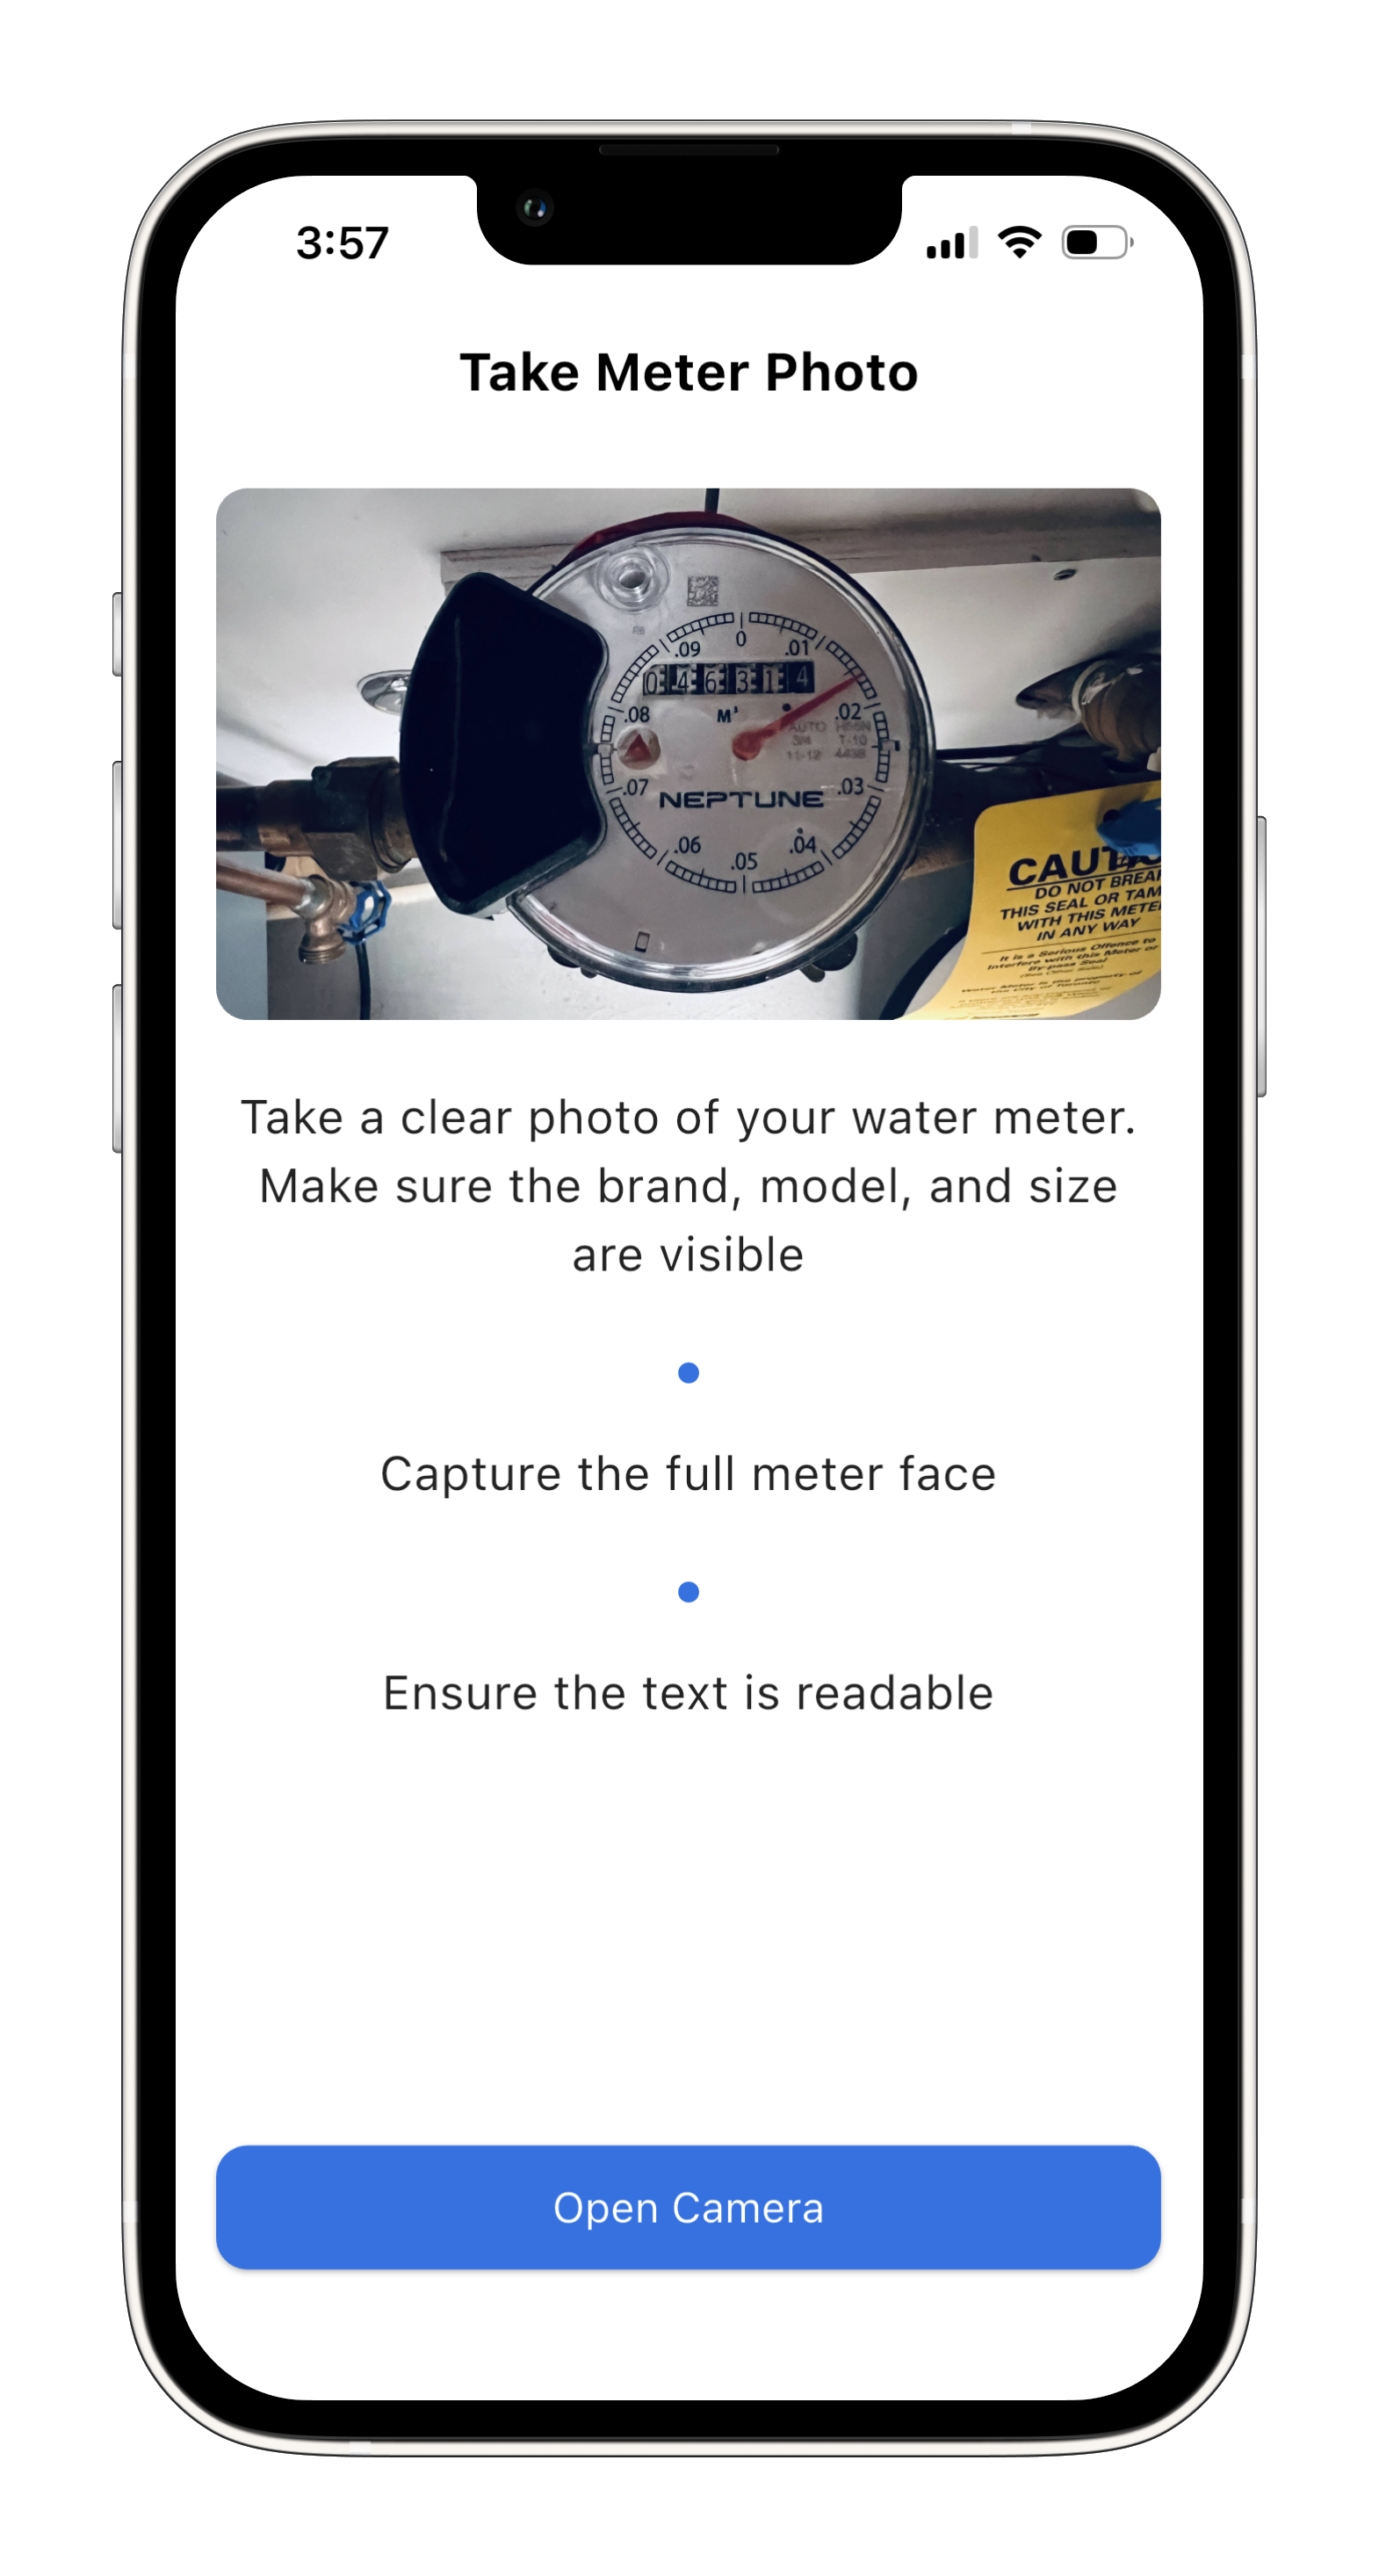
Here is an example:
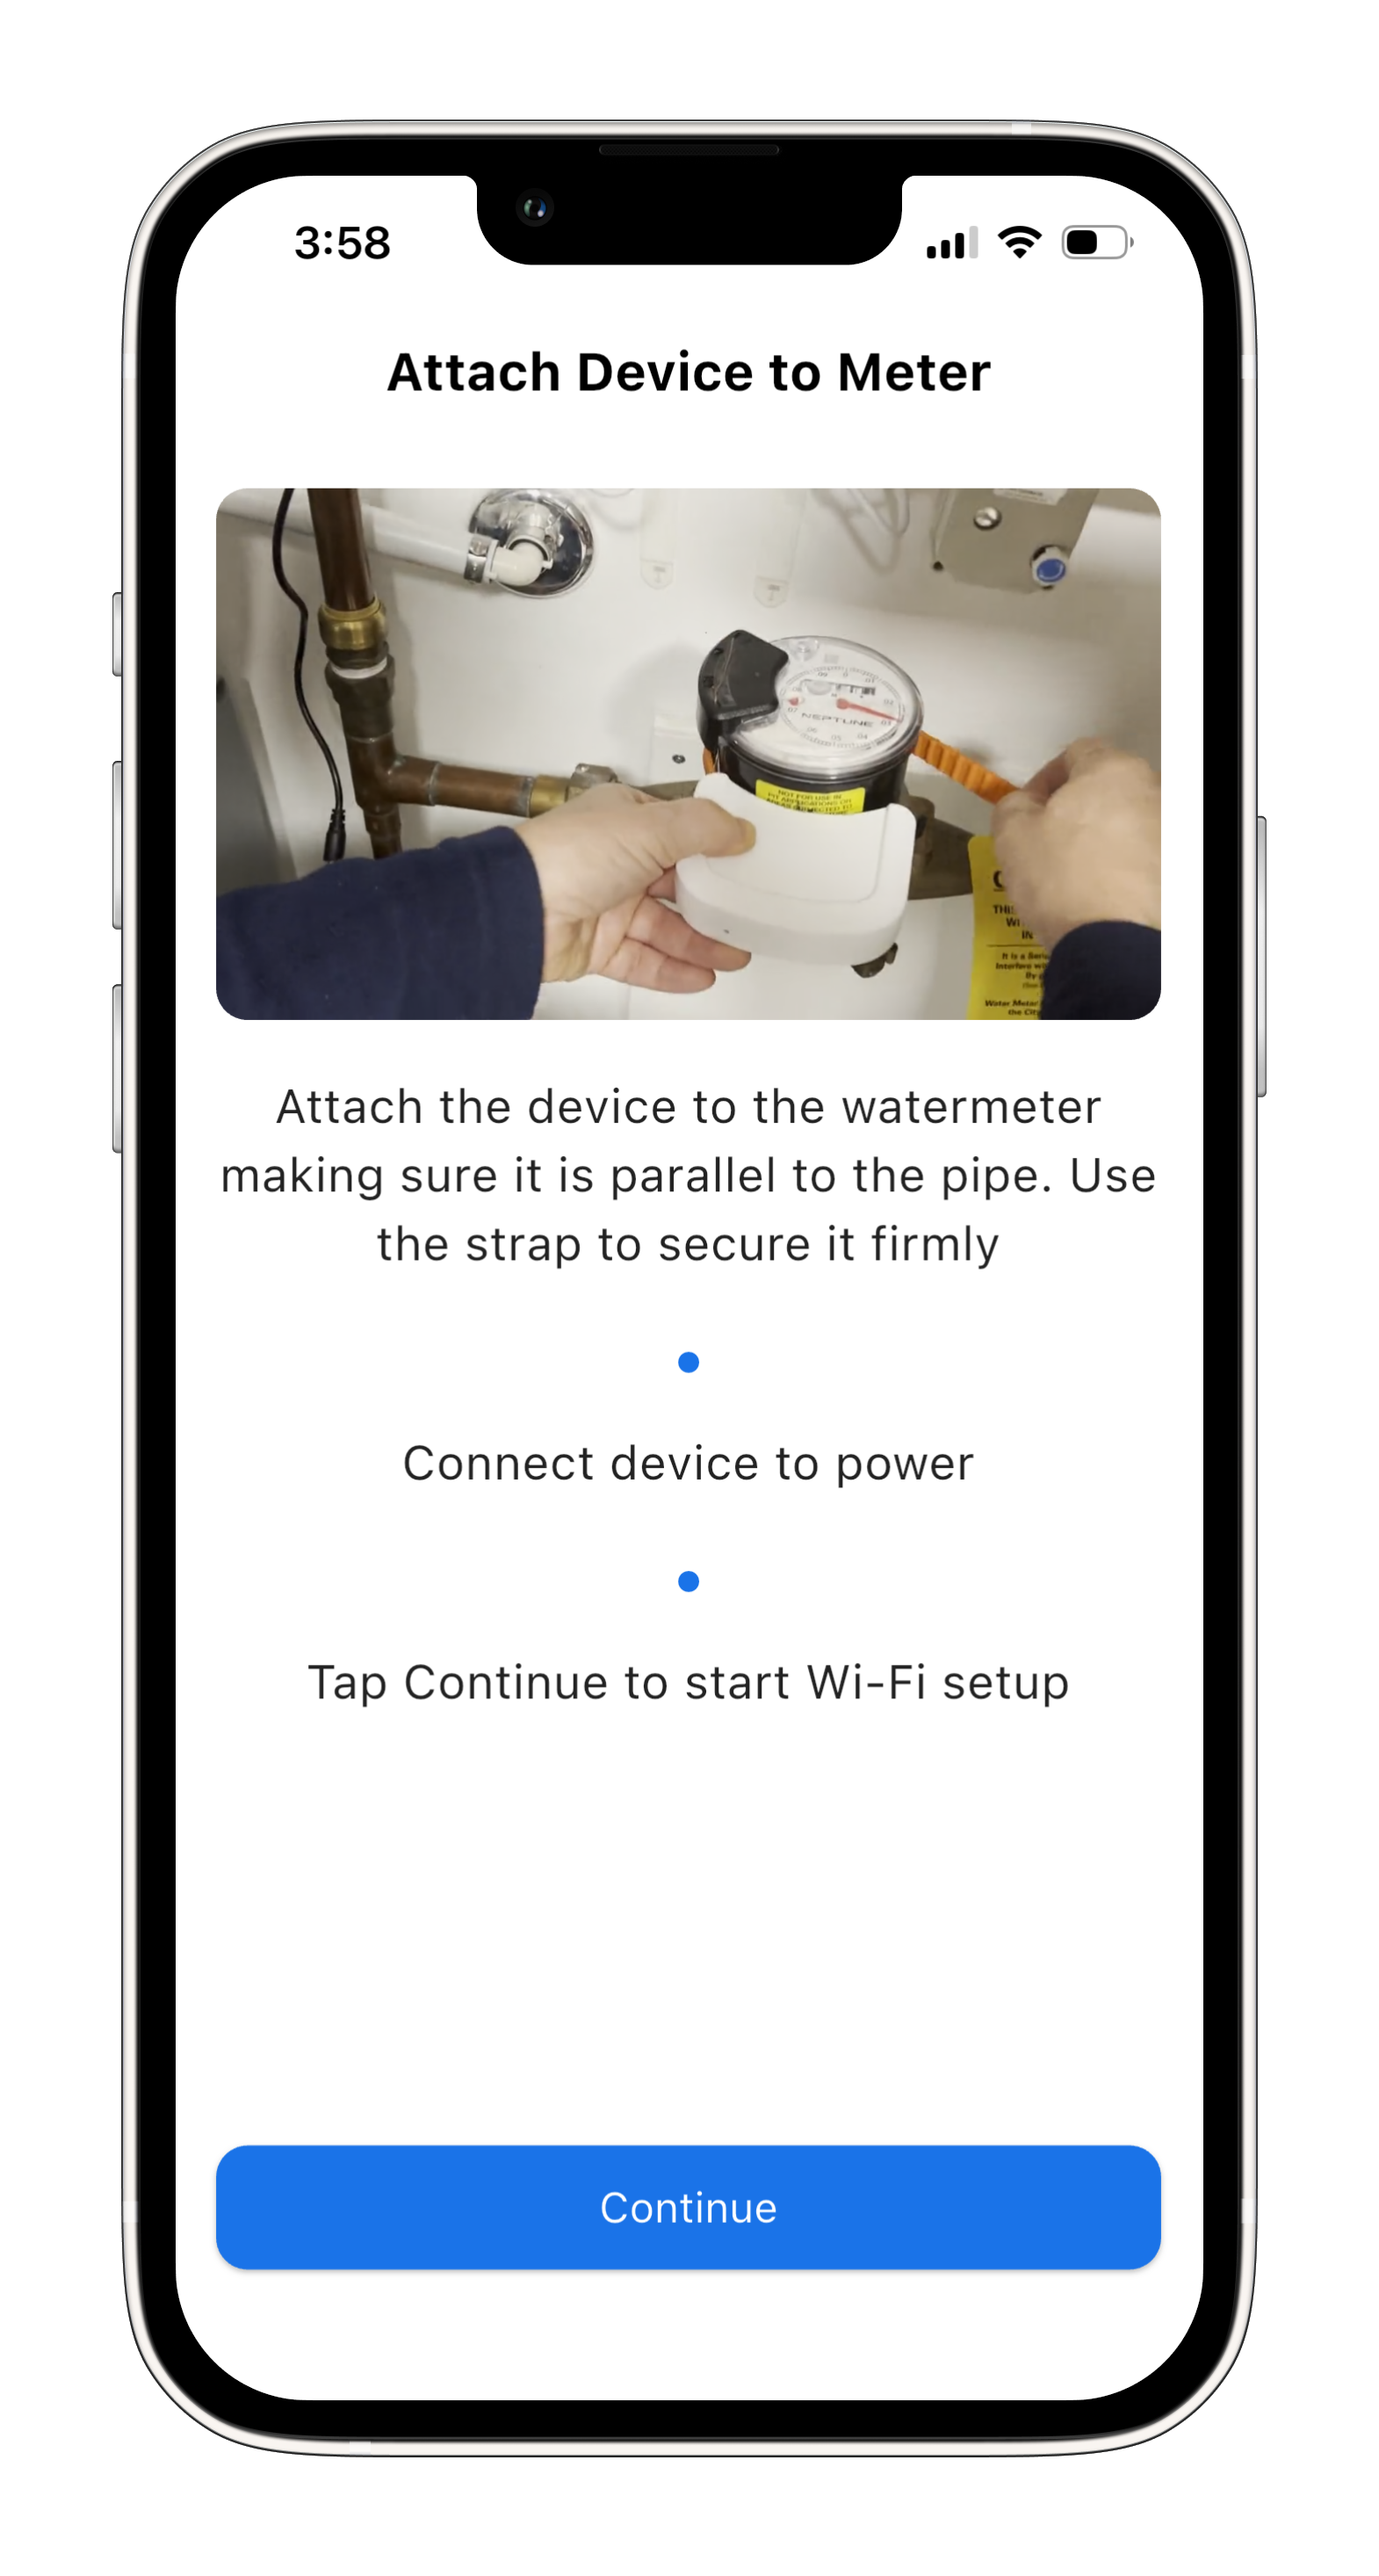
Attach your Flow device to the water meter, keeping it parallel to the pipe.
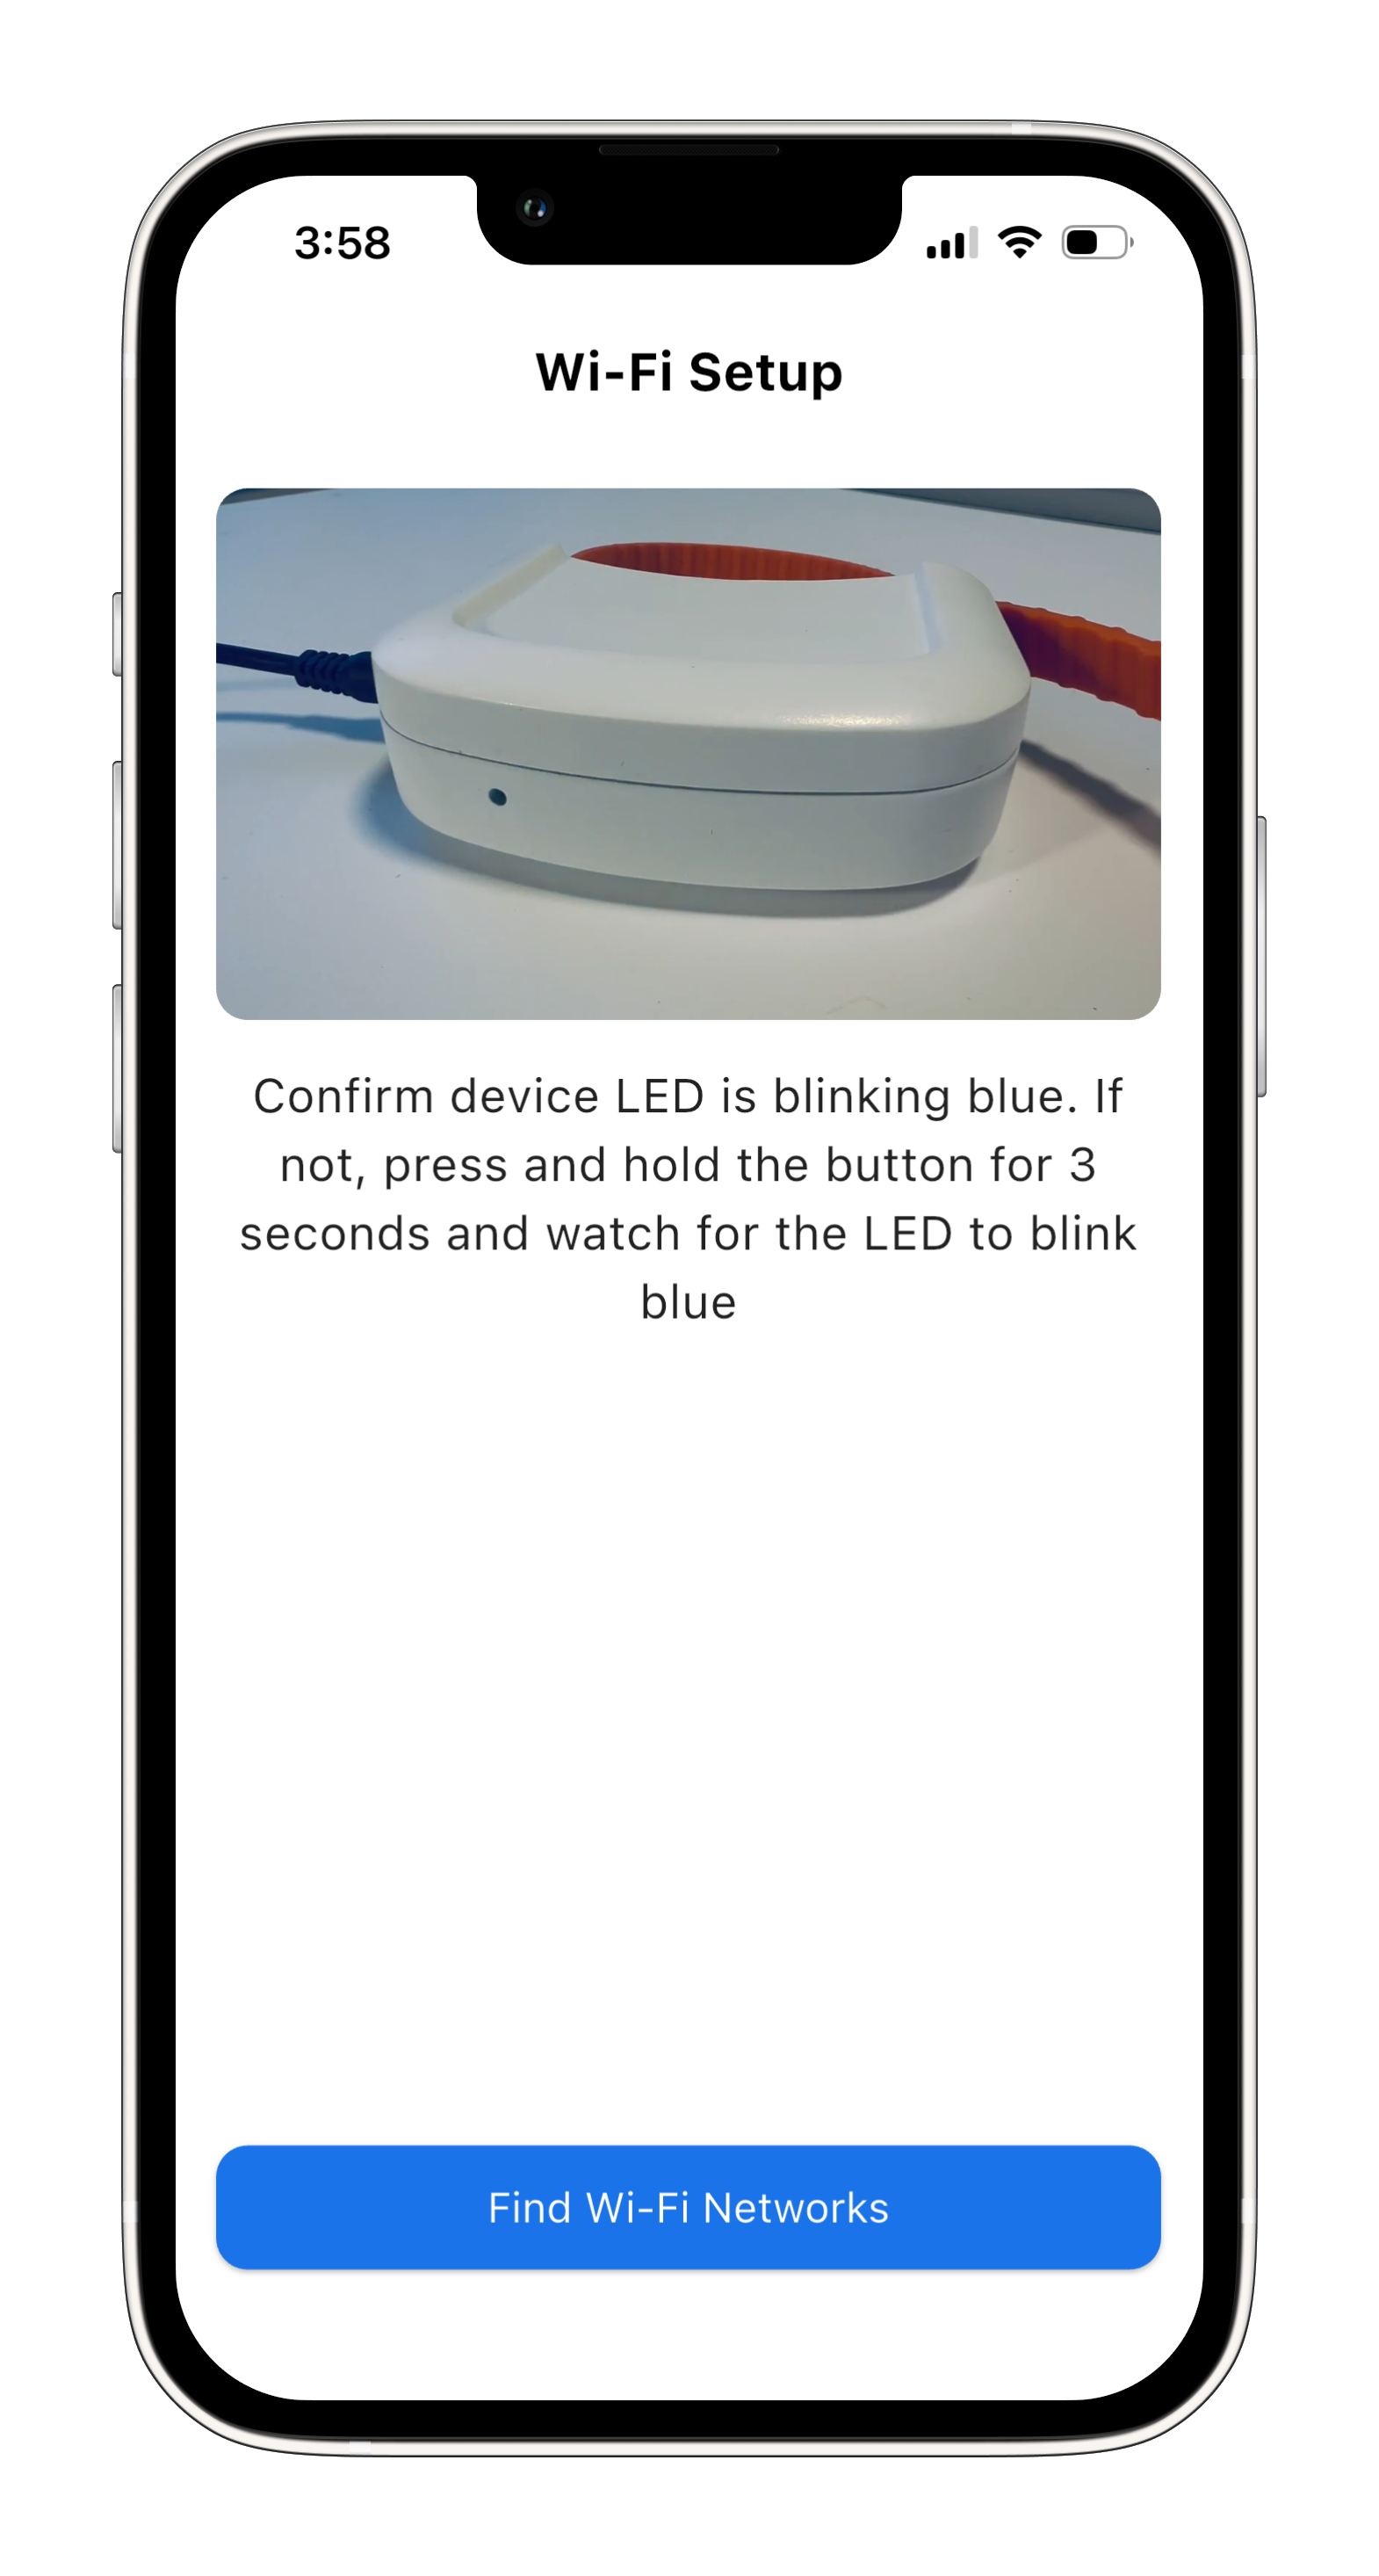
Secure it with the strap firmly, connect it to power, then tap “Continue” to set up Wi-Fi.
Make sure the device LED is blinking blue. If it isn’t, press and hold the button for 3 seconds until it starts blinking.
Then tap “Find Wi-Fi Networks”.
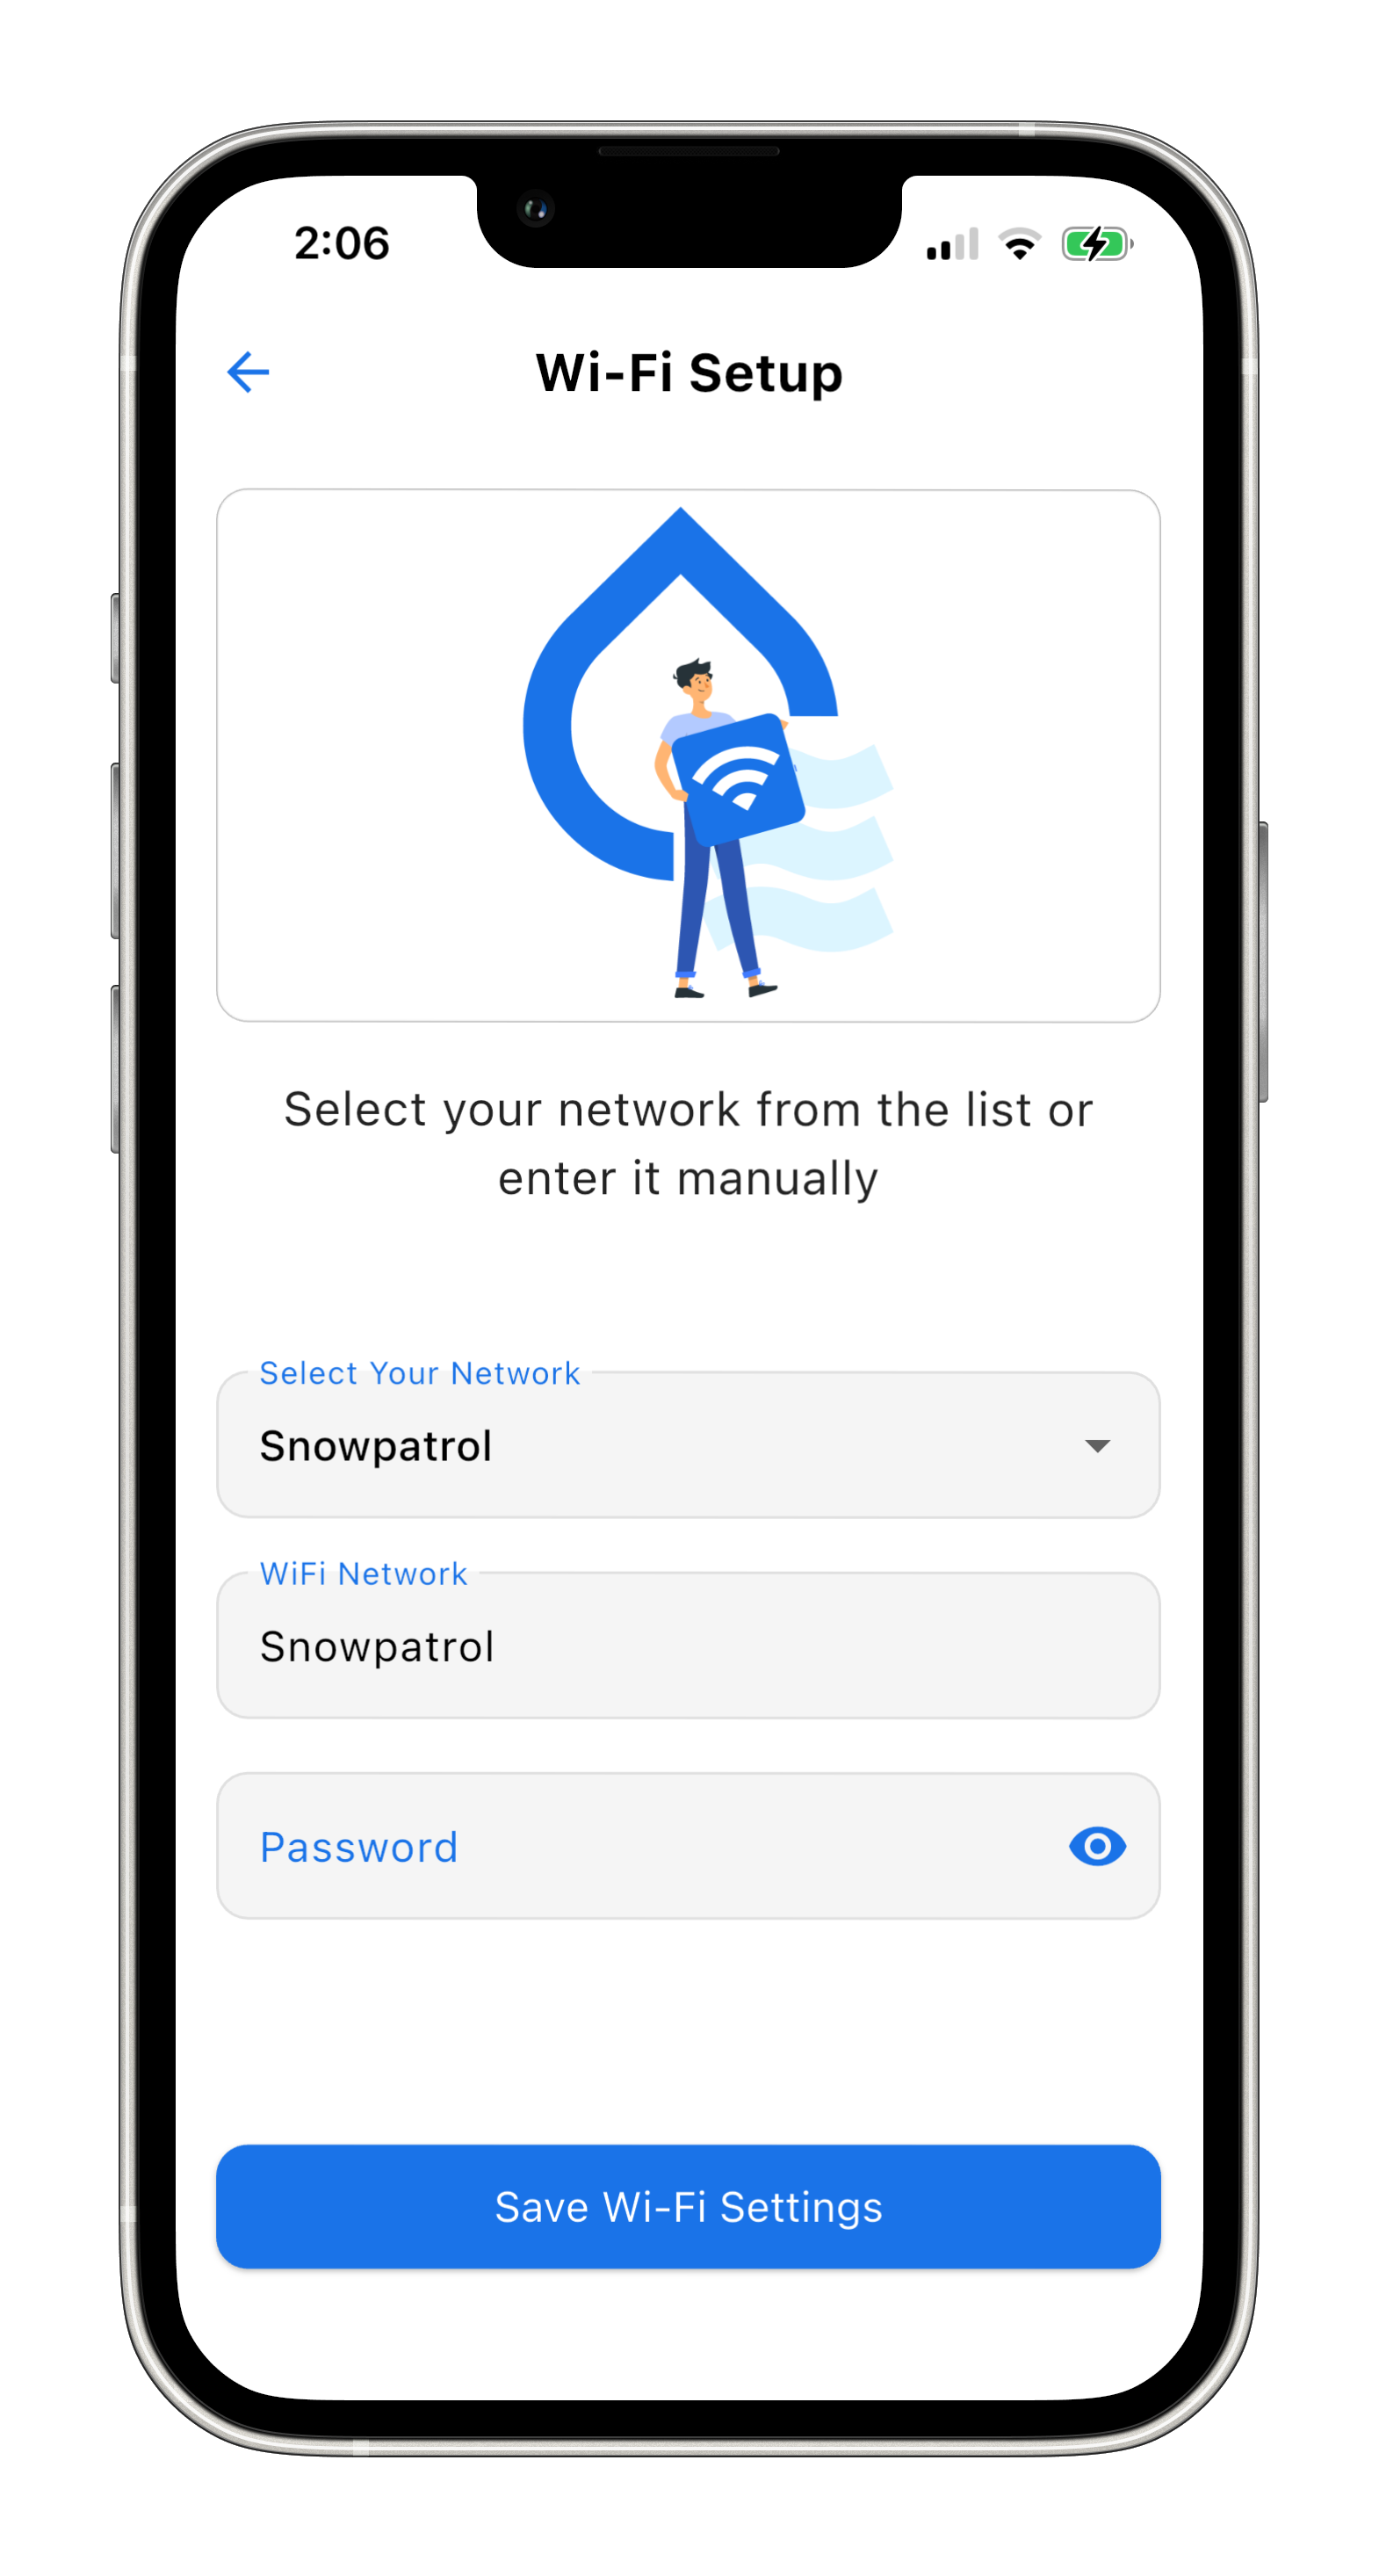
Select the Wi-Fi network for your device.
Enter the network password.
Tap “Save Wi-Fi Settings” to send the settings to the device.
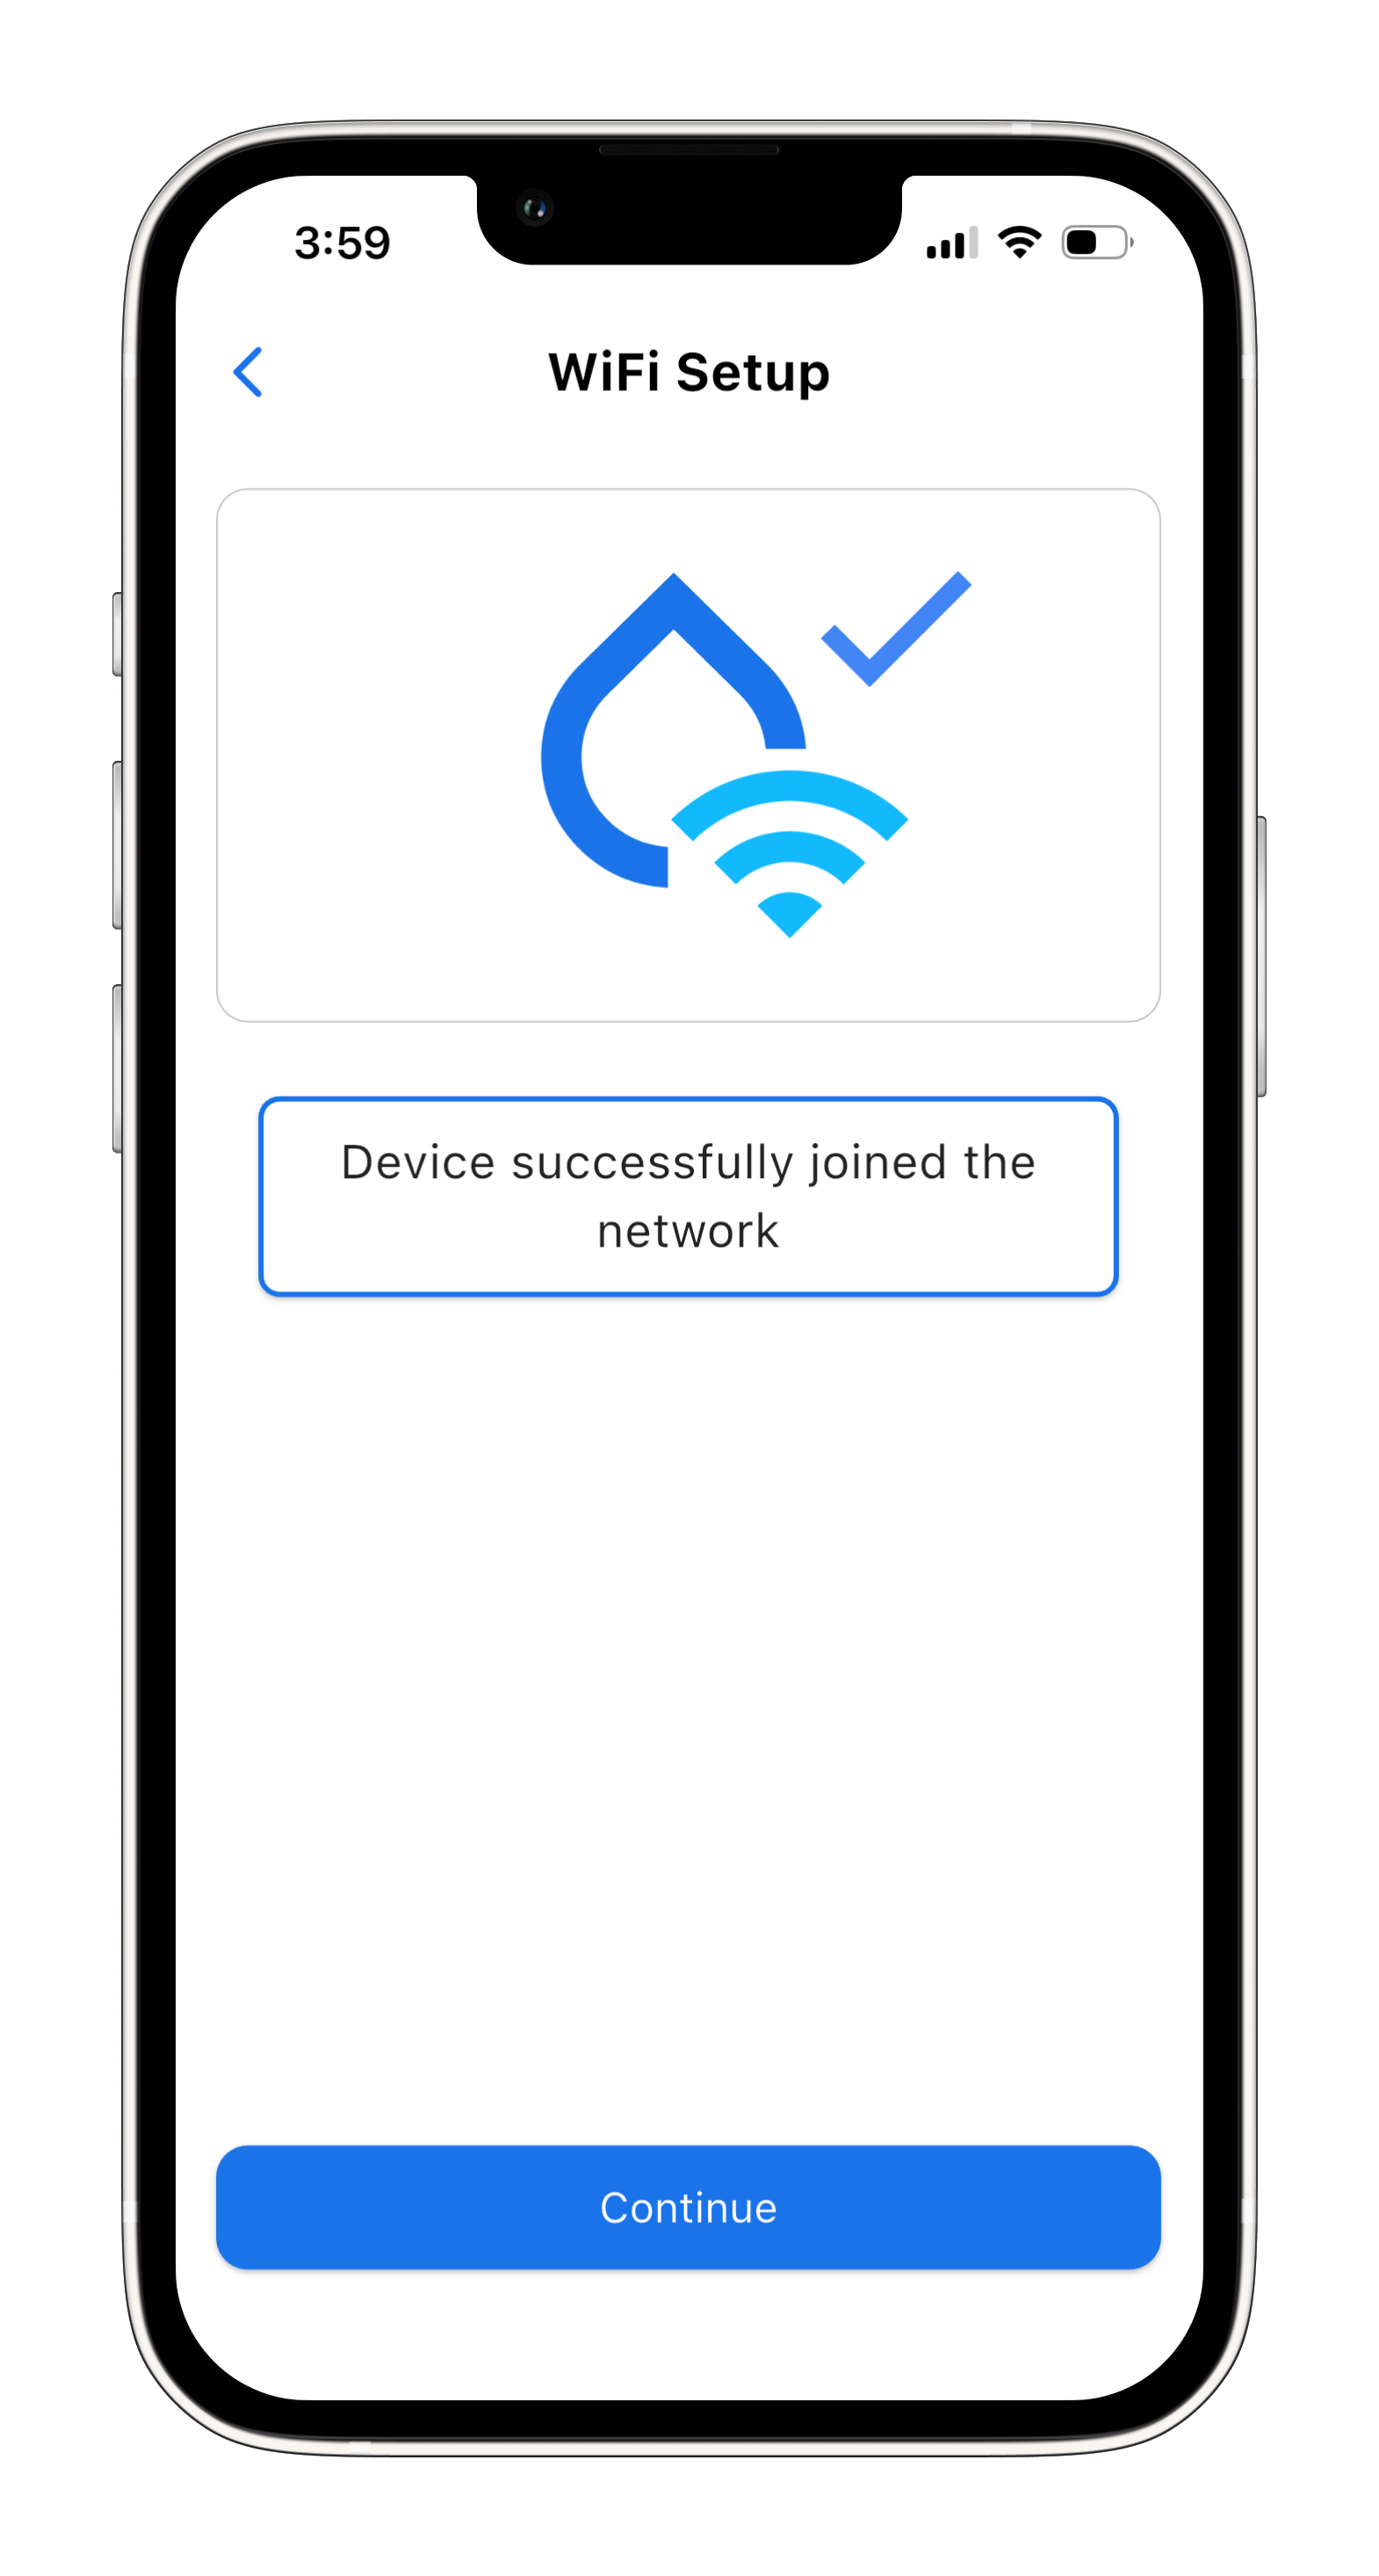
The device will attempt to connect.
Wait for the results screen.
If the connection is successful, you will see “Device successfully joined the network”.
If not, repeat the process.
Tap “Continue*”.
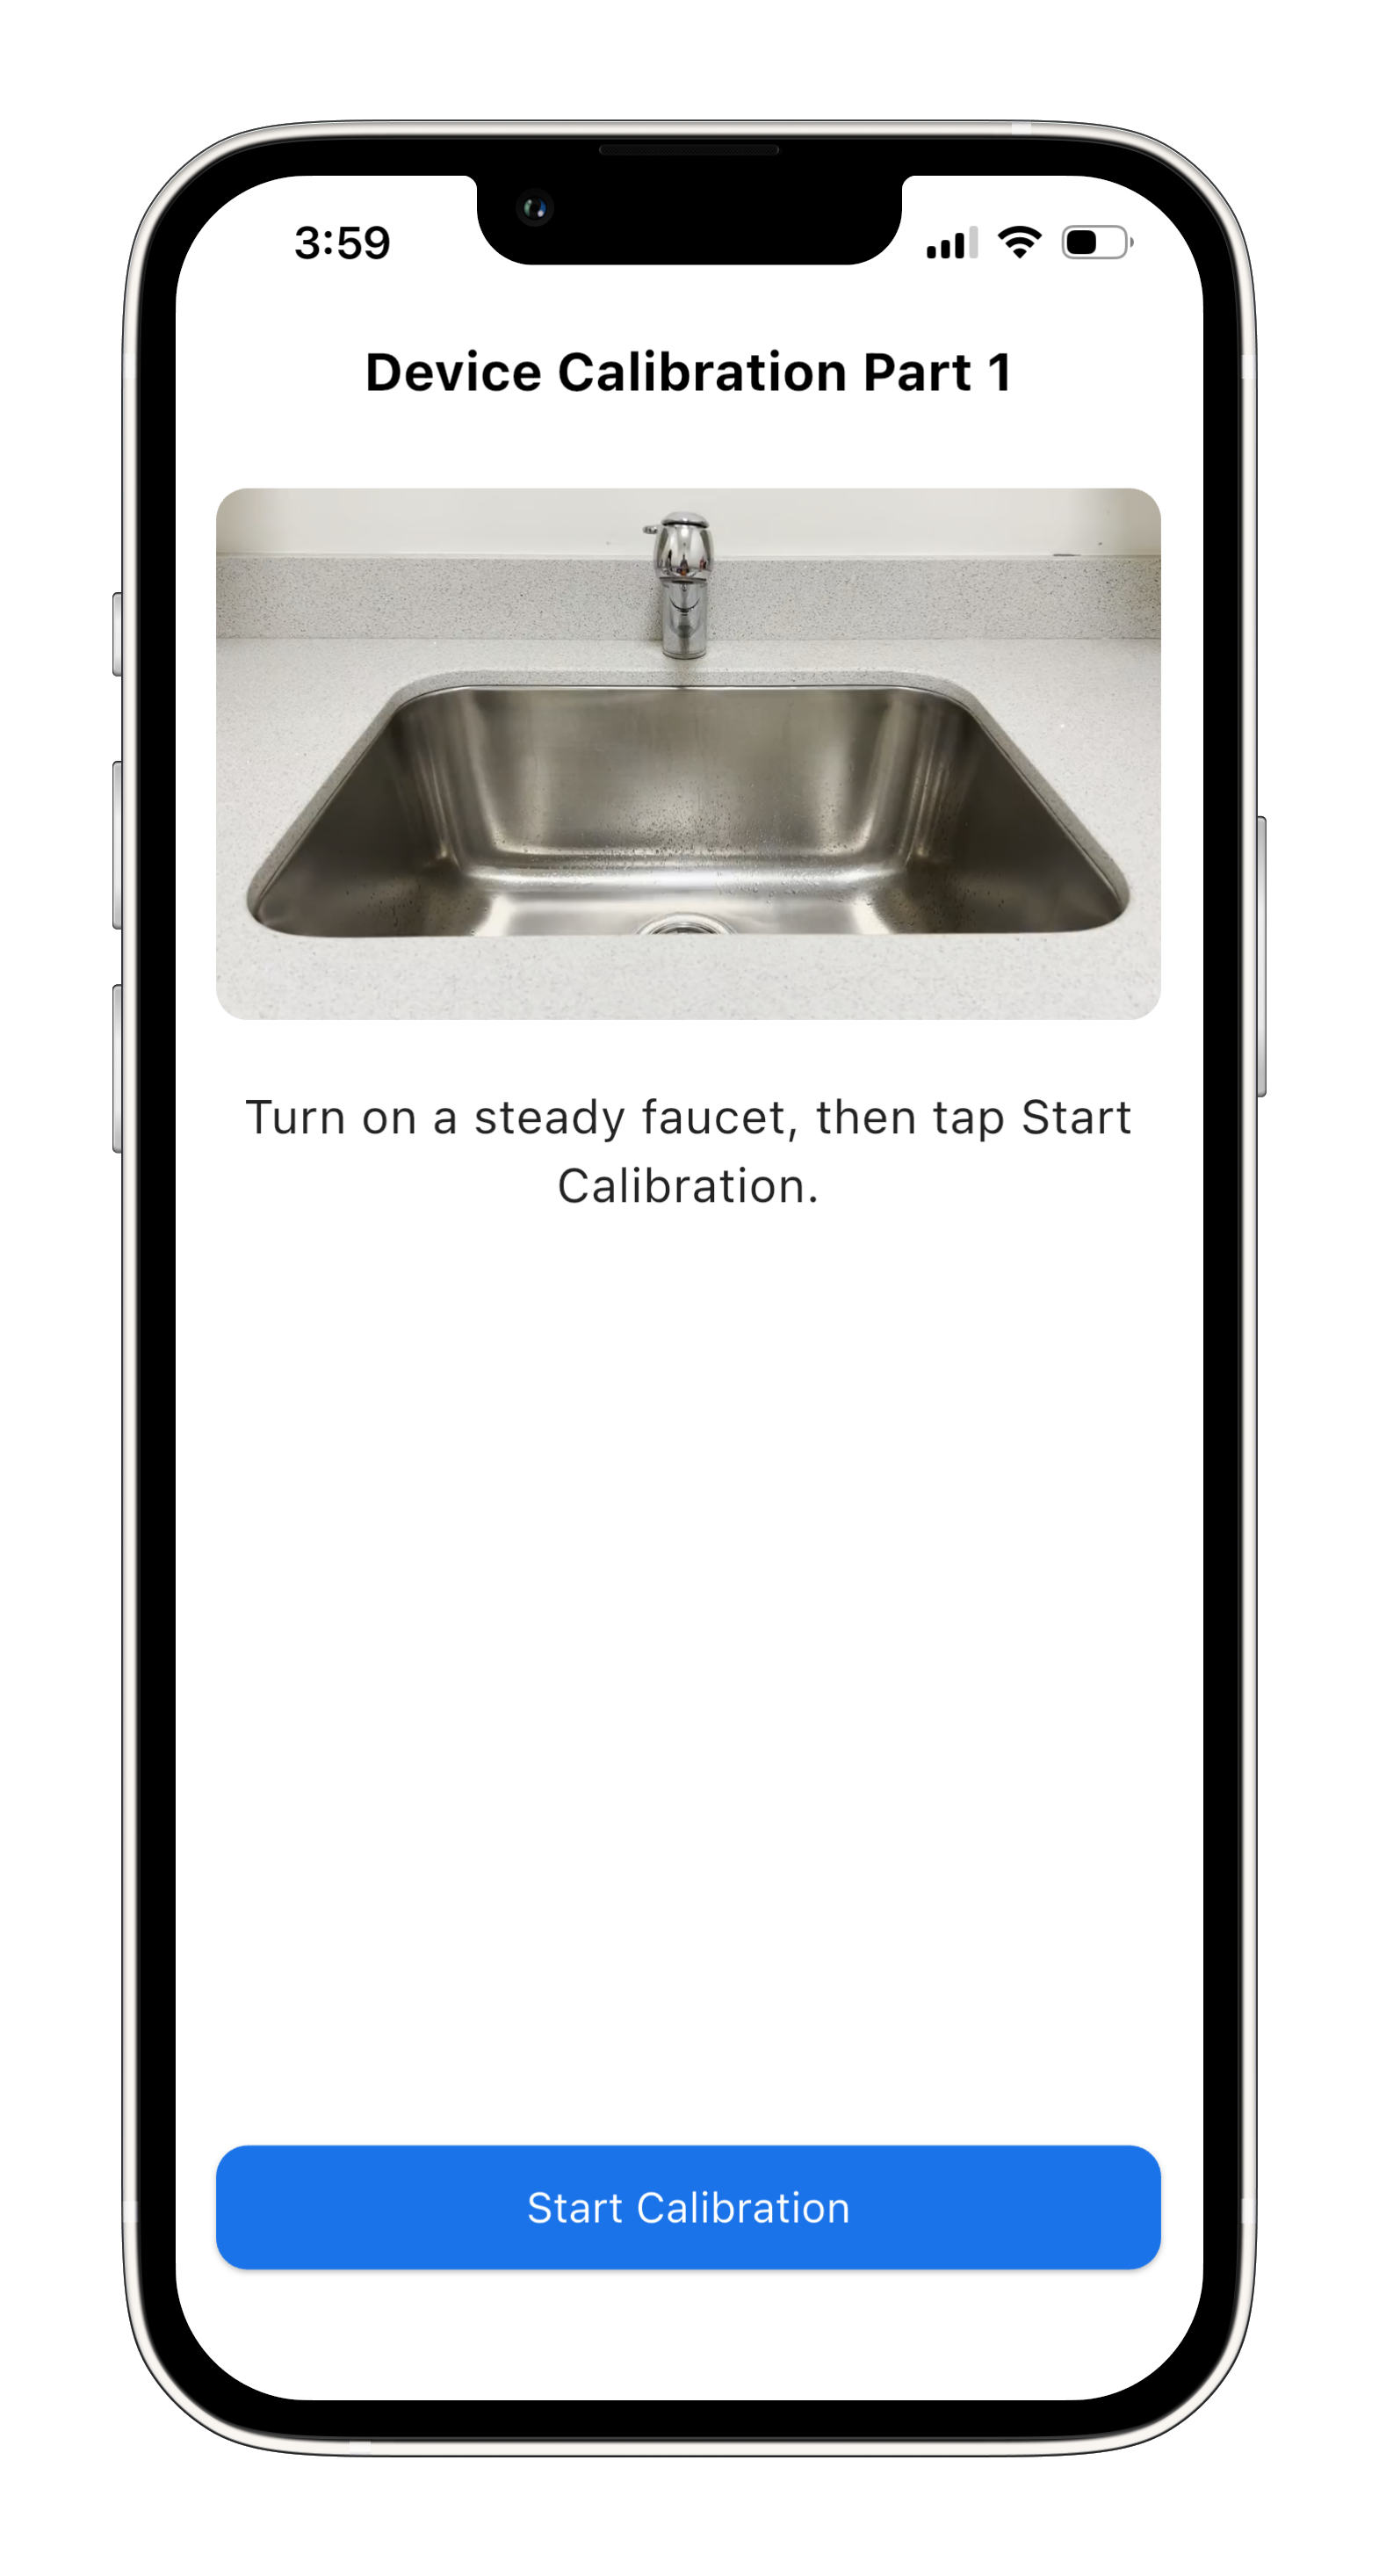
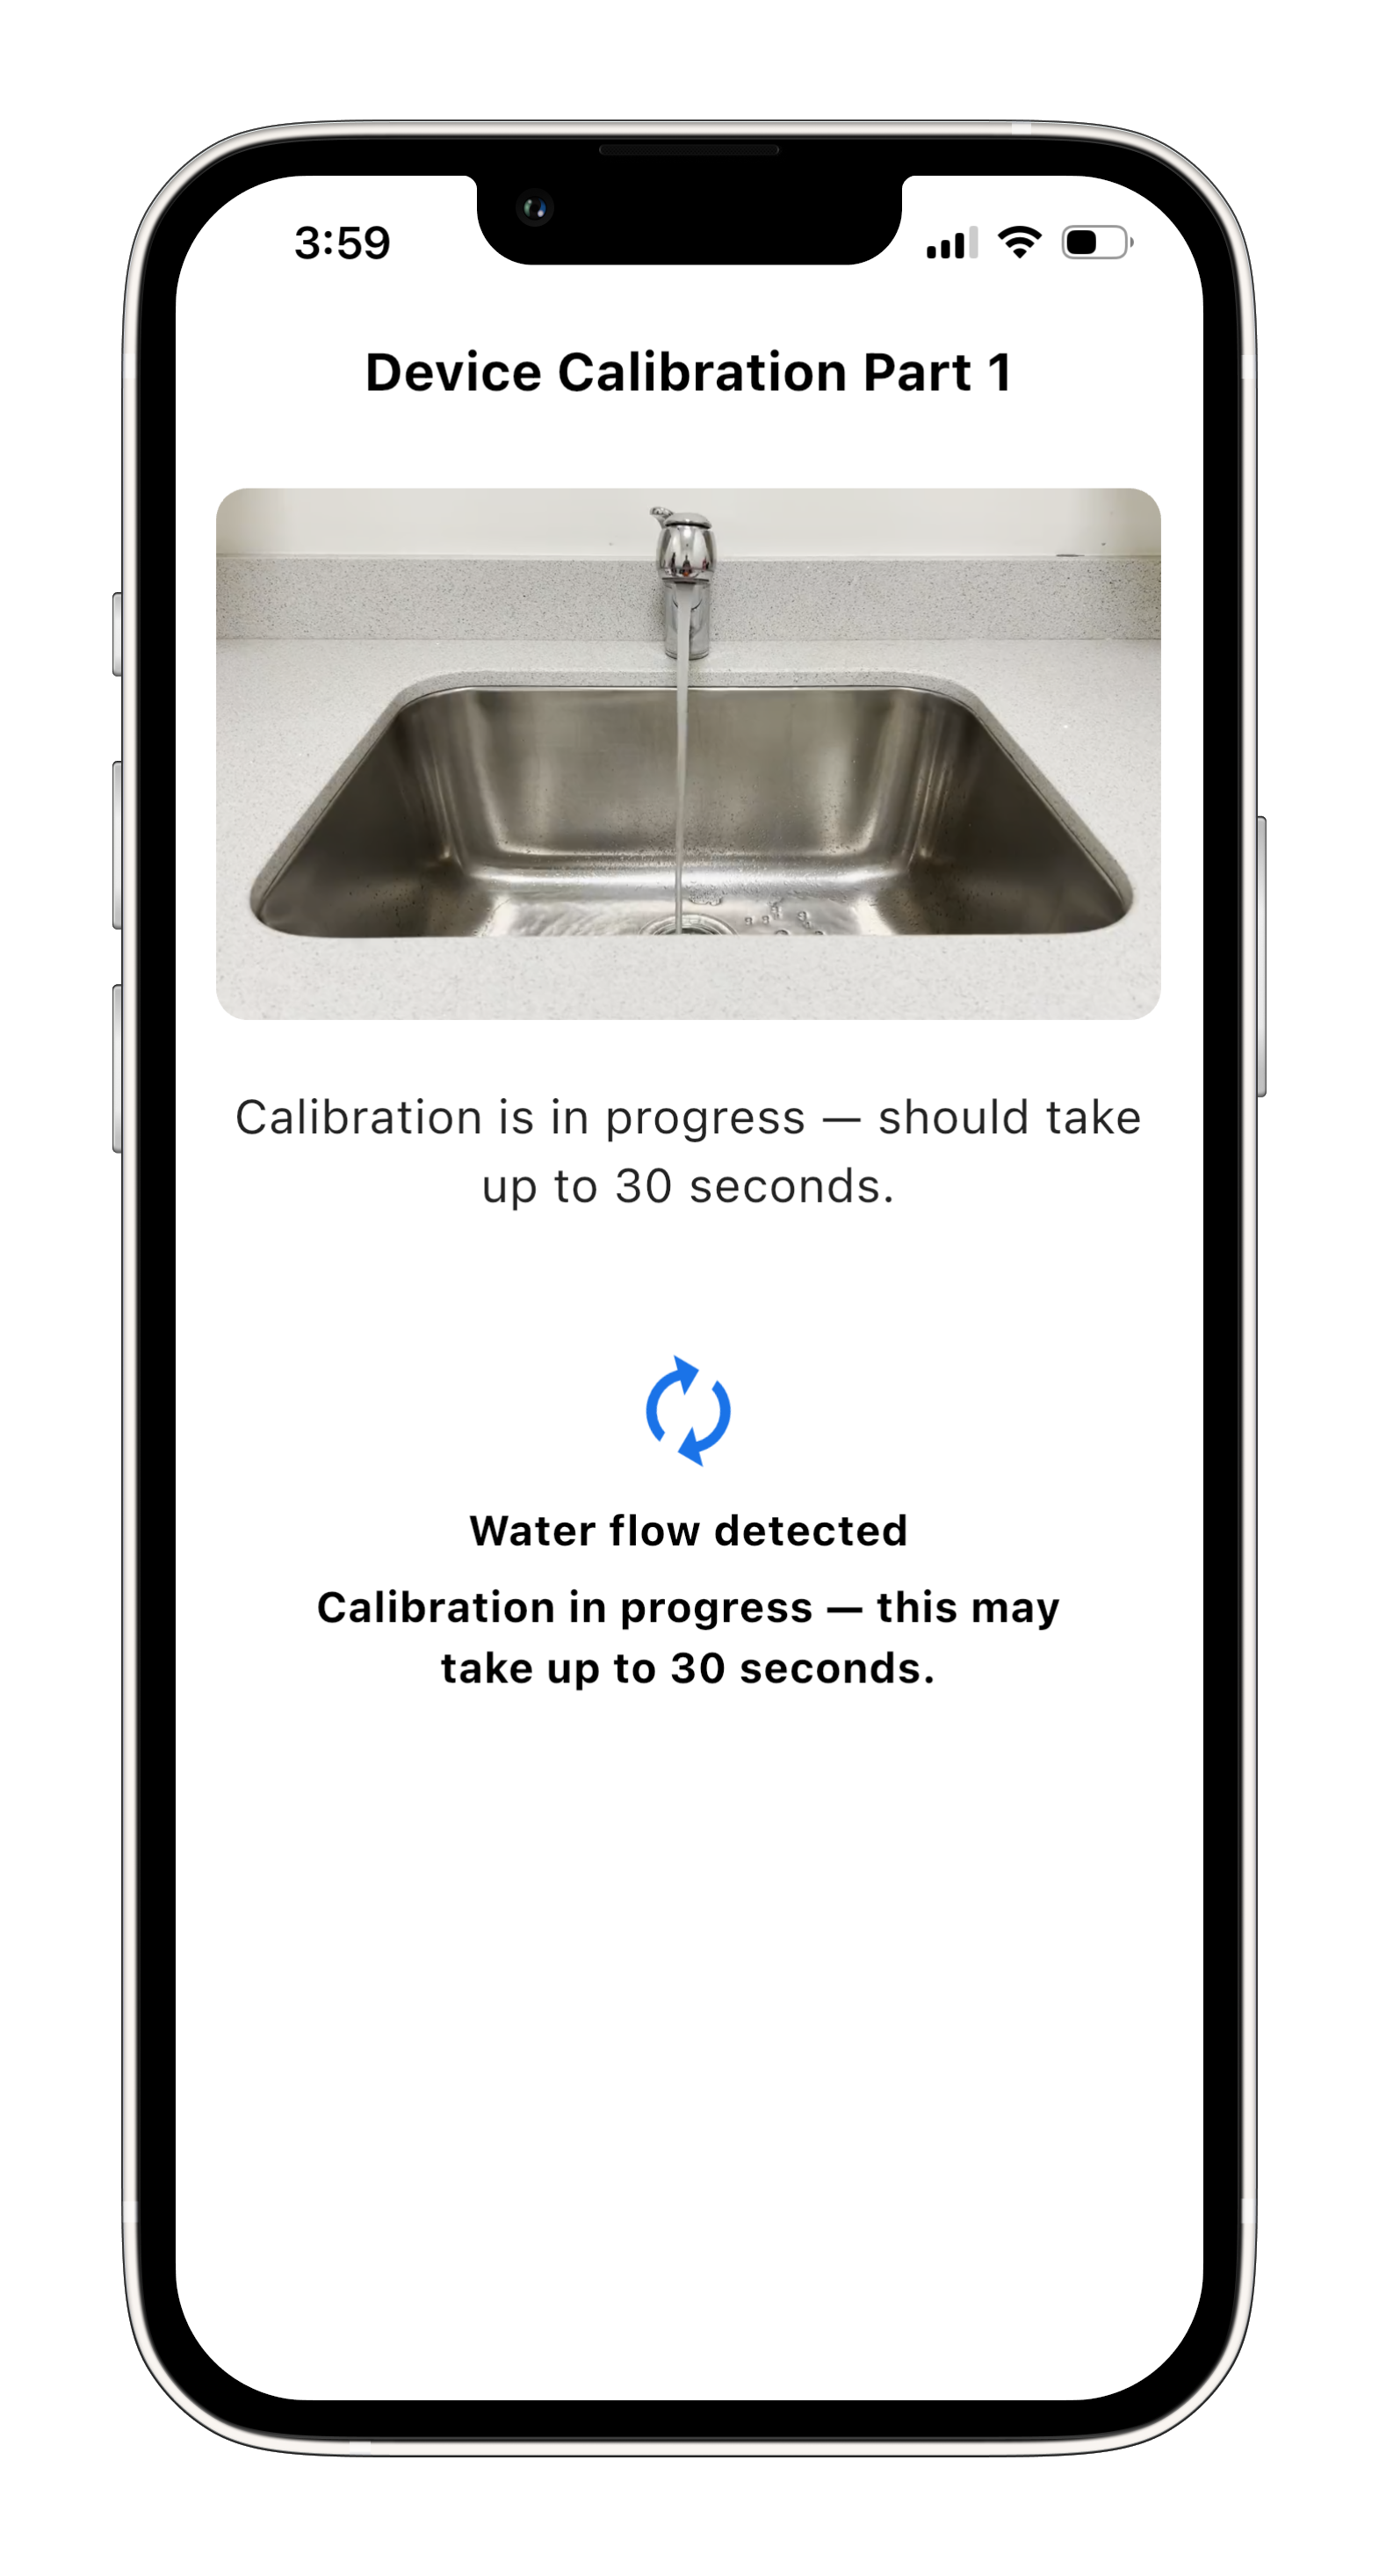
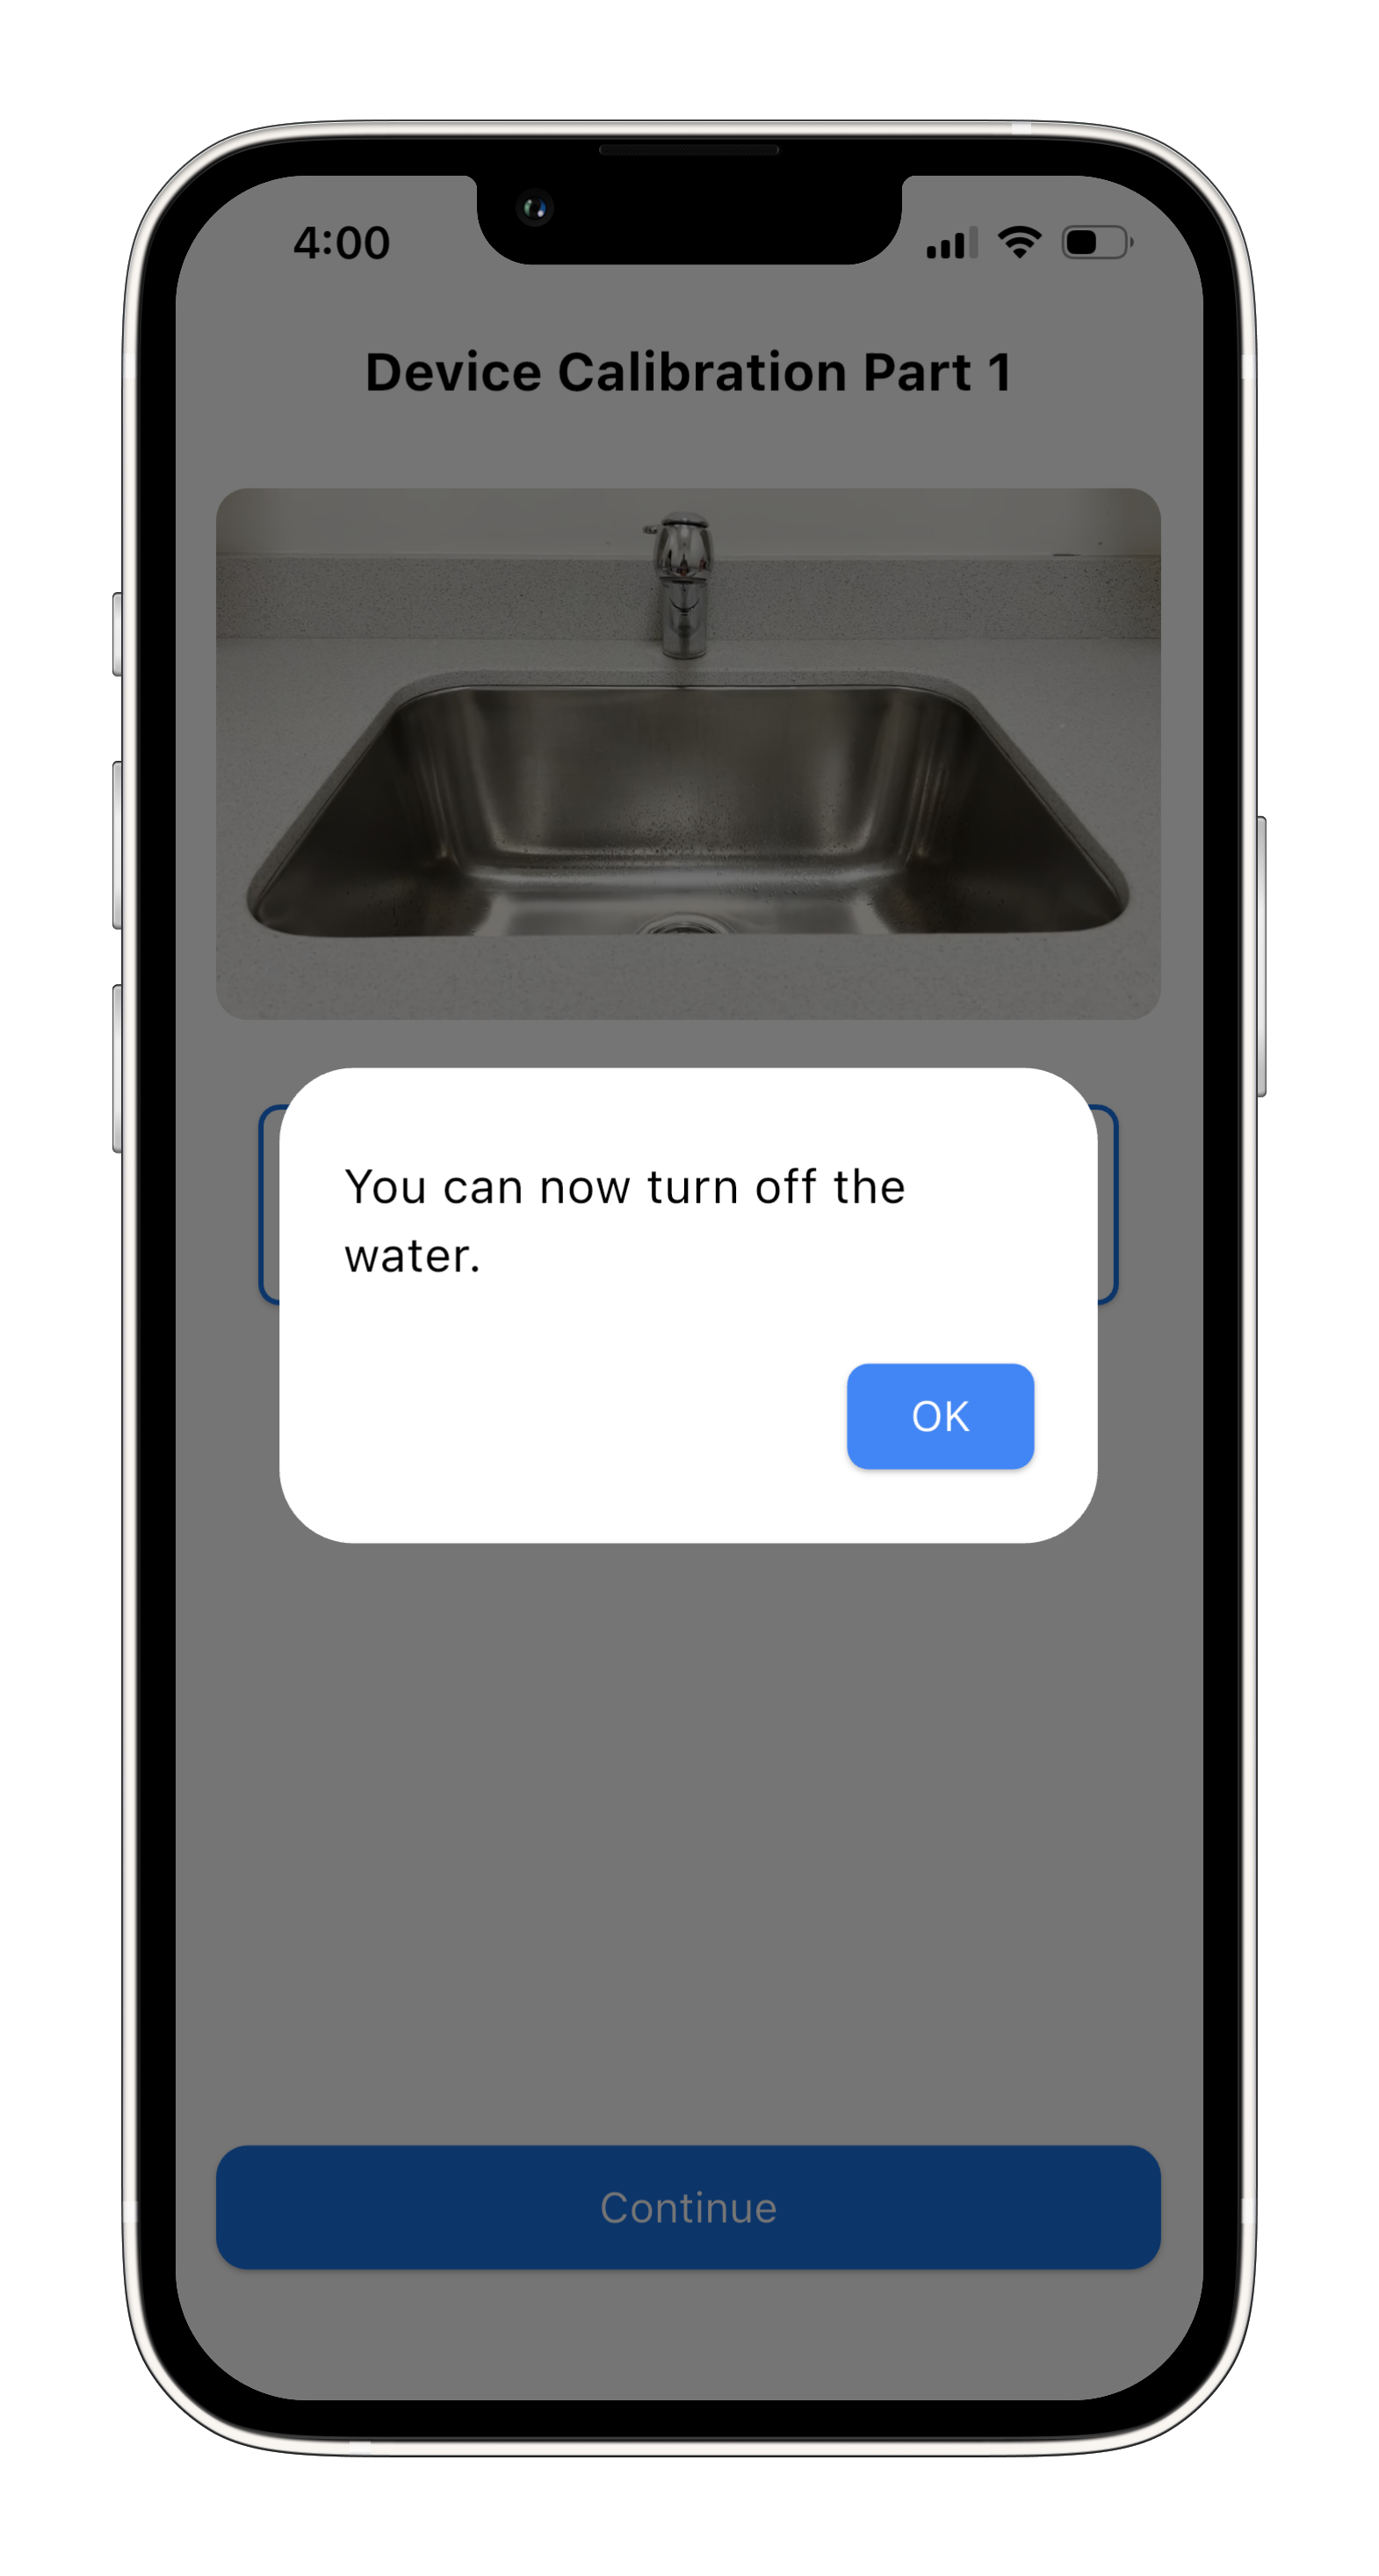
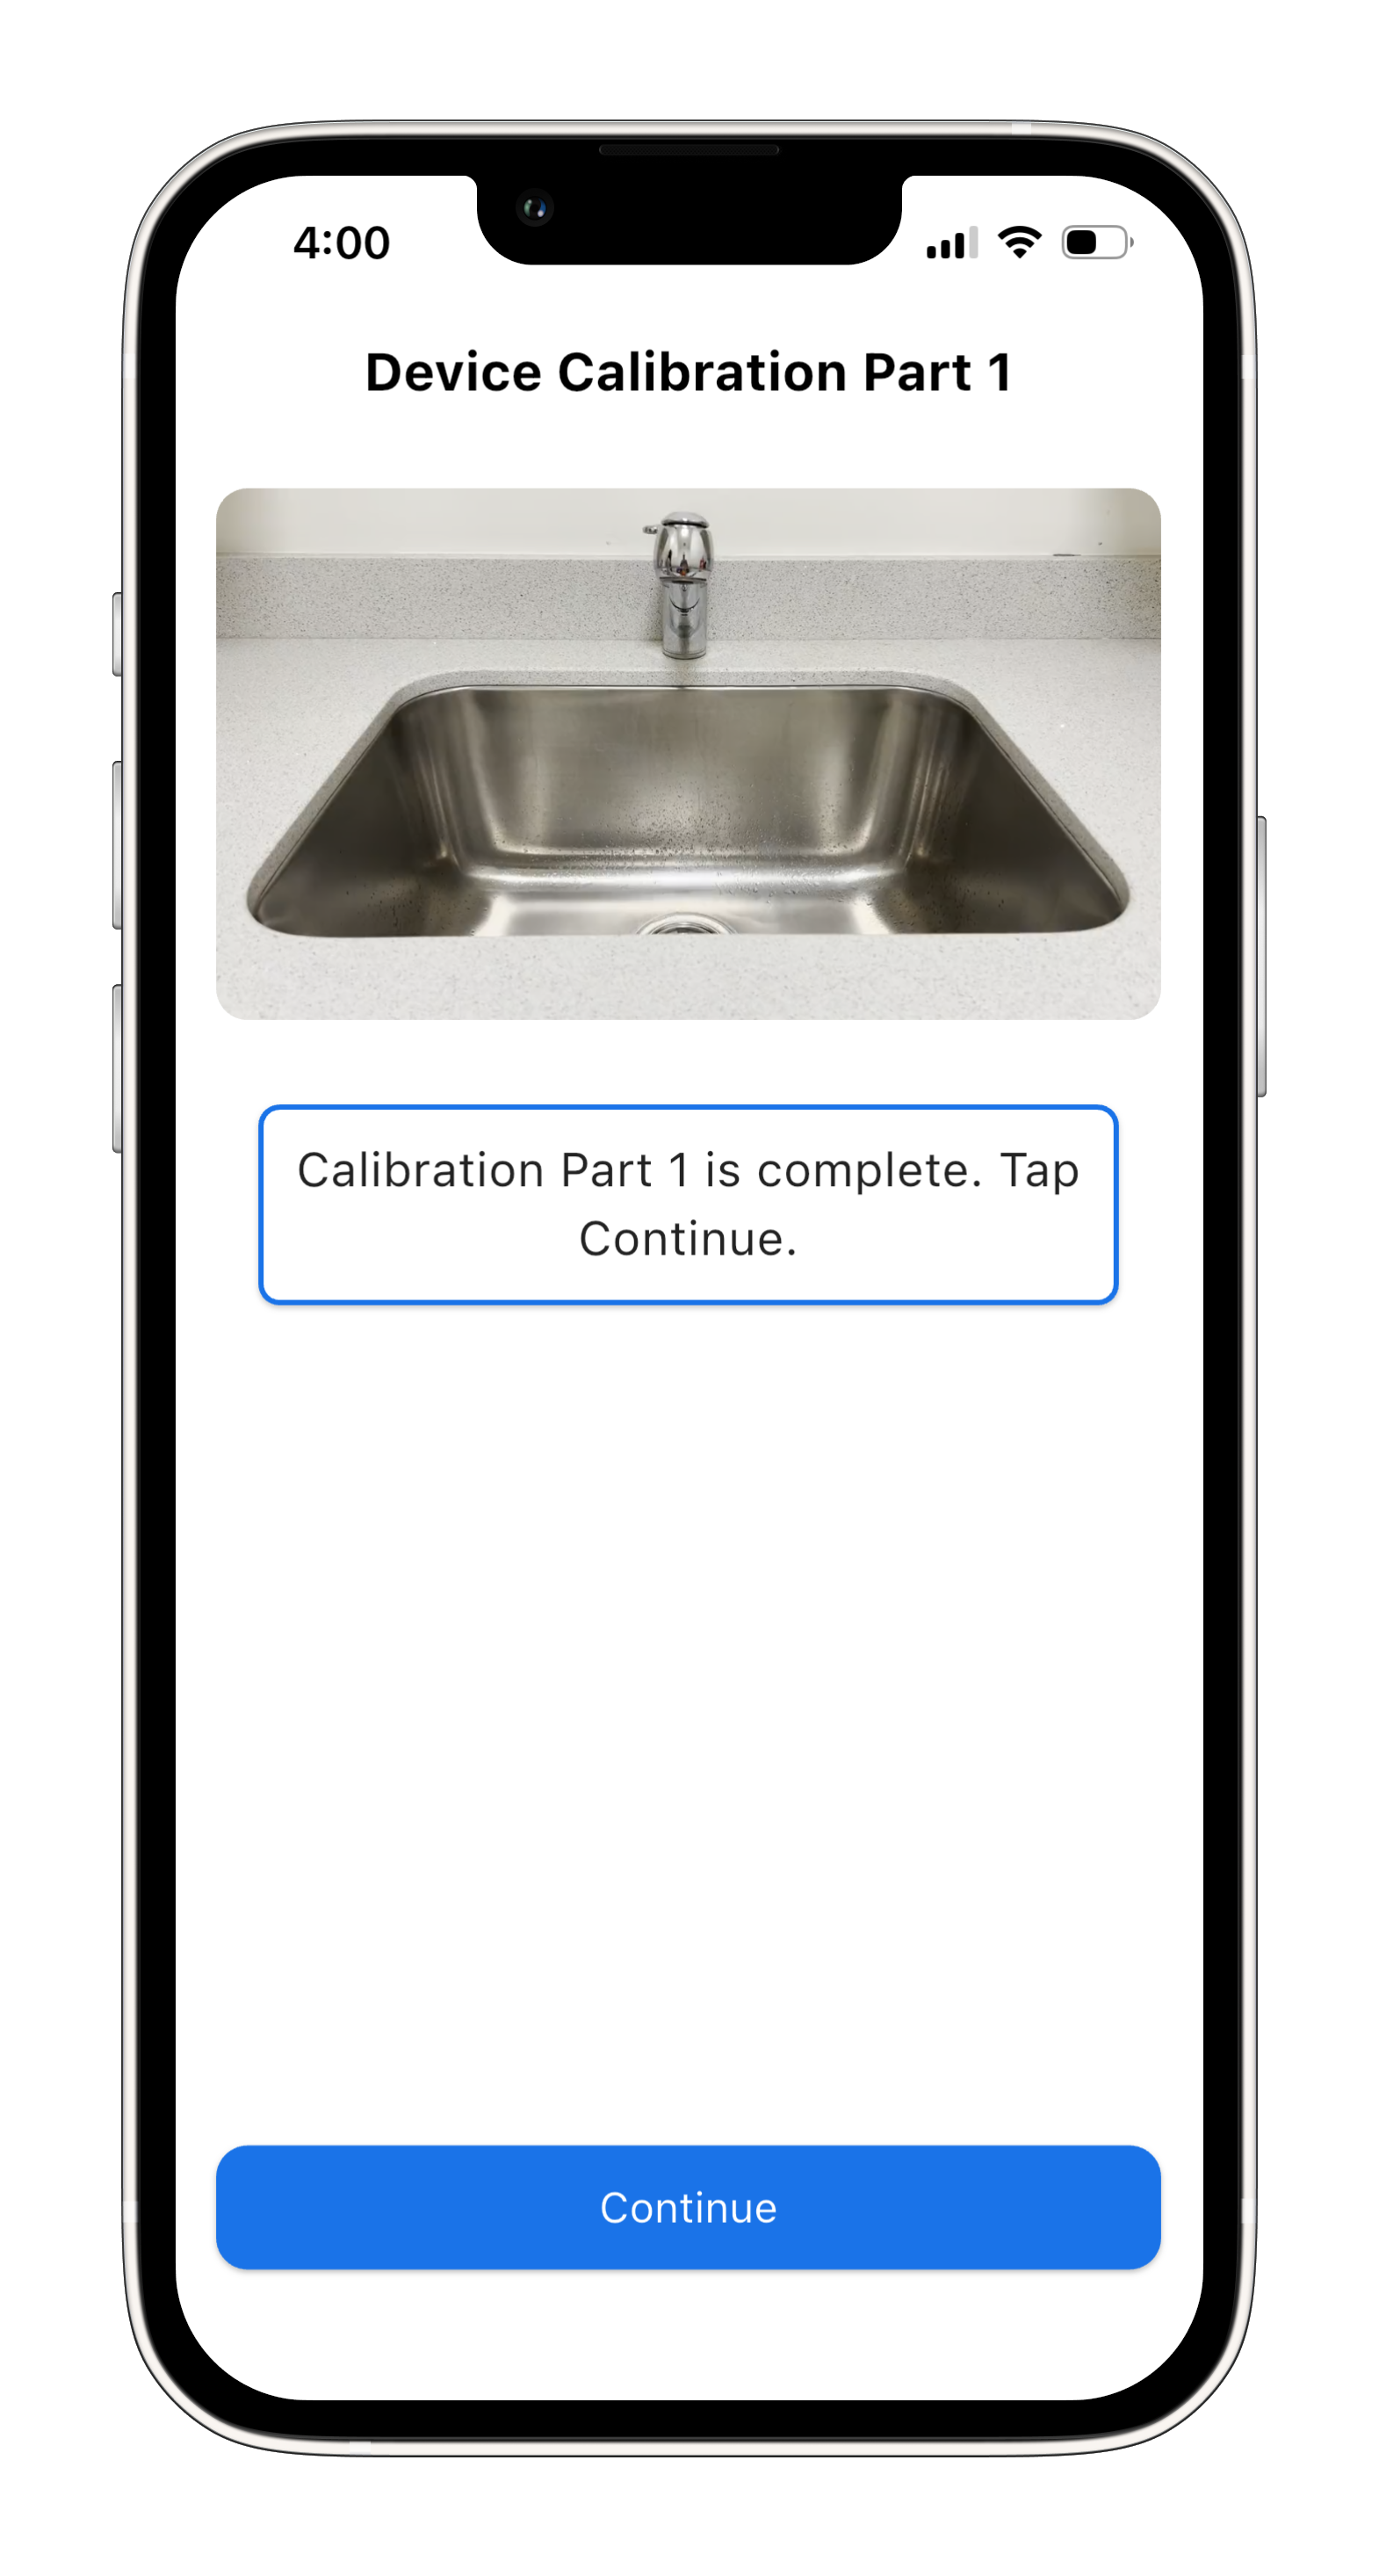
5. Device Calibration
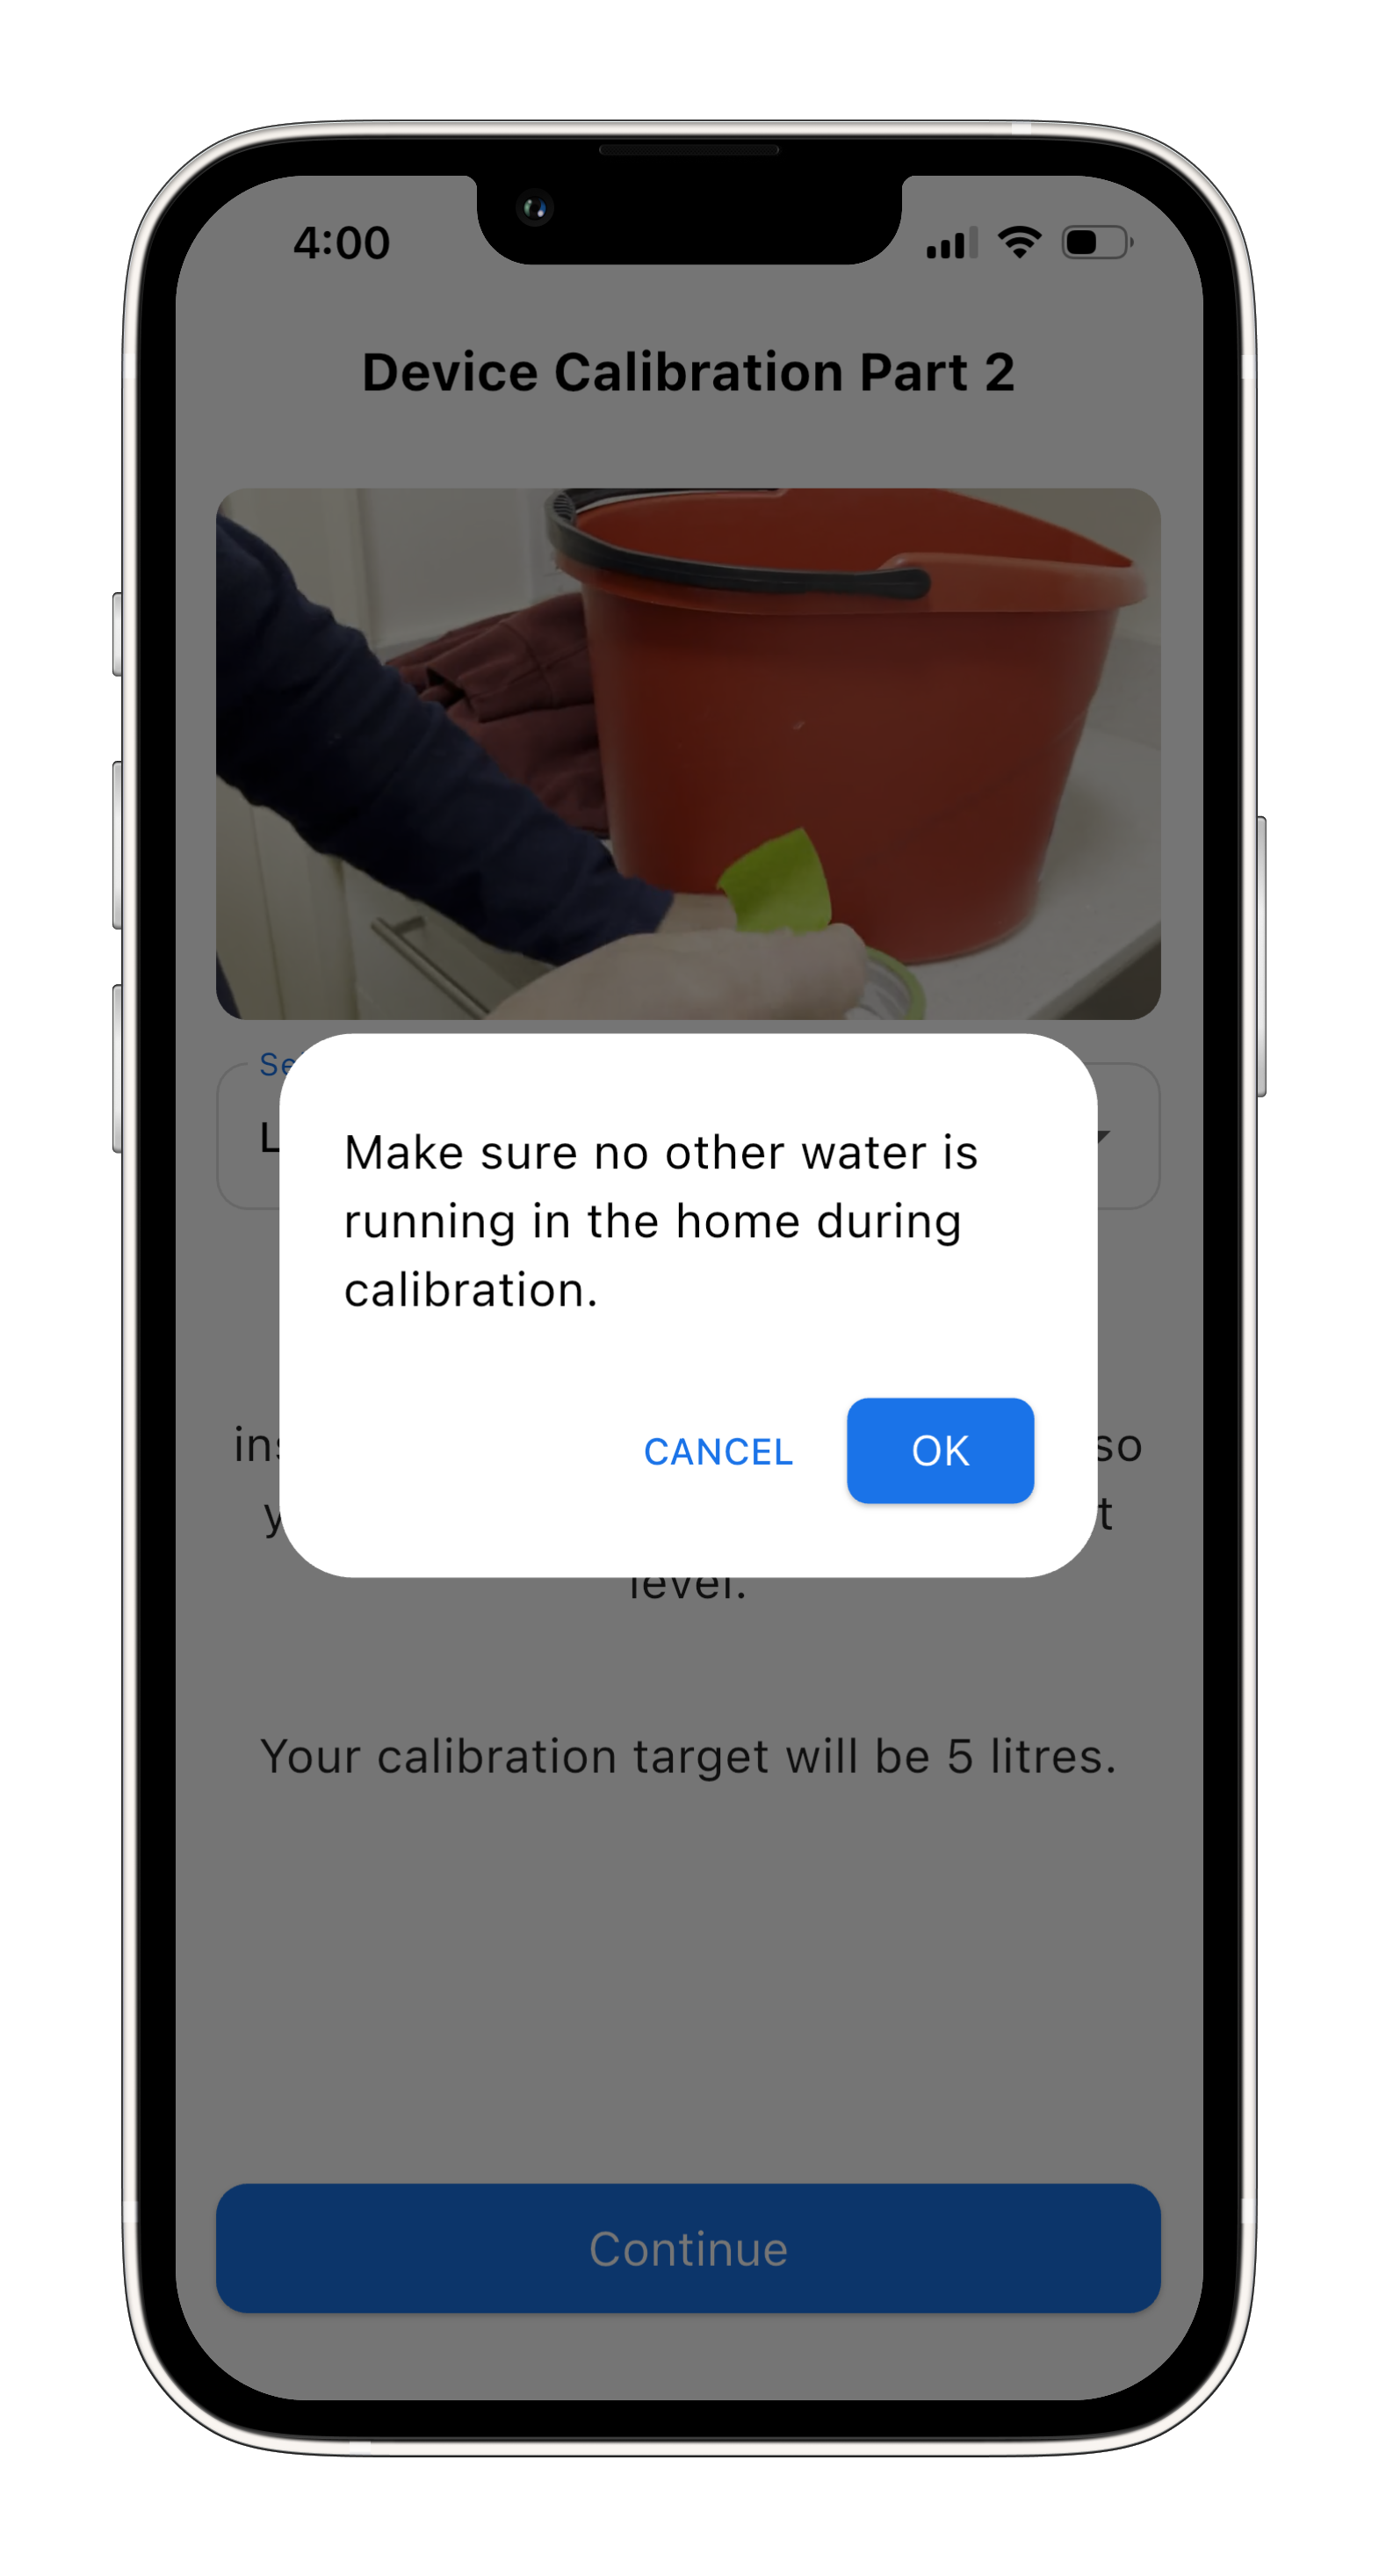
Turn on a steady flow of water and tap “Start Calibration”.
At this stage, the app may present different options depending on your setup.
Choose the option that matches your situation and continue below.
Option A
Continue with this path if it matches the option shown in your app.
Complete the remaining prompts to finish setup.
Option B
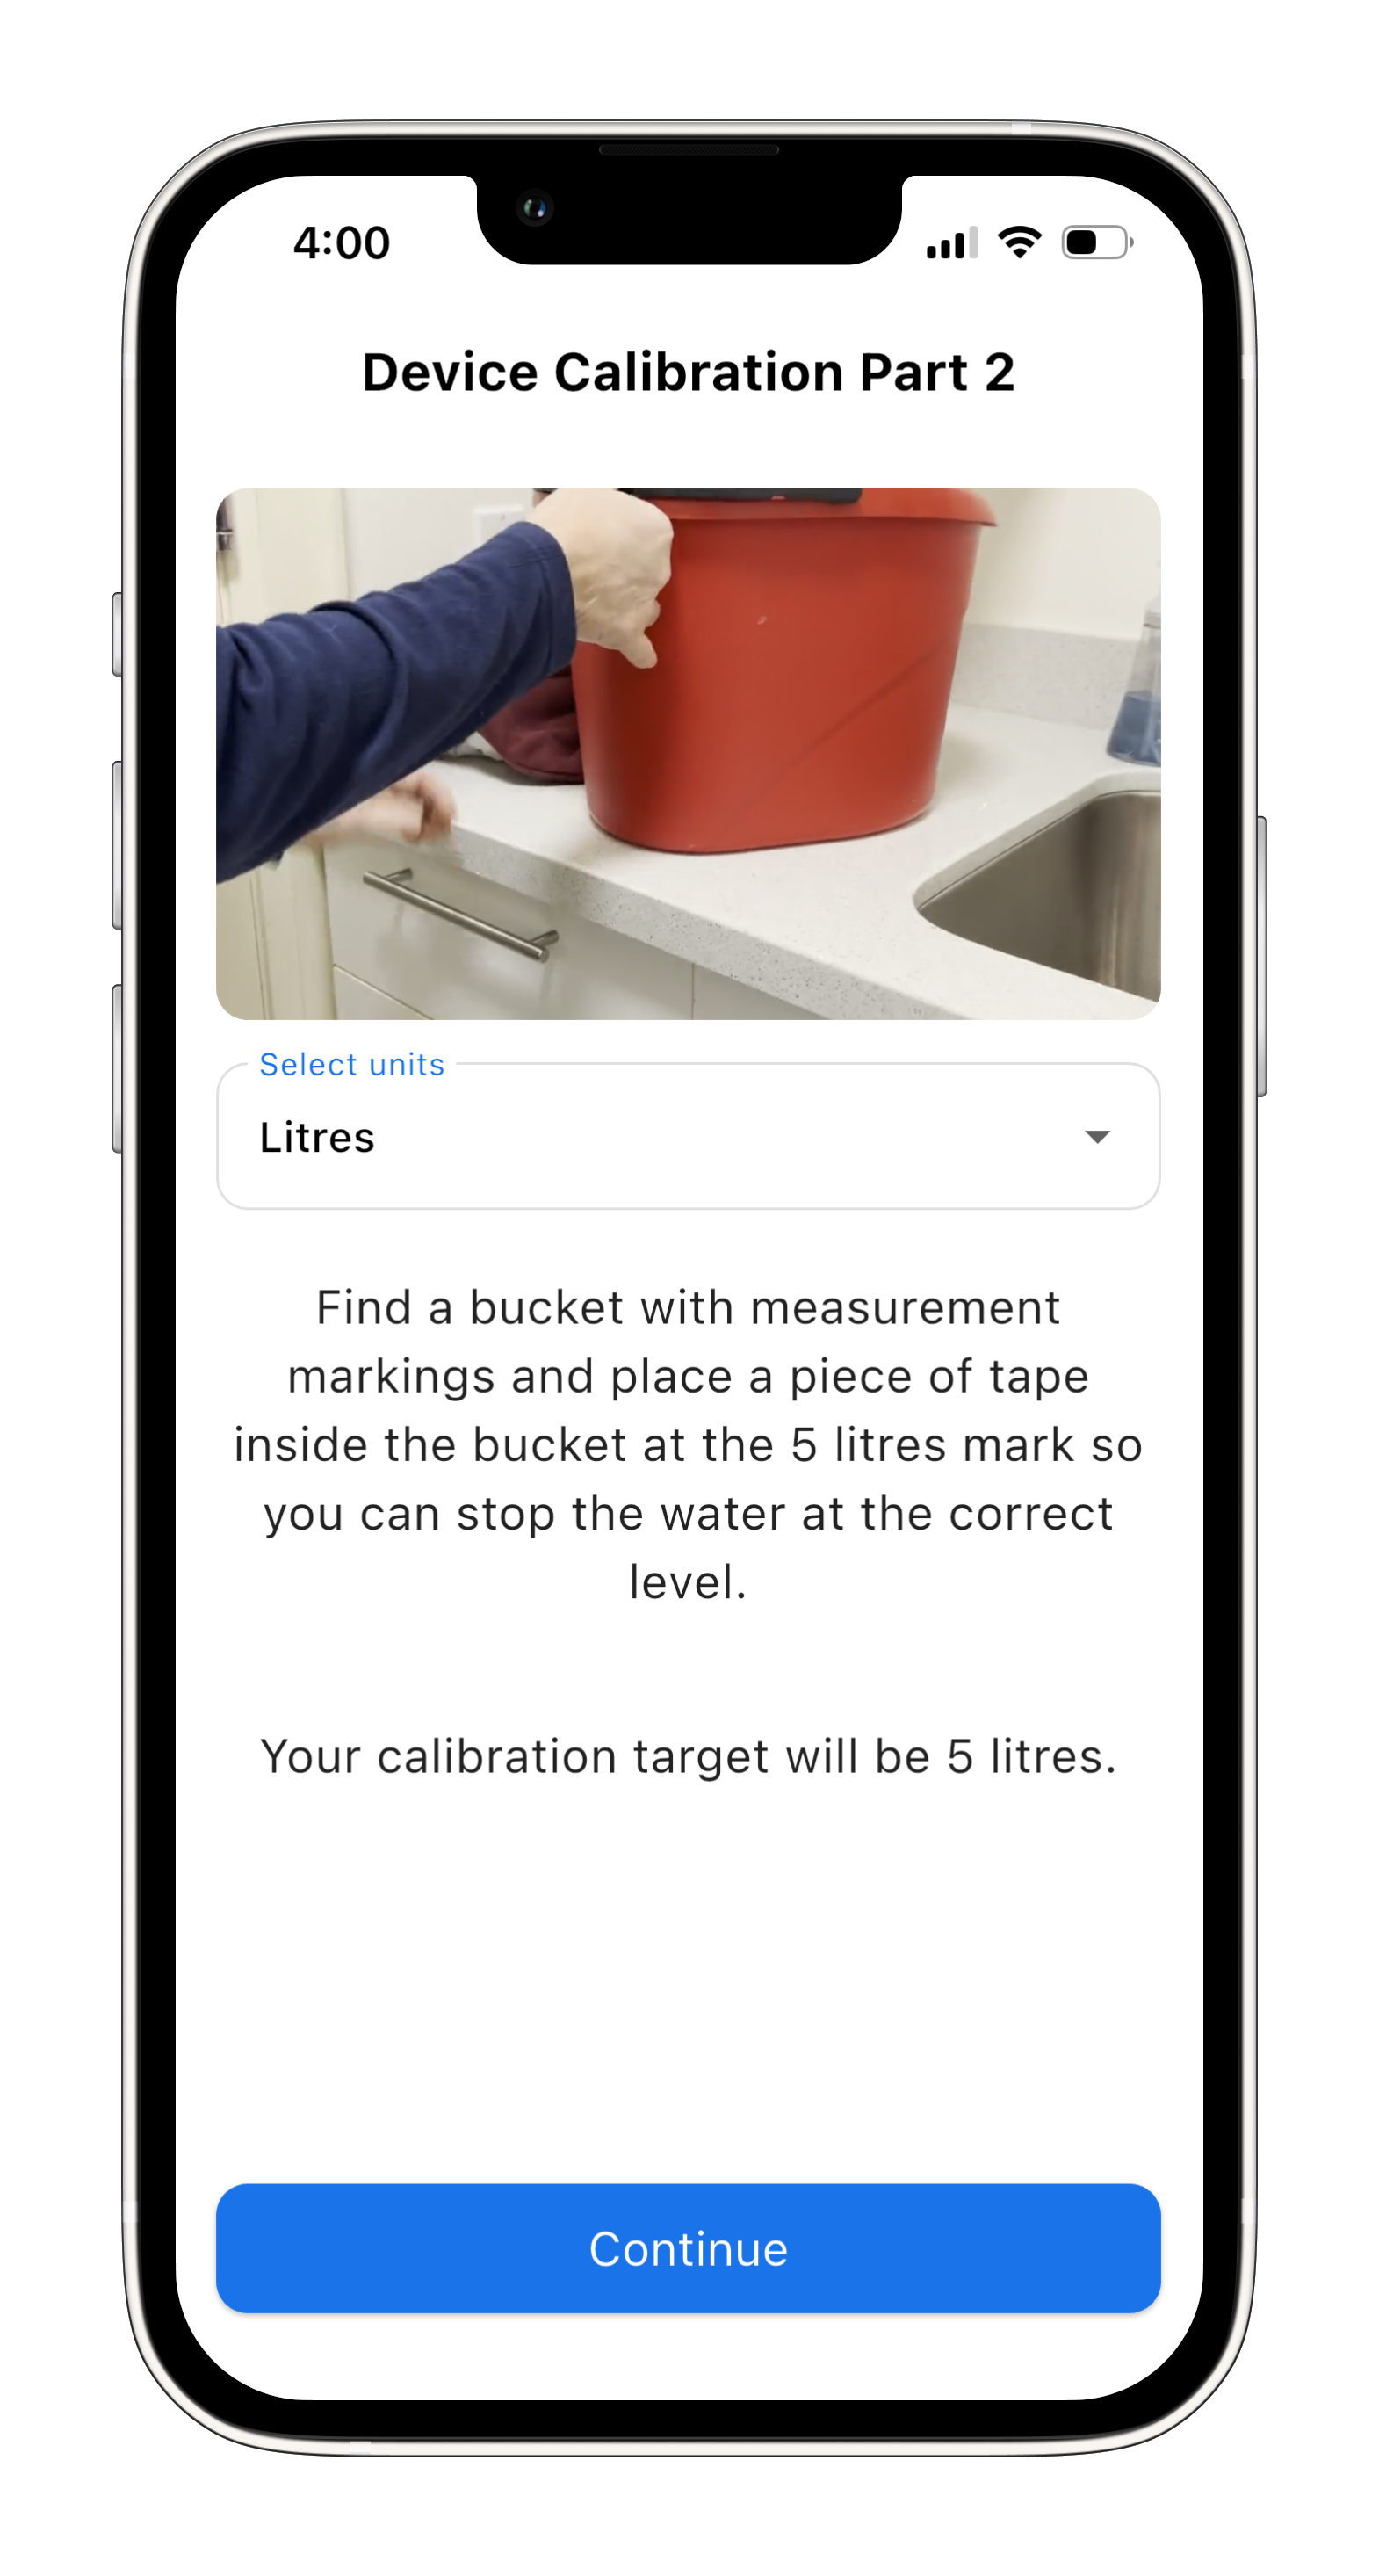
If your app shows this option instead, continue with this path.
Follow the additional instructions shown before continuing.
After that, complete the remaining prompts to finish setup.
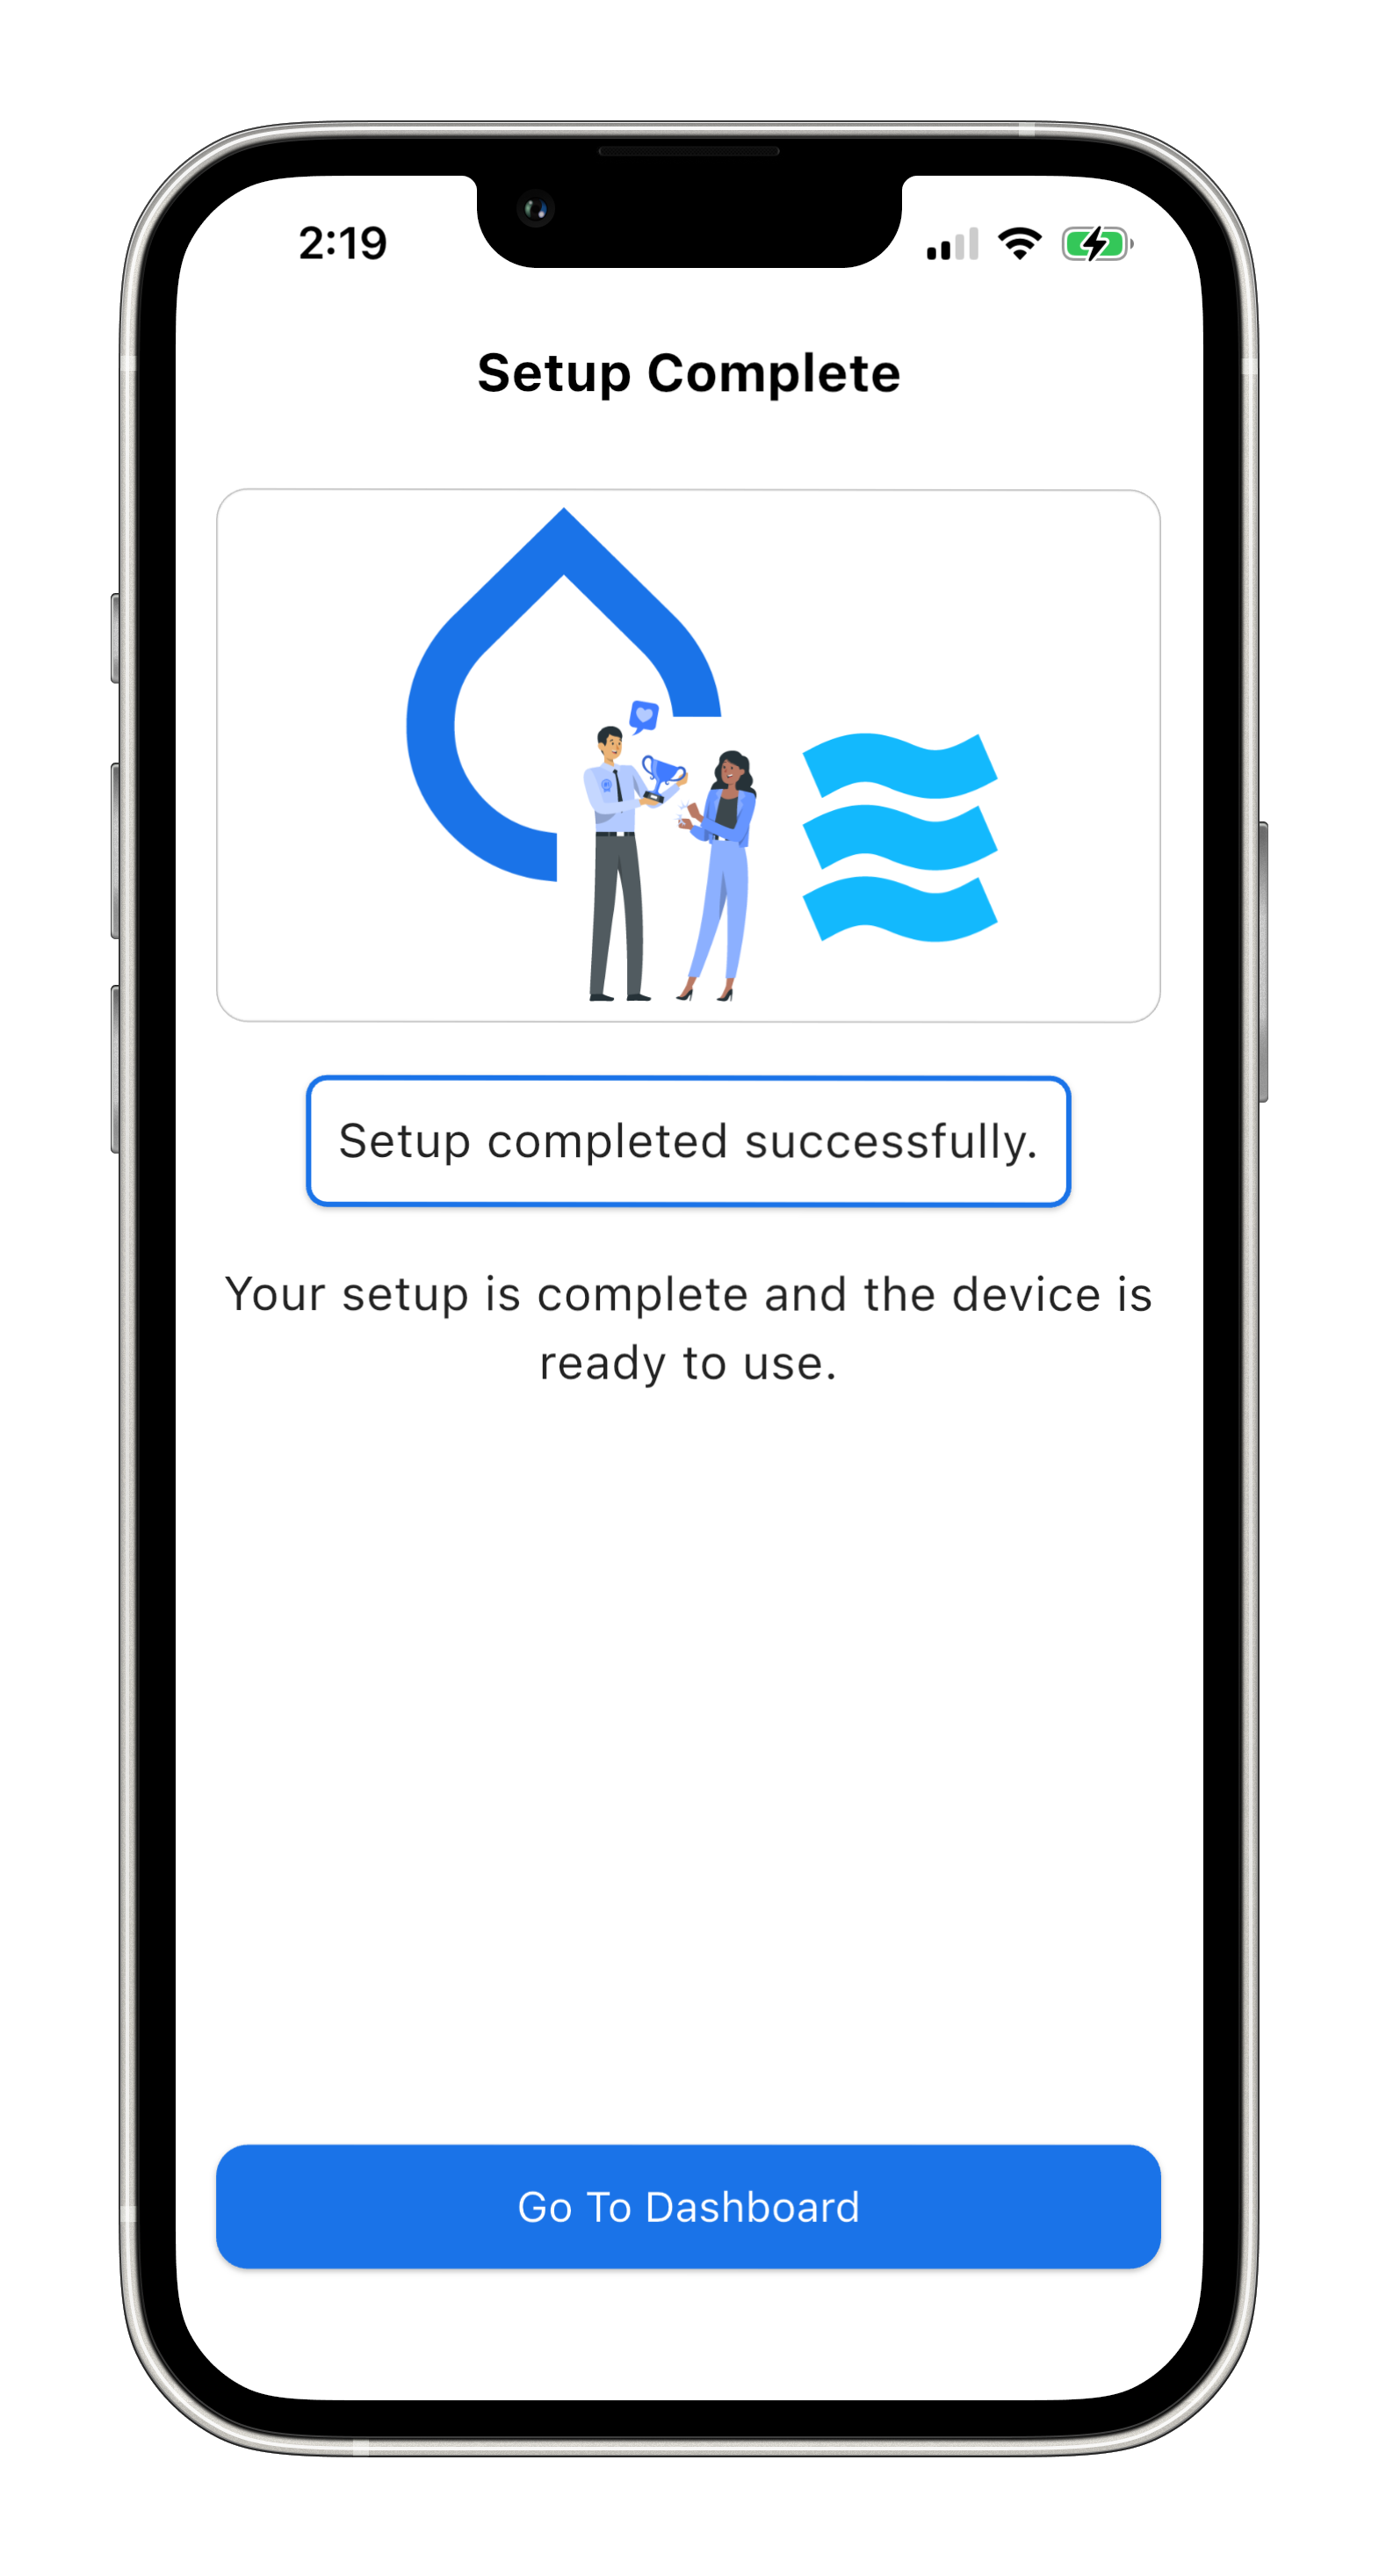
6. You’re All Set
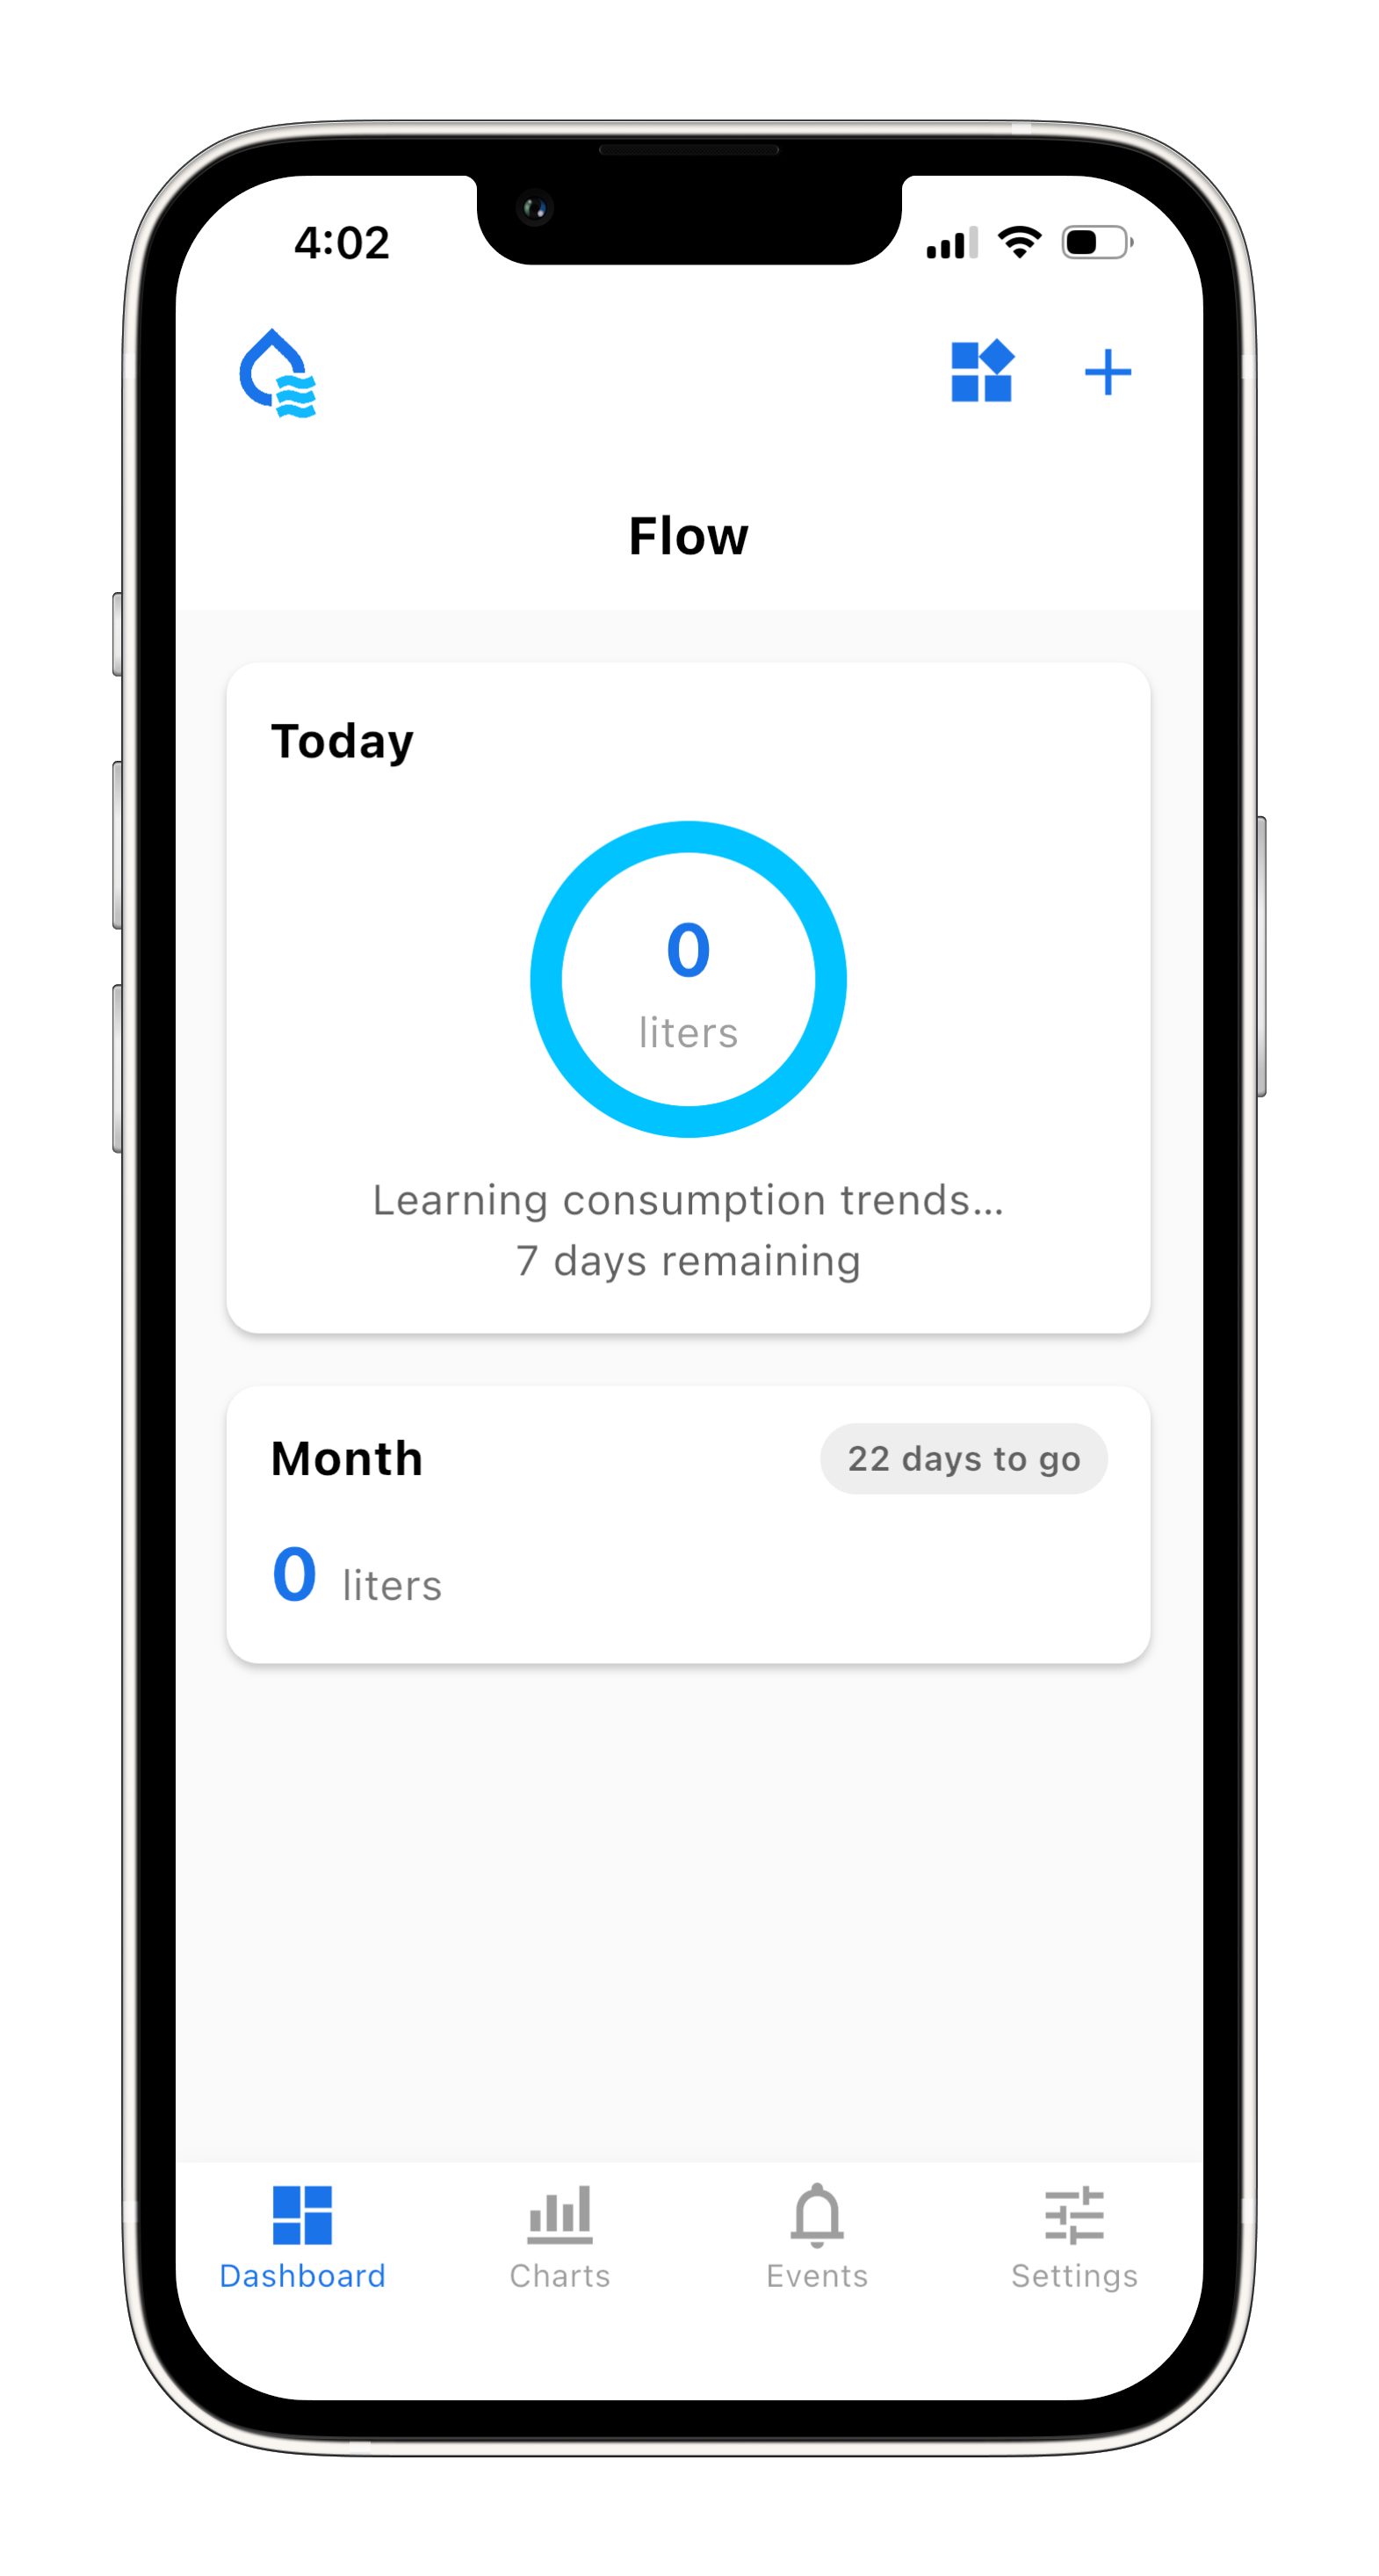
Your home and first device are now set up and ready to use.
You can now start monitoring water usage and viewing alerts directly in the app.
Having Trouble?
If something does not work as expected:
- Make sure your phone stays close to the device during setup
- Double-check your Wi-Fi password
- Try the step again if the connection takes longer than expected
You can also visit our troubleshooting guides or contact support if you need more help.